
Create a new project
While there's plenty of Sitecore information available in Japanese, knowing where to start can be challenging. For our first post of the year, we'll show you how to quickly create a new project.


Next.js is a React-based framework that provides functionality to enable server-side rendering and static site generation using React.

While there's plenty of Sitecore information available in Japanese, knowing where to start can be challenging. For our first post of the year, we'll show you how to quickly create a new project.
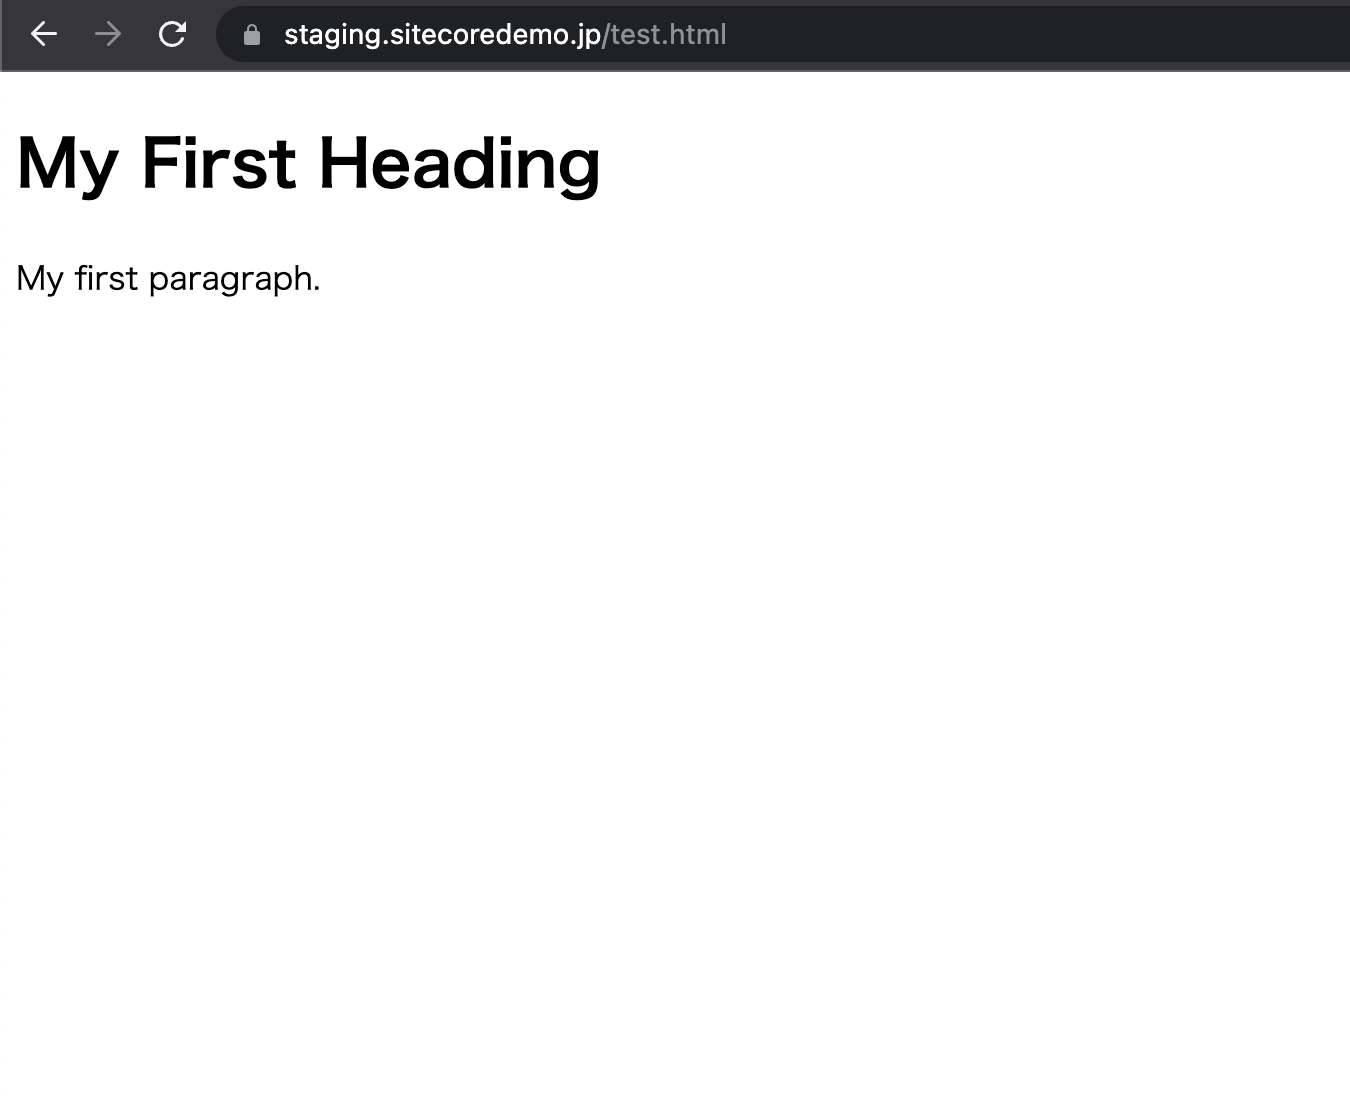
What should you do if you already have website content and HTML data for a Next.js-based site? In fact, the basic functionality of Next.js makes it possible to host a whole set of HTML files and other files on the server.
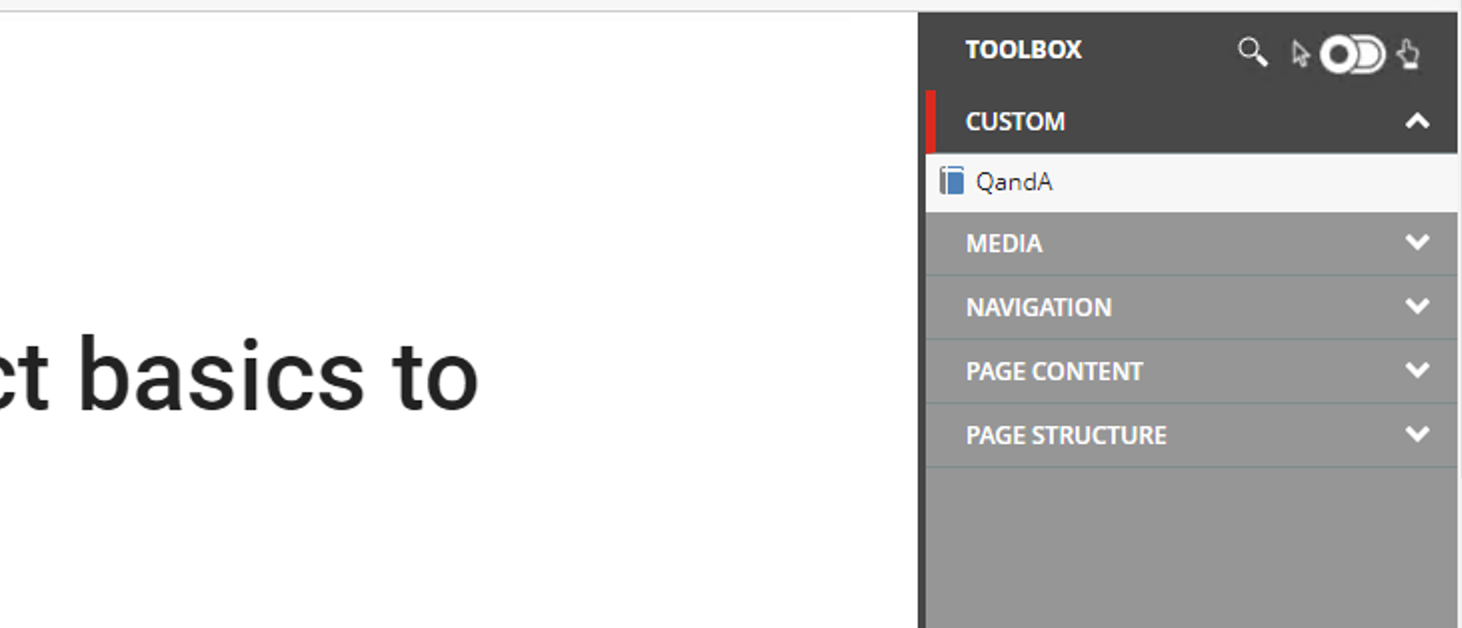
Previously, we expanded the display formats of existing components. Now, we'll create a new component. This process will illustrate how to define data structures in Sitecore and implement visual layouts, meeting each company's specific data requirements.
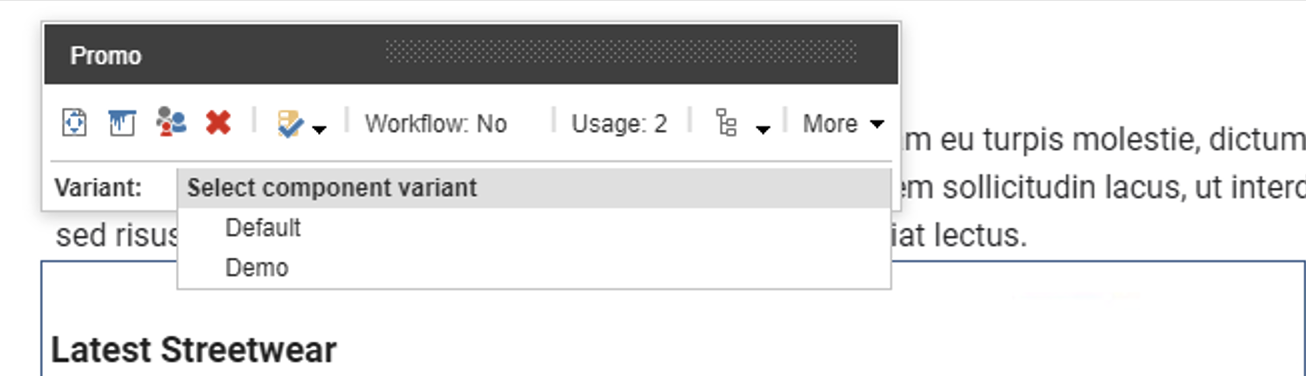
In the previous issue, we briefly introduced Headless SXA. Of course, the basic components are not enough to create a website. In this article, we will show you how to add display formats to existing components.
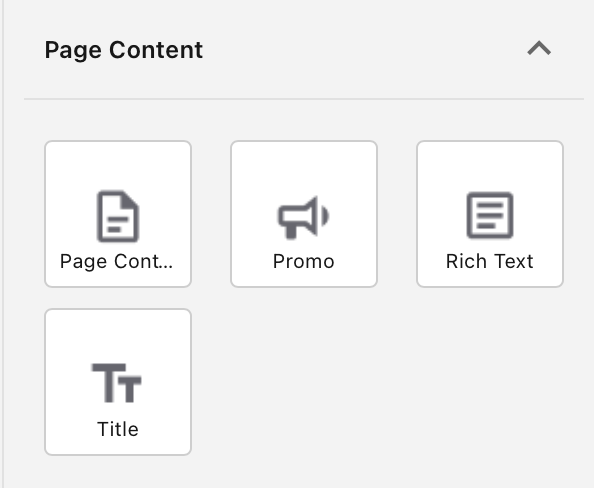
Sitecore has launched Headless SXA, the headless version of the Sitecore Experience Accelerator's web components. These components are available in Sitecore XM 10.3, allowing users with existing Sitecore subscription licenses to utilize them seamlessly.
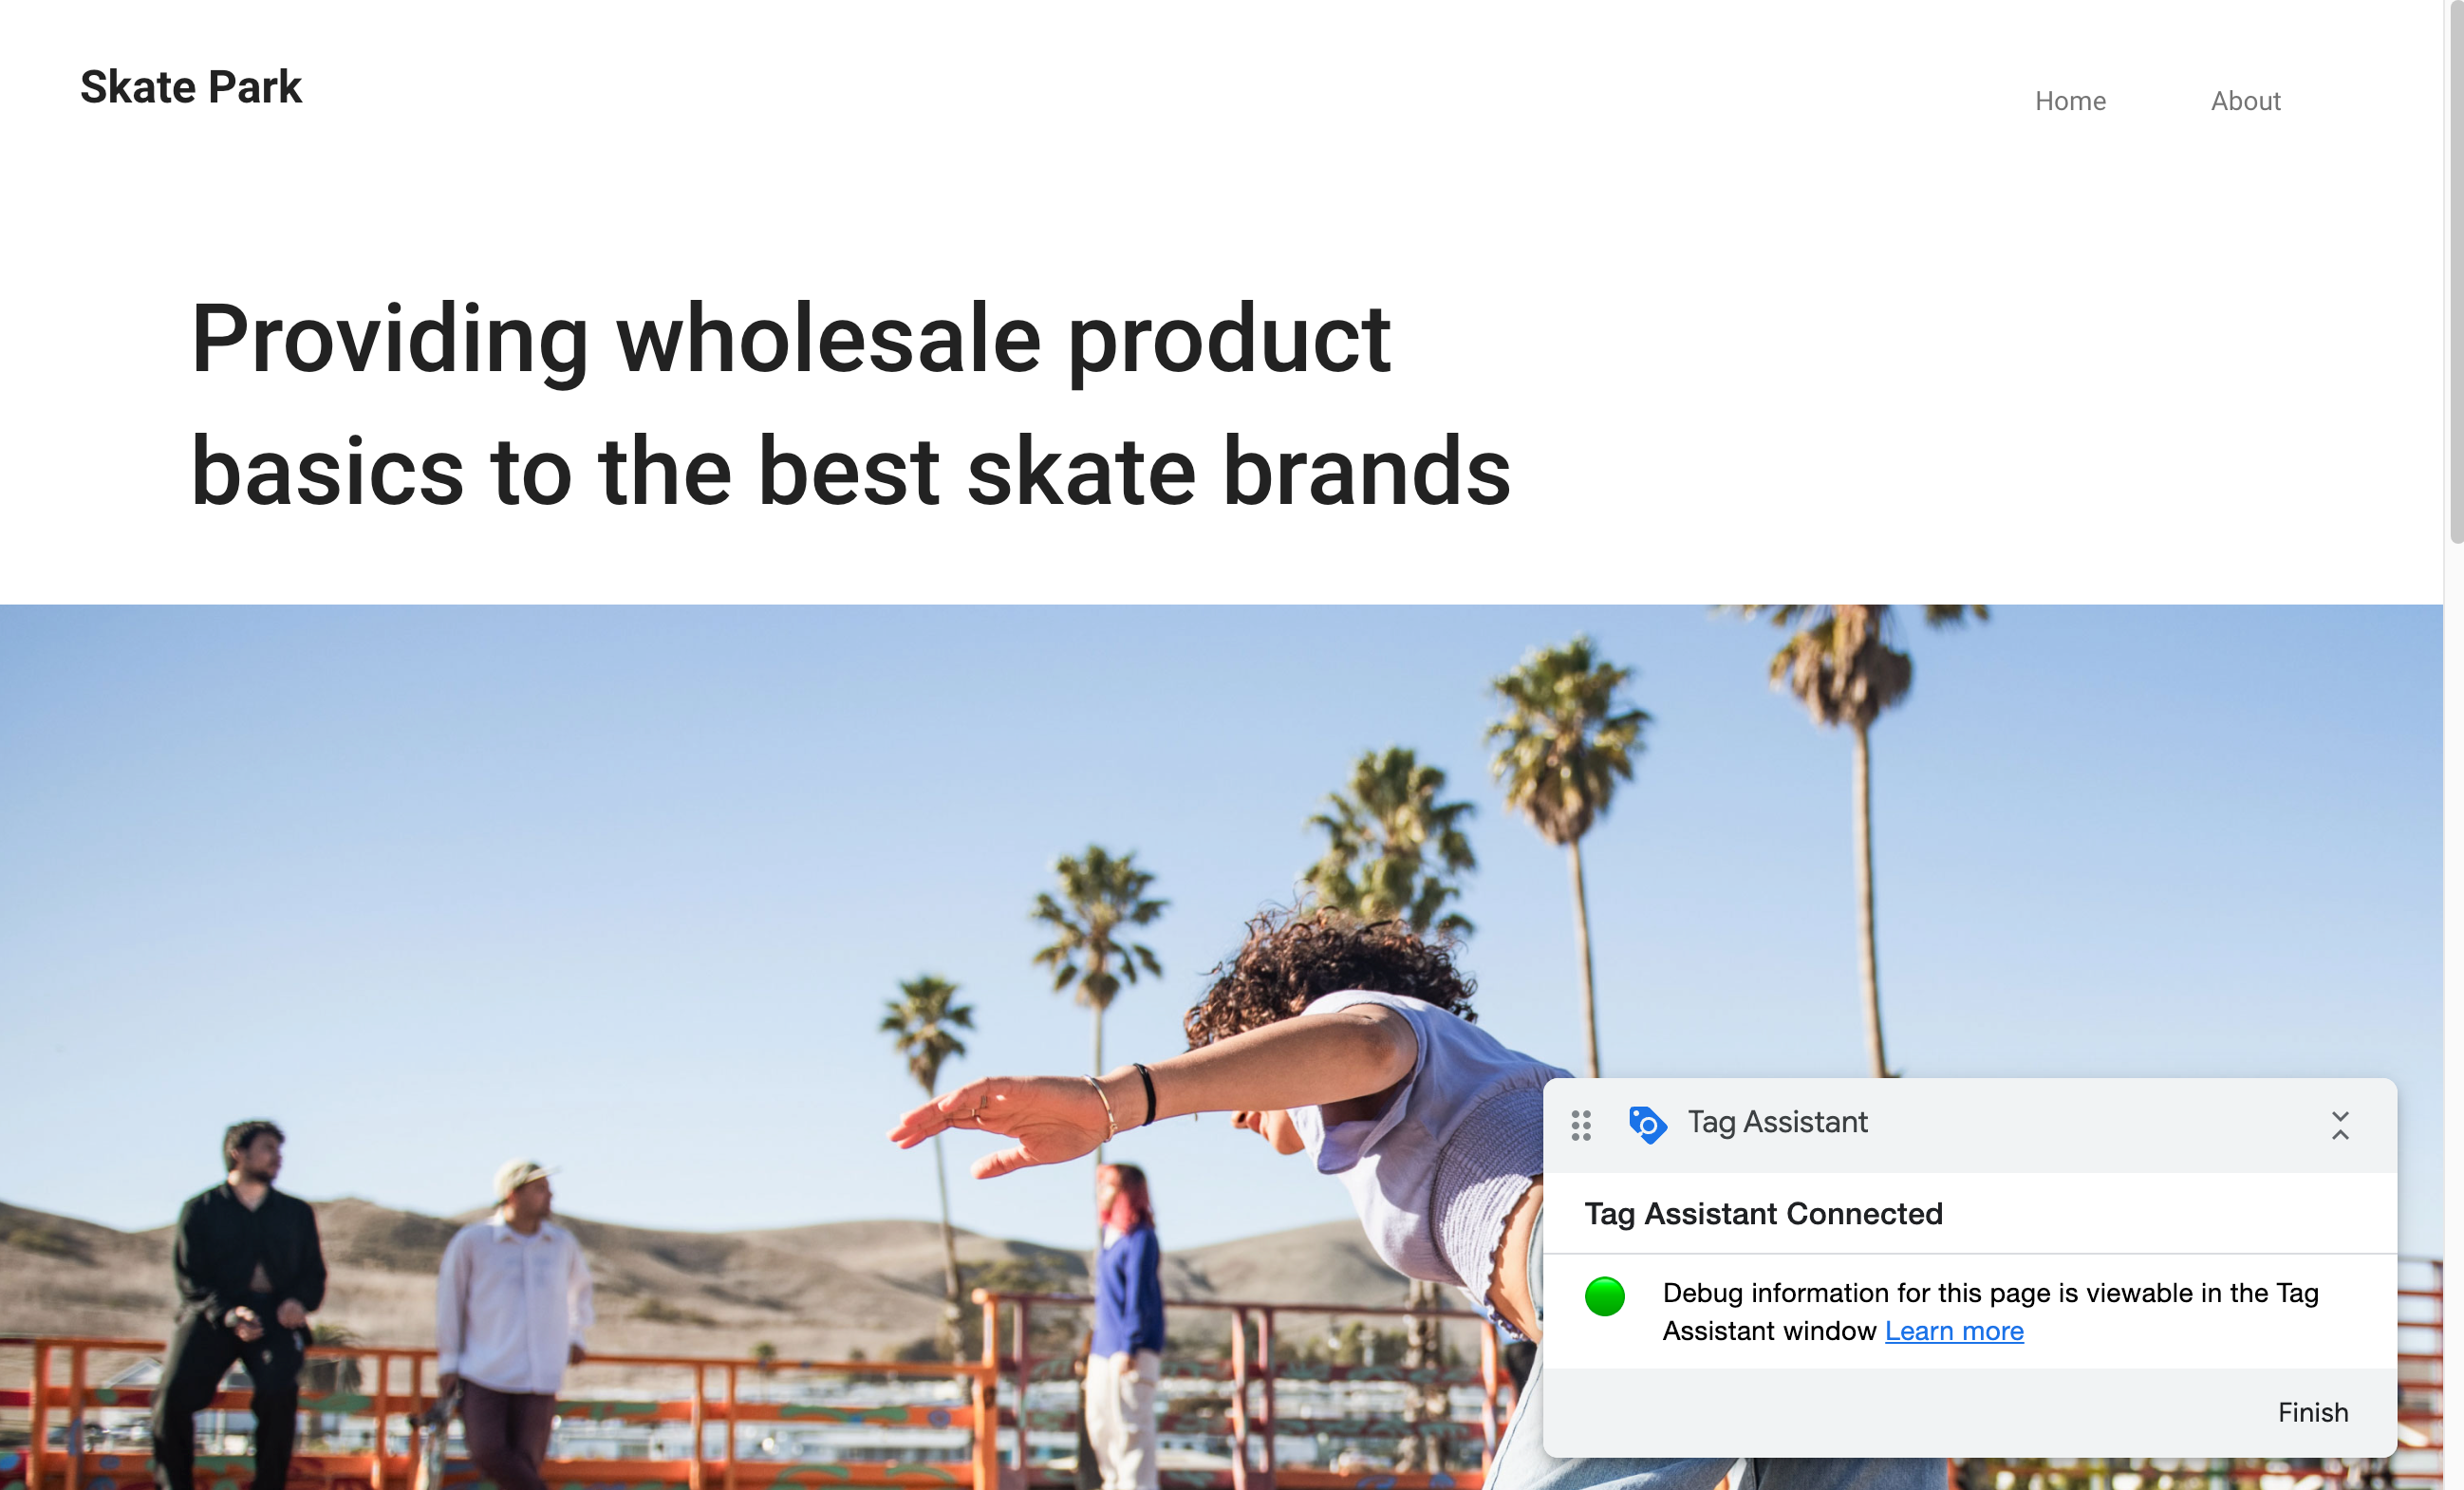
You have published your XM Cloud site externally. To integrate with other services, we will first set up Google Tag Manager.

Previously, we ran Sitecore as a virtual machine server. Now, with the Sitecore Experience Edge service, you can easily deploy Next.js apps to Vercel. This time, we'll introduce the deployment steps.

We have created the project multiple times so far, but it is tedious to perform the same thing each time. Therefore, we will introduce a procedure to start the environment without the previous steps.
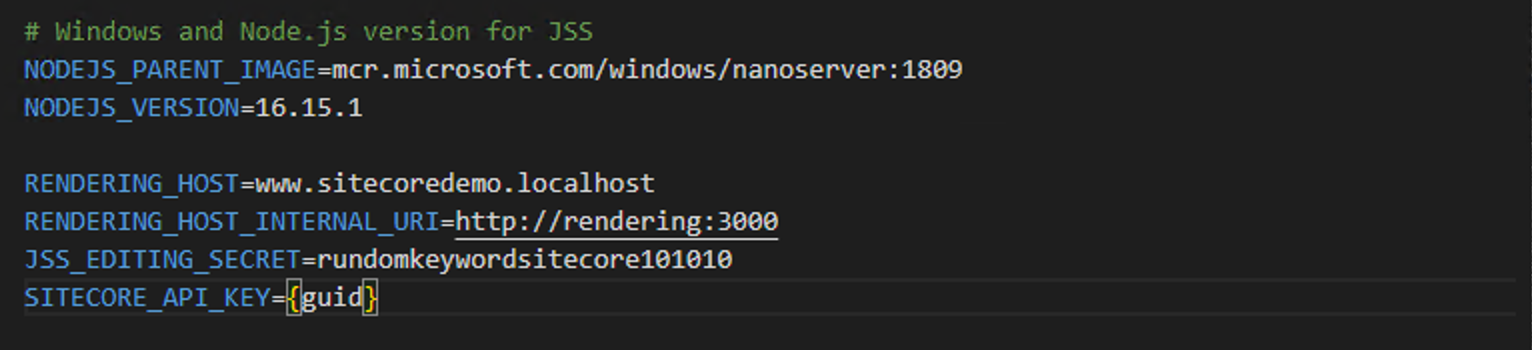
Regarding the test environment setup, we've previously provided instructions to manually enter certain configurations. To improve usability, we'll now automate this process by consolidating settings into a .env file.
The project already has a headless testing environment set up. In this and the next session, we'll clean up and remove unnecessary parts. Since we're now running headless, we'll start by deleting the CD server configuration.
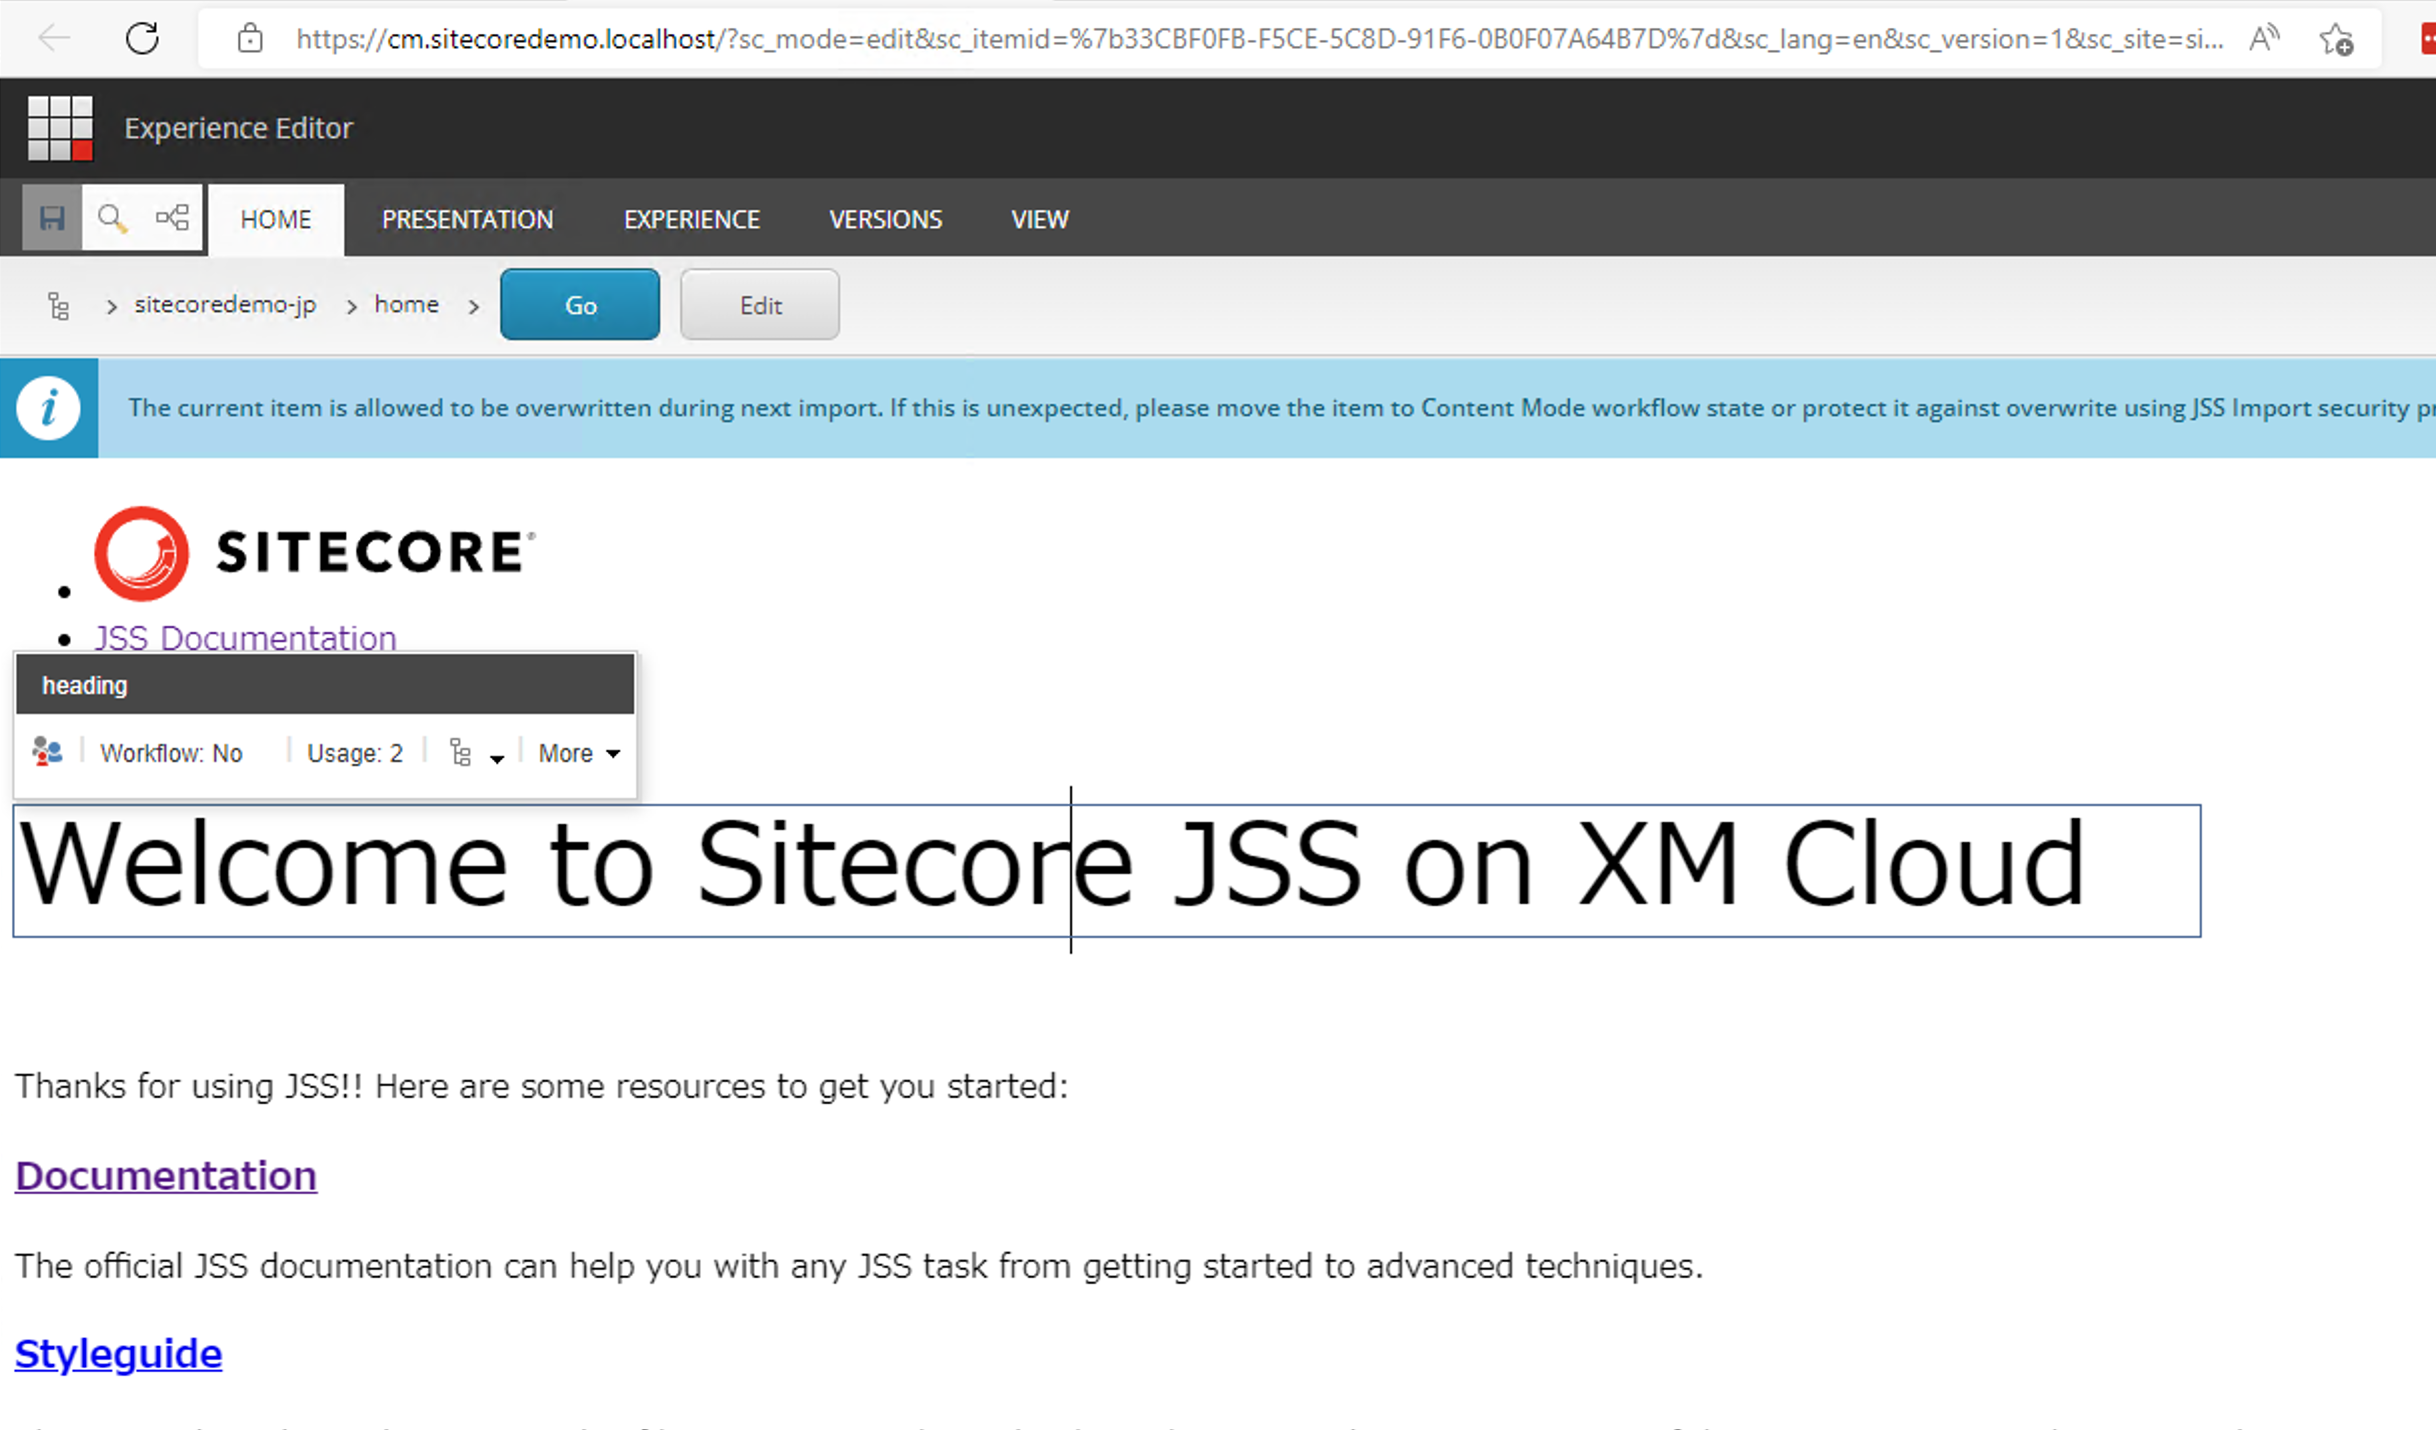
Last time, we launched a container based on Node.js and started Next.js within it, displaying pages by fetching data from Sitecore. This time, we'll progress to connecting Sitecore to the Node.js container and getting the Experience Editor up and running.
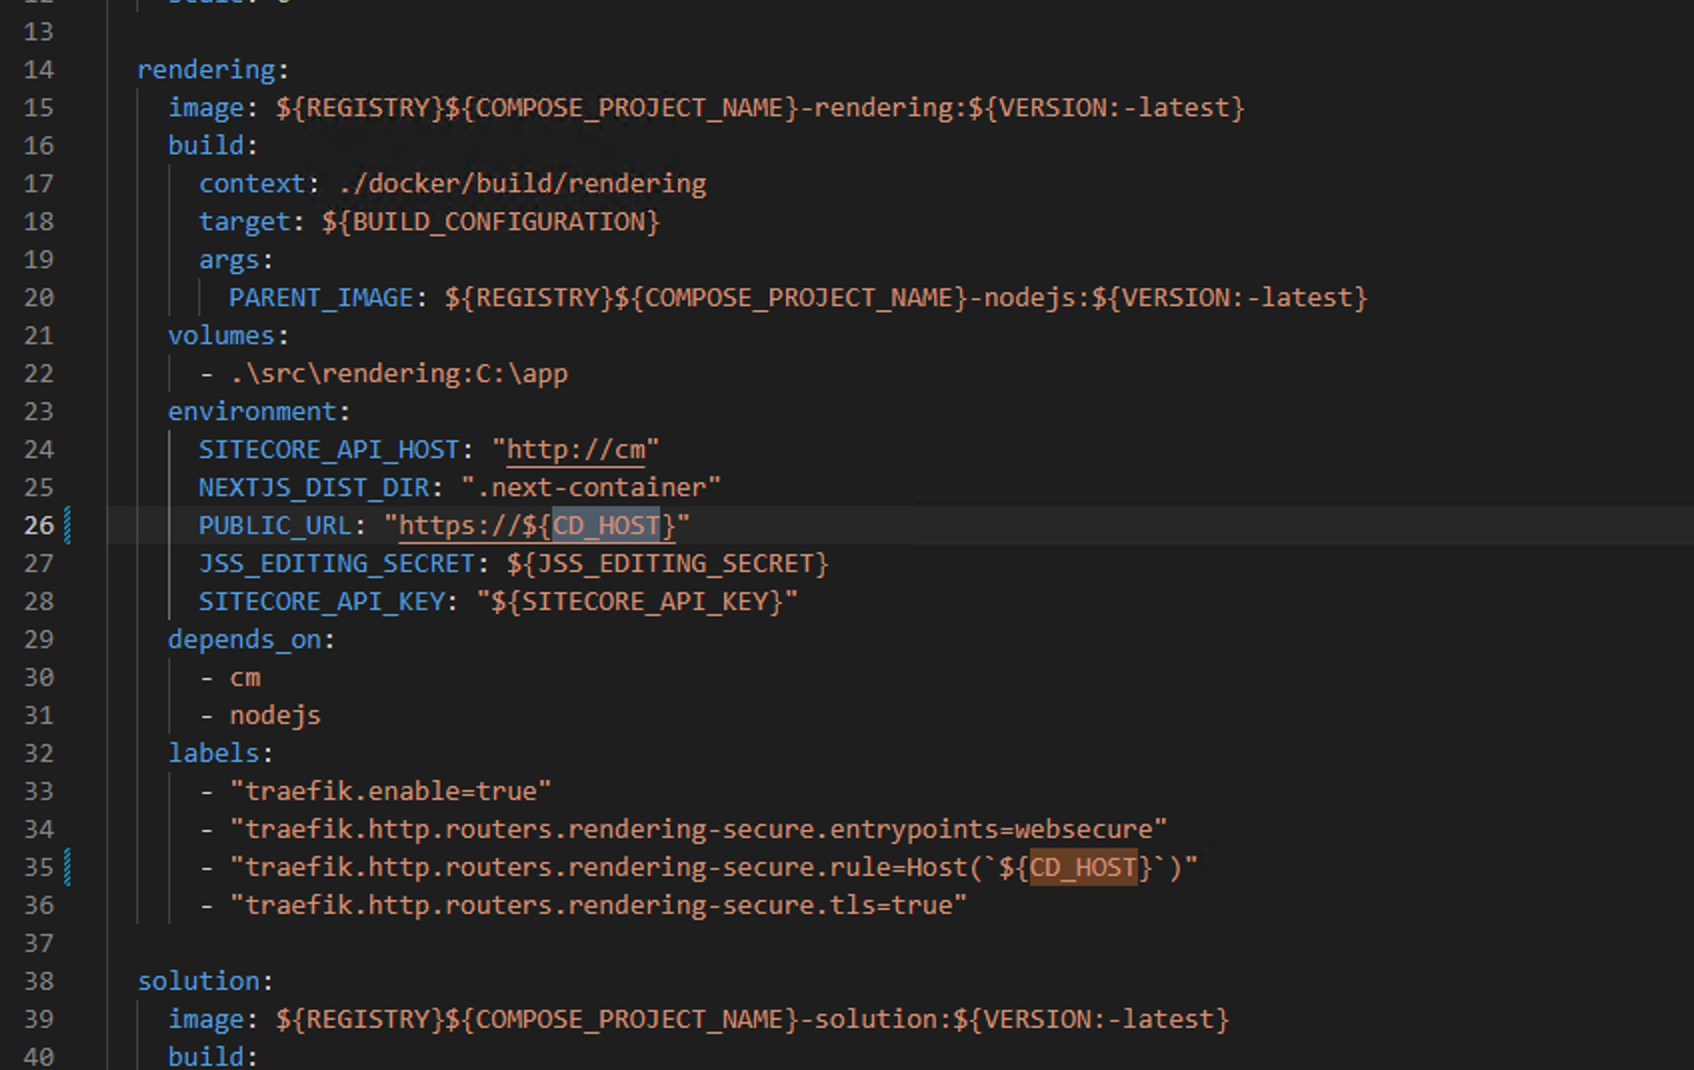
On the server, Vercel is used for page editing and verification, but this functionality is missing in the local container environment. This time, we'll add a Node.js container to replicate the Vercel functionality locally.