
Previously, we expanded the display formats of existing components. Now, we'll create a new component. This process will illustrate how to define data structures in Sitecore and implement visual layouts, meeting each company's specific data requirements.
Headless SXA - Adding a new component
Experience Manager (XM)Next.jsXM CloudHeadless SXAPublished: 2022-12-16
Creating rendering items
First, create a render item as a component definition. Add a folder named Custom in the /sitecore/layout/Renderings/Feature folder. After creating the above folder, right click on the folder and add Json Rendering.

In this case, we will create a Json Rendering item called QandA.

Creating Templates
Next, create a template to be used with this render item. Under /sitecore/templates/Feature/, create a folder named Custom and under it create a template named `QandA`. Add Question and Answer text fields to this item. Also, select Icon from the Configure menu and set the item office/32x32/book2.png. The following items are the first to be finished.

Open the Content tab for this item and add the following template as the base template
- /sitecore/templates/Foundation/Experience Accelerator/StandardValues/_PerSiteStandardValues

The base item is now created. Next, we create a folder item to store the QandA items, in the form of a QandA Folder.

Delete the base template for the created item.

Then create a Standard Value and click on the Assign insert option from the Configure menu. Here, set the two QandA and QandA folder that were already created.

For the icons, we set office/32x32/books.png. Next, create a folder for Rendering Parameters under Custom. Create an item named "QandA" under the Custom folder. The following four templates are used as the base templates for this item. For the first JSS Experience Accelerator path, the Display Name will be displayed as Headless Experience Accelerator in the content editor.
- /sitecore/templates/Foundation/JSS Experience Accelerator/Presentation/Rendering Parameters/BaseRenderingParameters
- /sitecore/templates/Foundation/Experience Accelerator/Dynamic Placeholders/Rendering Parameters/IDynamicPlaceholder
- /sitecore/templates/Foundation/Experience Accelerator/StandardValues/_PerSiteStandardValues
- /sitecore/templates/Foundation/Experience Accelerator/Markup Decorator/Rendering Parameters/IRenderingId
After setting icons and other items, the item will be completed as follows.

Rendering item settings
We will set up the created template for an item that has already been created. First, insert the following code for Datasource Location.
Plain Text
query:$site/*[@@name='Data']/*[@@name='QandA']|query:$sharedSites/*[@@name='Data']/*[@@name='QandA']Next, for the Datasouce Template, set /sitecore/templates/Feature/Custom/QandA.
Add regarding rendering
From here on, we will proceed to configure /sitecore/content/tenant/site/ as a prerequisite for setting up the site to be used.
First, right-click on Available Renderings in Presentation to create an Available Renderings item.

In this case, the item is called Custom. For this Custom item, we will include the QandA template that we are creating this time.

Next, create a folder under the Data folder so that it can be managed as a QandA shared item. Here, specify the QandA Folder item created in advance and name the folder QandA.

Finally, in the Headless Variants section under Presentation, create a QandA and Default as the Variant.
Creating JavaScript component files
In creating a component file, check the name listed under Component Name in the rendering items you have already set up.

Create a JavaScript file that matches the name of the component and include the following code. The code is as follows
JavaScript
import React from 'react';
import { Field, Text } from '@sitecore-jss/sitecore-jss-nextjs';

interface Fields {
  Question: Field<string>;
  Answer: Field<string>;
}
type QandAProps = {
  params: { [key: string]: string };

  fields: Fields;
};

export const Default = (props: QandAProps): JSX.Element => {
  return (
    <div className={`component myrendering ${props.params.styles}`}>
      <div className="component-content">
        <div>
          <strong>質問:</strong>
          <Text field={props.fields.Question} />
        </div>
        <div>
          <strong>回答:</strong>
          <Text field={props.fields.Answer} />
        </div>
      </div>
    </div>
  );
};
You can now create a new component.
Operation check
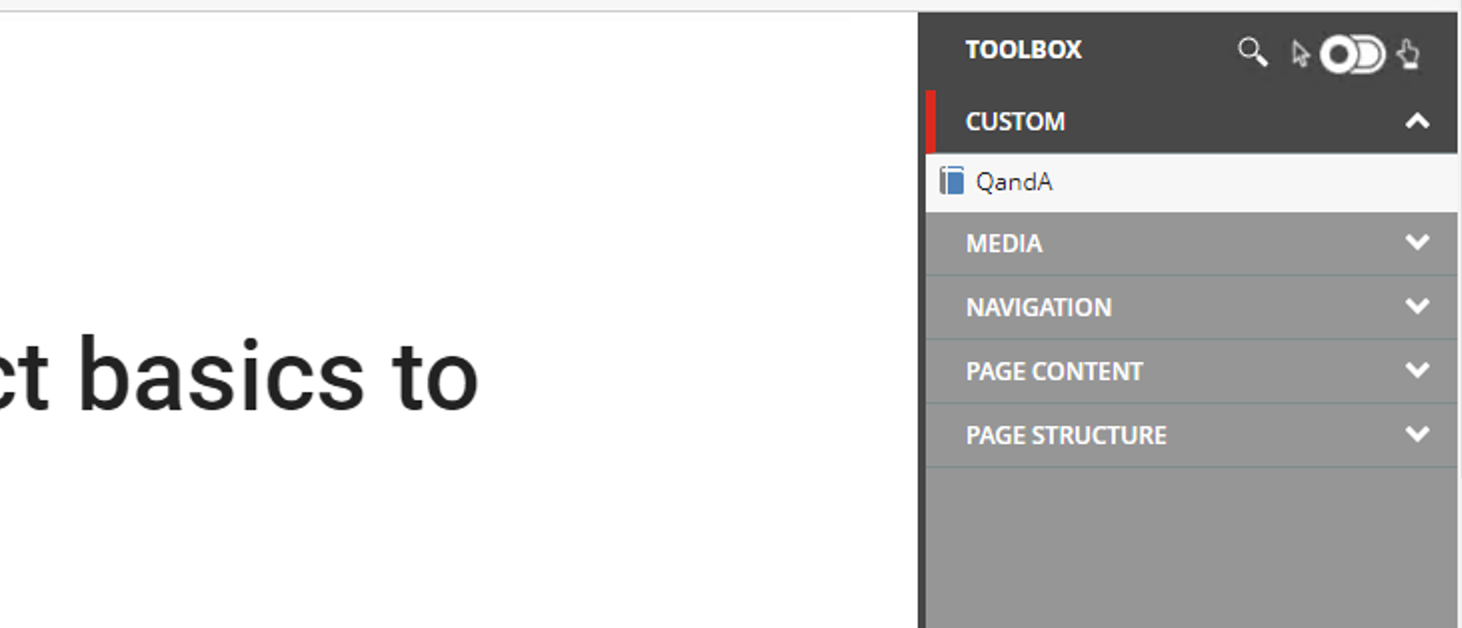
When you open the Experience Editor, you will see that the QandA item has been created in the Custom group.
This is placed by drag & drop.

Add Export
Finally, since we have created renderings, templates, etc., we will add serialization settings for these items. Add the following include definition to the existing SitecoreDemo.module.json file
JSON
            {
                "name": "customrendering",
                "path": "/sitecore/layout/Renderings/Feature/Custom"
            },
            {
                "name": "customtemplate",
                "path": "/sitecore/templates/Feature/Custom"
            }
The item you created was successfully serialized and dropped into the code base.
Summary
In this article, we introduced how to create Headless SXA components in a Step by Step manner. In fact, we have tried to make the process as efficient as possible by copying existing items. First, I added one simple component.