Regarding the test environment setup, we've previously provided instructions to manually enter certain configurations. To improve usability, we'll now automate this process by consolidating settings into a .env file.

Building a Sitecore Headless Development and Testing Environment Part 8 - Organizing Projects (Centralized Configuration)
Next.jsPublished: 2022-09-20
Update default scripts
The .env values can be set automatically by running the command in the Sitecore Docker Tools. We will write this description in the init.ps1 script file.
First, initialize the JSS_EDITTING_SECRET entry by adding the following script
# JSS_EDITING_SECRET
Set-EnvFileVariable "JSS_EDITING_SECRET" -Value (Get-SitecoreRandomString 32)
In addition, add the following code to set a random string for the SQL password.
# SQL_SA_PASSWORD
Set-EnvFileVariable "SQL_SA_PASSWORD" -Value (Get-SitecoreRandomString 19 -DisallowSpecial -EnforceComplexity)
This will automatically set the password, so remove the following code
# We do not need to use [SecureString] here since the value will be stored unencrypted in .env,
# and used only for transient local example environment.
[string]
$SqlSaPassword = "Password12345"
This reduced the number of configuration items.
Referencing settings in various instances
The CM server has included some .env values in the referenced configuration file, docker\build\cm\data\App_Config\include\zzz\sitecoredemo-jp.config, so we will change the configuration to reference it.
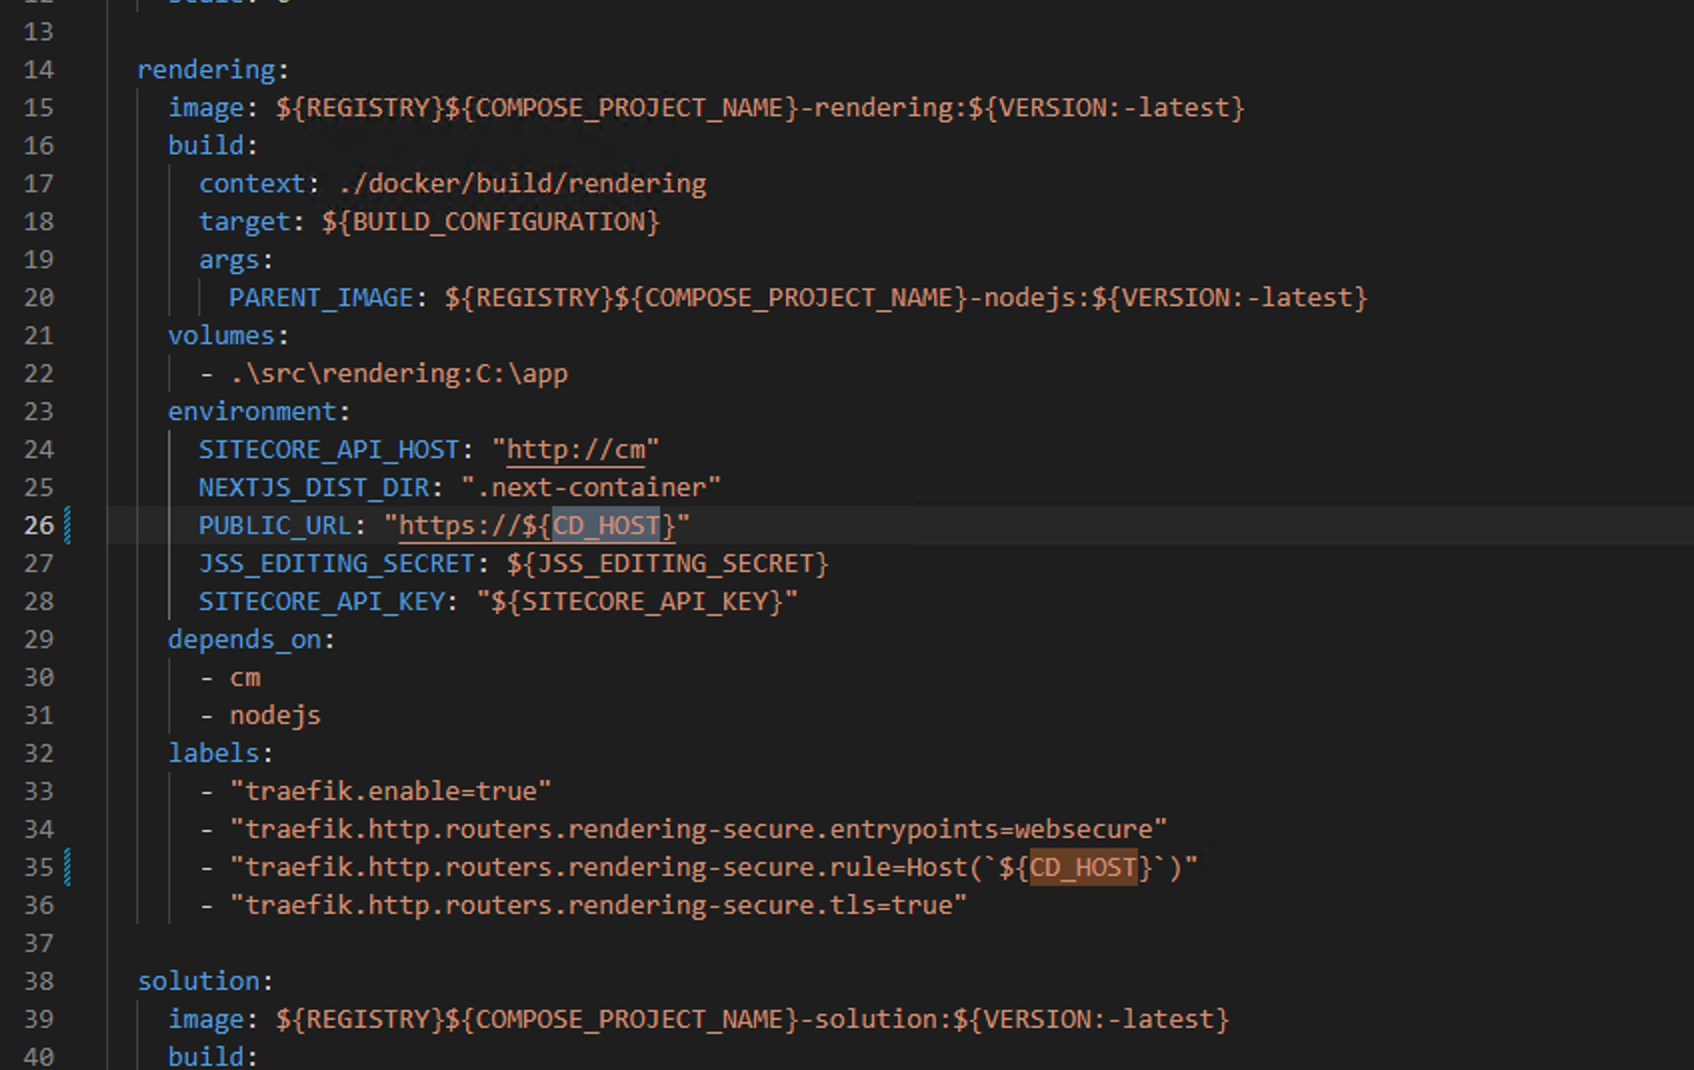
First, add the following code to the docker-compose.override.yml file so that the cm container can reference the .env value
  cm:
    environment:
      JSS_EDITING_SECRET: ${JSS_EDITING_SECRET}
      RENDERING_HOST_INTERNAL_URI: ${RENDERING_HOST_INTERNAL_URI}
      CM_HOST: ${CM_HOST}
We will change each of the above values that are set. First, set JSS_EDITING_SECRET.
<setting name="JavaScriptServices.ViewEngine.Http.JssEditingSecret" value="$(env:JSS_EDITING_SECRET)" />Then set CM_HOST.
      <site patch:before="site[@name='website']"
            inherits="website"
            name="sitecoredemo-jp"
            hostName="$(env:CM_HOST)"
            rootPath="/sitecore/content/sitecoredemo-jp"
            startItem="/home"
            database="master" />
Finally, set RENDERING_HOST_INTERNAL_URI.
        <app name="sitecoredemo-jp"
            layoutServiceConfiguration="default"
            sitecorePath="/sitecore/content/sitecoredemo-jp"
            useLanguageSpecificLayout="true"
            graphQLEndpoint="/sitecore/api/graph/edge"
            inherits="defaults"
            serverSideRenderingEngine="http"
            serverSideRenderingEngineEndpointUrl="$(env:RENDERING_HOST_INTERNAL_URI)/api/editing/render"
            serverSideRenderingEngineApplicationUrl="$(env:RENDERING_HOST_INTERNAL_URI)"
        />
After completing the above settings, rebuild the CM server.
docker-compose build cmWhen you have completed the above settings, start the system and confirm that the Experience Editor is working.
Summary
We now have a very simple project using Next.js. In the next article, I will introduce the procedure for downloading the project including all the previous steps from the GitHub repository and launching it.