
Last time, we launched a container based on Node.js and started Next.js within it, displaying pages by fetching data from Sitecore. This time, we'll progress to connecting Sitecore to the Node.js container and getting the Experience Editor up and running.
Building a Sitecore Headless Development and Testing Environment Part 6 - Making the Experience Editor Available
Next.jsPublished: 2022-09-15
Change CM server settings
Regarding the Headless Rendering configuration file, the current file is docker\build\cm\Data\App_Config\include\zzz\sitecoredemo-jp.config. Two changes need to be made to the code in this file.
The first is the value of JSS_EDITING_SECRET in the following configuration item.
XML
<setting name="JavaScriptServices.ViewEngine.Http.JssEditingSecret" value="rundomkeywordsitecore101010" />Then change the server name to rendering in order to change the access to the container this time.
XML
        <app name="sitecoredemo-jp"
            layoutServiceConfiguration="default"
            sitecorePath="/sitecore/content/sitecoredemo-jp"
            useLanguageSpecificLayout="true"
            graphQLEndpoint="/sitecore/api/graph/edge"
            inherits="defaults"
            serverSideRenderingEngine="http"
            serverSideRenderingEngineEndpointUrl="http://rendering:3000/api/editing/render"
            serverSideRenderingEngineApplicationUrl="http://rendering:3000"
        />
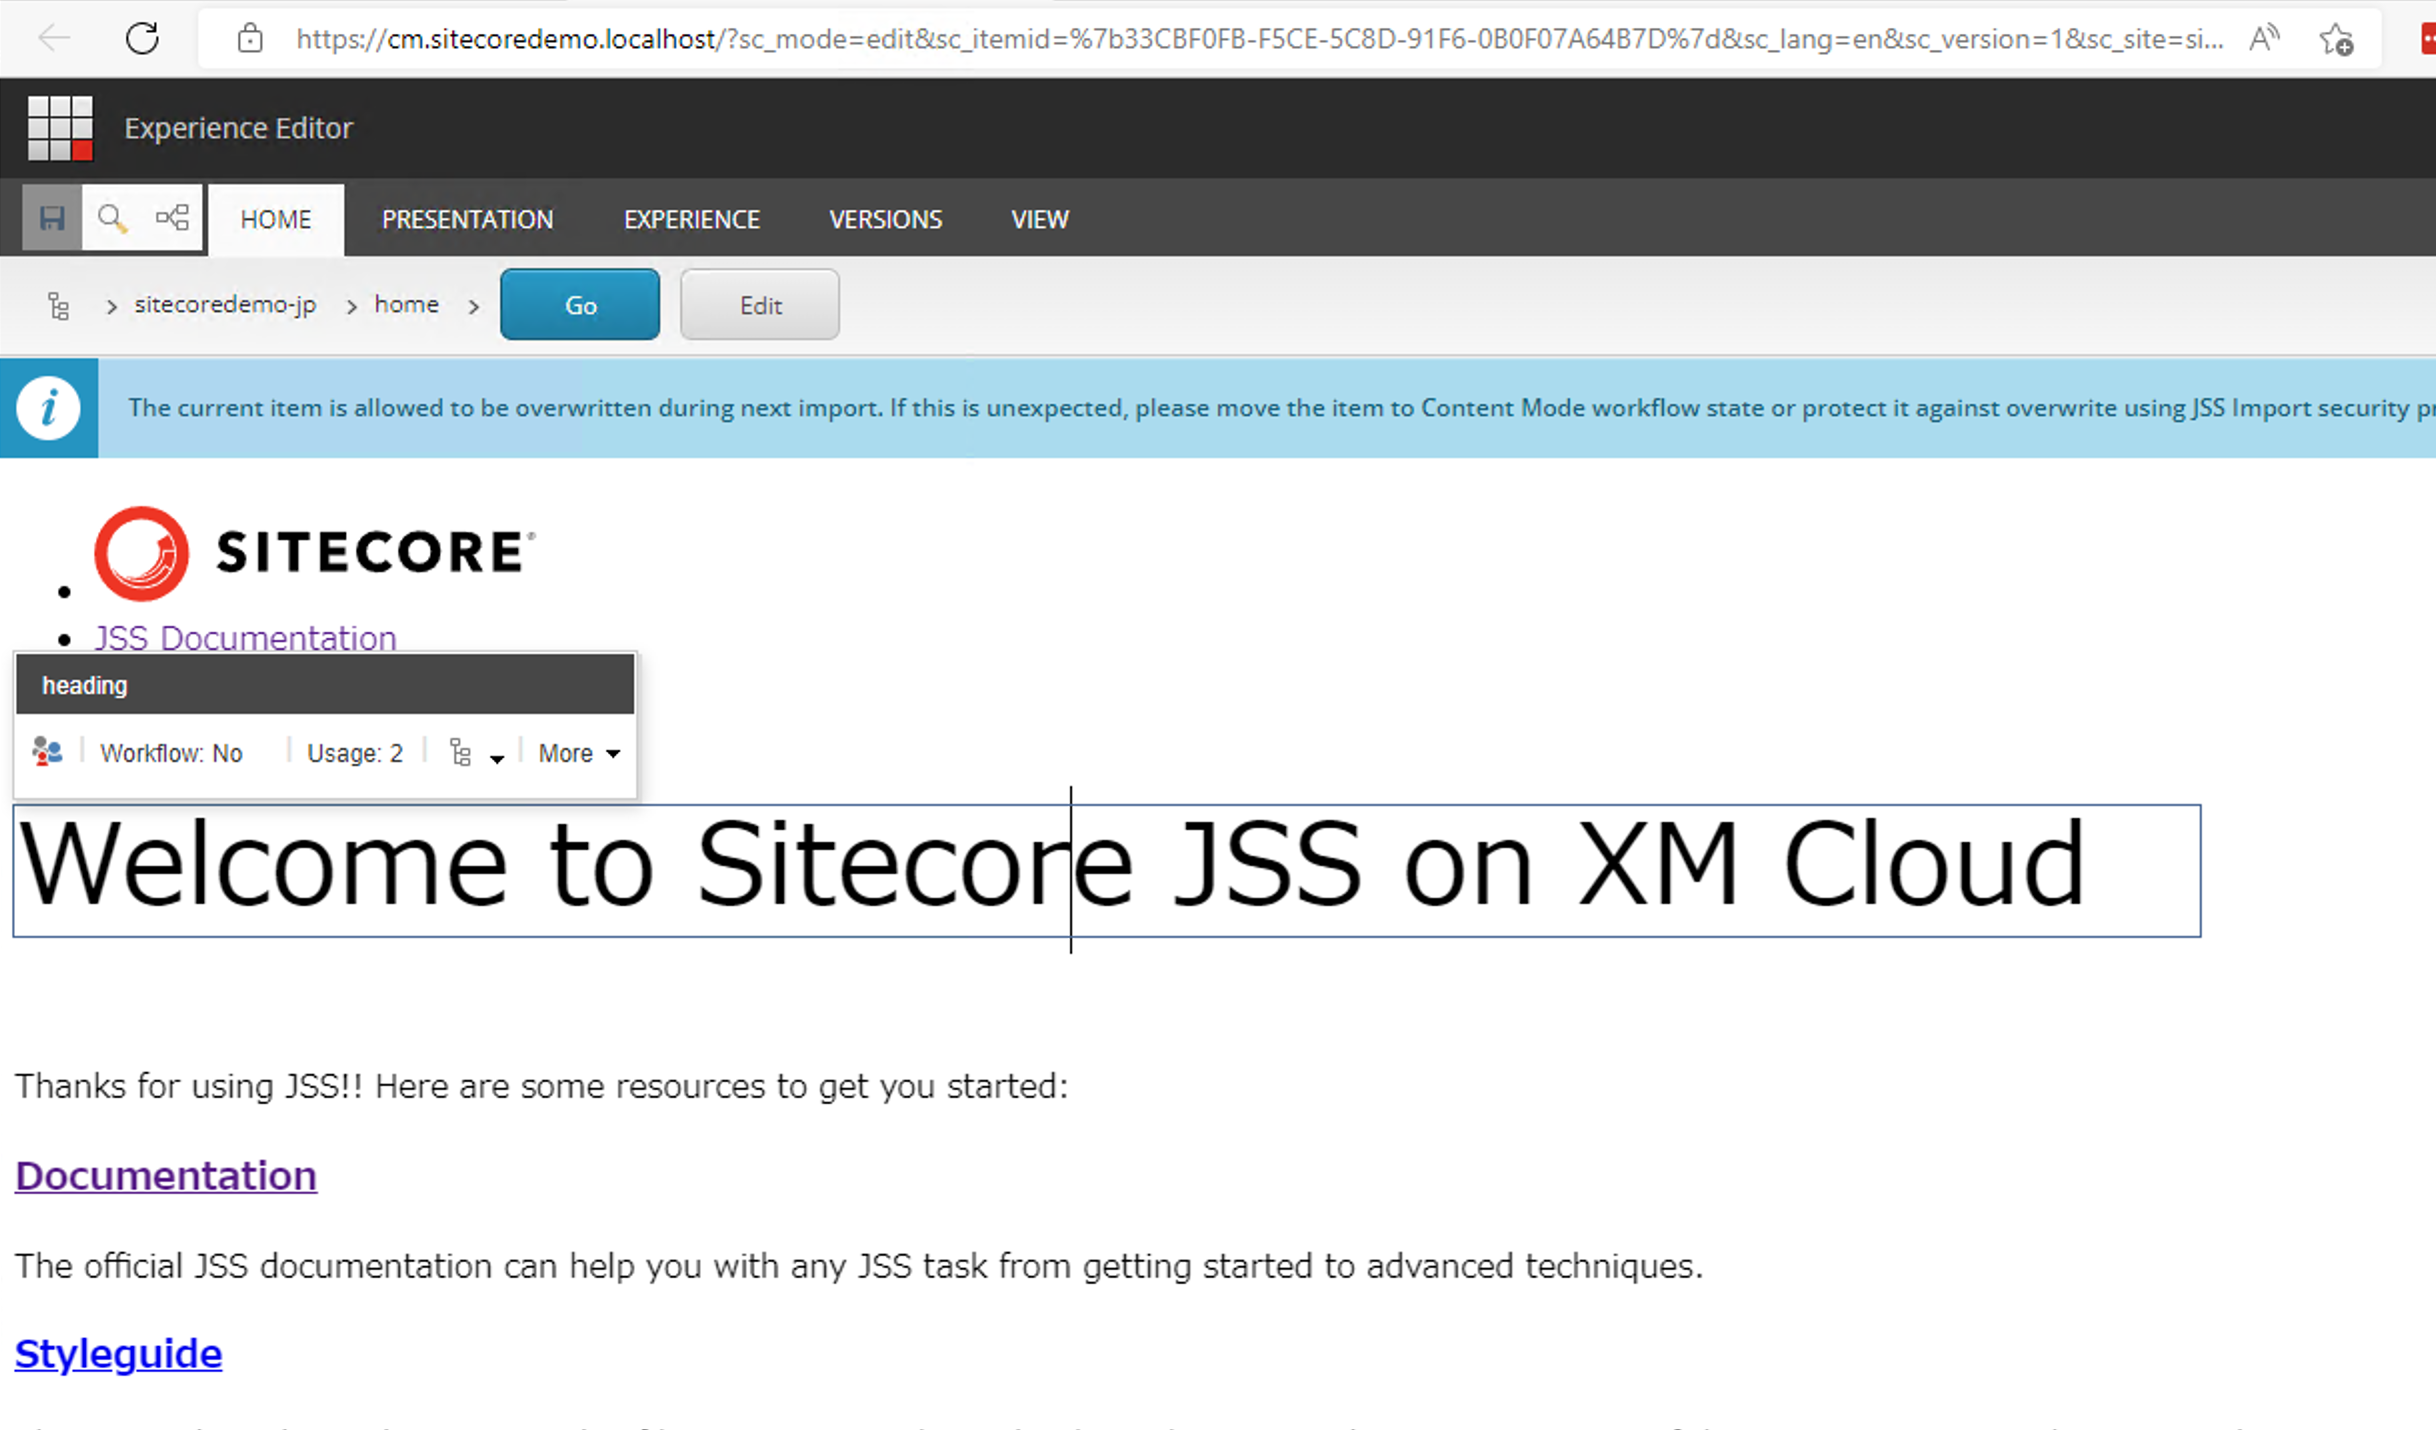
Once the above configuration is complete, rebuild the cm container to reflect the changes and then launch it. You will be able to edit it in the experience editor as follows
You can now launch the Experience Editor in your local environment.
Summary
We have been working on the environment several times and finally have a base for the basic project. We can now develop locally and access the CMS. In the next issue, we will make a few changes to the project to make it easier to use.