
We've previously detailed how to run Sitecore 10.3 container environments and add SXA locally. To simplify this repetitive process, we've created a repository for easy startup. This guide will introduce how to use the repository to launch the environment.
Easily launch Headless SXA in Sitecore 10.3
Experience Manager (XM)DockerNext.jsHeadless SXAPublished: 2023-01-19
Related article about Docker
- Create a new project
- Prepare a project for XM1
- Adding SXA Modules
- Add Japanese language resources
- Add a headless site
- Add a Next.js project
Create a new repository using a template
For the Sitecore projects we have created so far, we have opened the following customized repositories for easy launch.
This repository has been available since version 10.2 of Sitecore, and has been updated to 10.3 for today's blog, where the new Headless SXA feature is available.
To create a new repository using this repository, click on "Use this template" displayed on the screen.

Click `Create a new repository` to create a new repository. This time, name the repository sitecore103sxa.

This completes the creation of the new repository.
Deploy locally
Create a local clone of the newly created repository. In our case, we used Docker Desktop to create the clone as follows

Copy the file env.example and create a .env file for your own use.

Then open a terminal with administrative privileges and navigate to the target folder. Perform initialization of the project using init.ps1.
PowerShell
cd C:\projects\sitecore103sxa
.\init.ps1 -InitEnv -LicenseXmlPath "C:\projects\license\license.xml" -AdminPassword "DesiredAdminPassword"
Execution will proceed to create the file that will be used as the certificate and set the initial values. The following screen indicates completion.

You are now ready to go. Run `up.ps1`, which can handle image building and other tasks in one go.

Once the container is up and running, a Sitecore CLI restore will be performed and the login screen will appear.

We will proceed as permission to log in and write.

After a few moments a window will open to log in to Sitecore. Once logged in, you will see the 10.3 administration window.

Confirmation of environment
After logging in, open the content editor and you will see that the sample site has been imported.

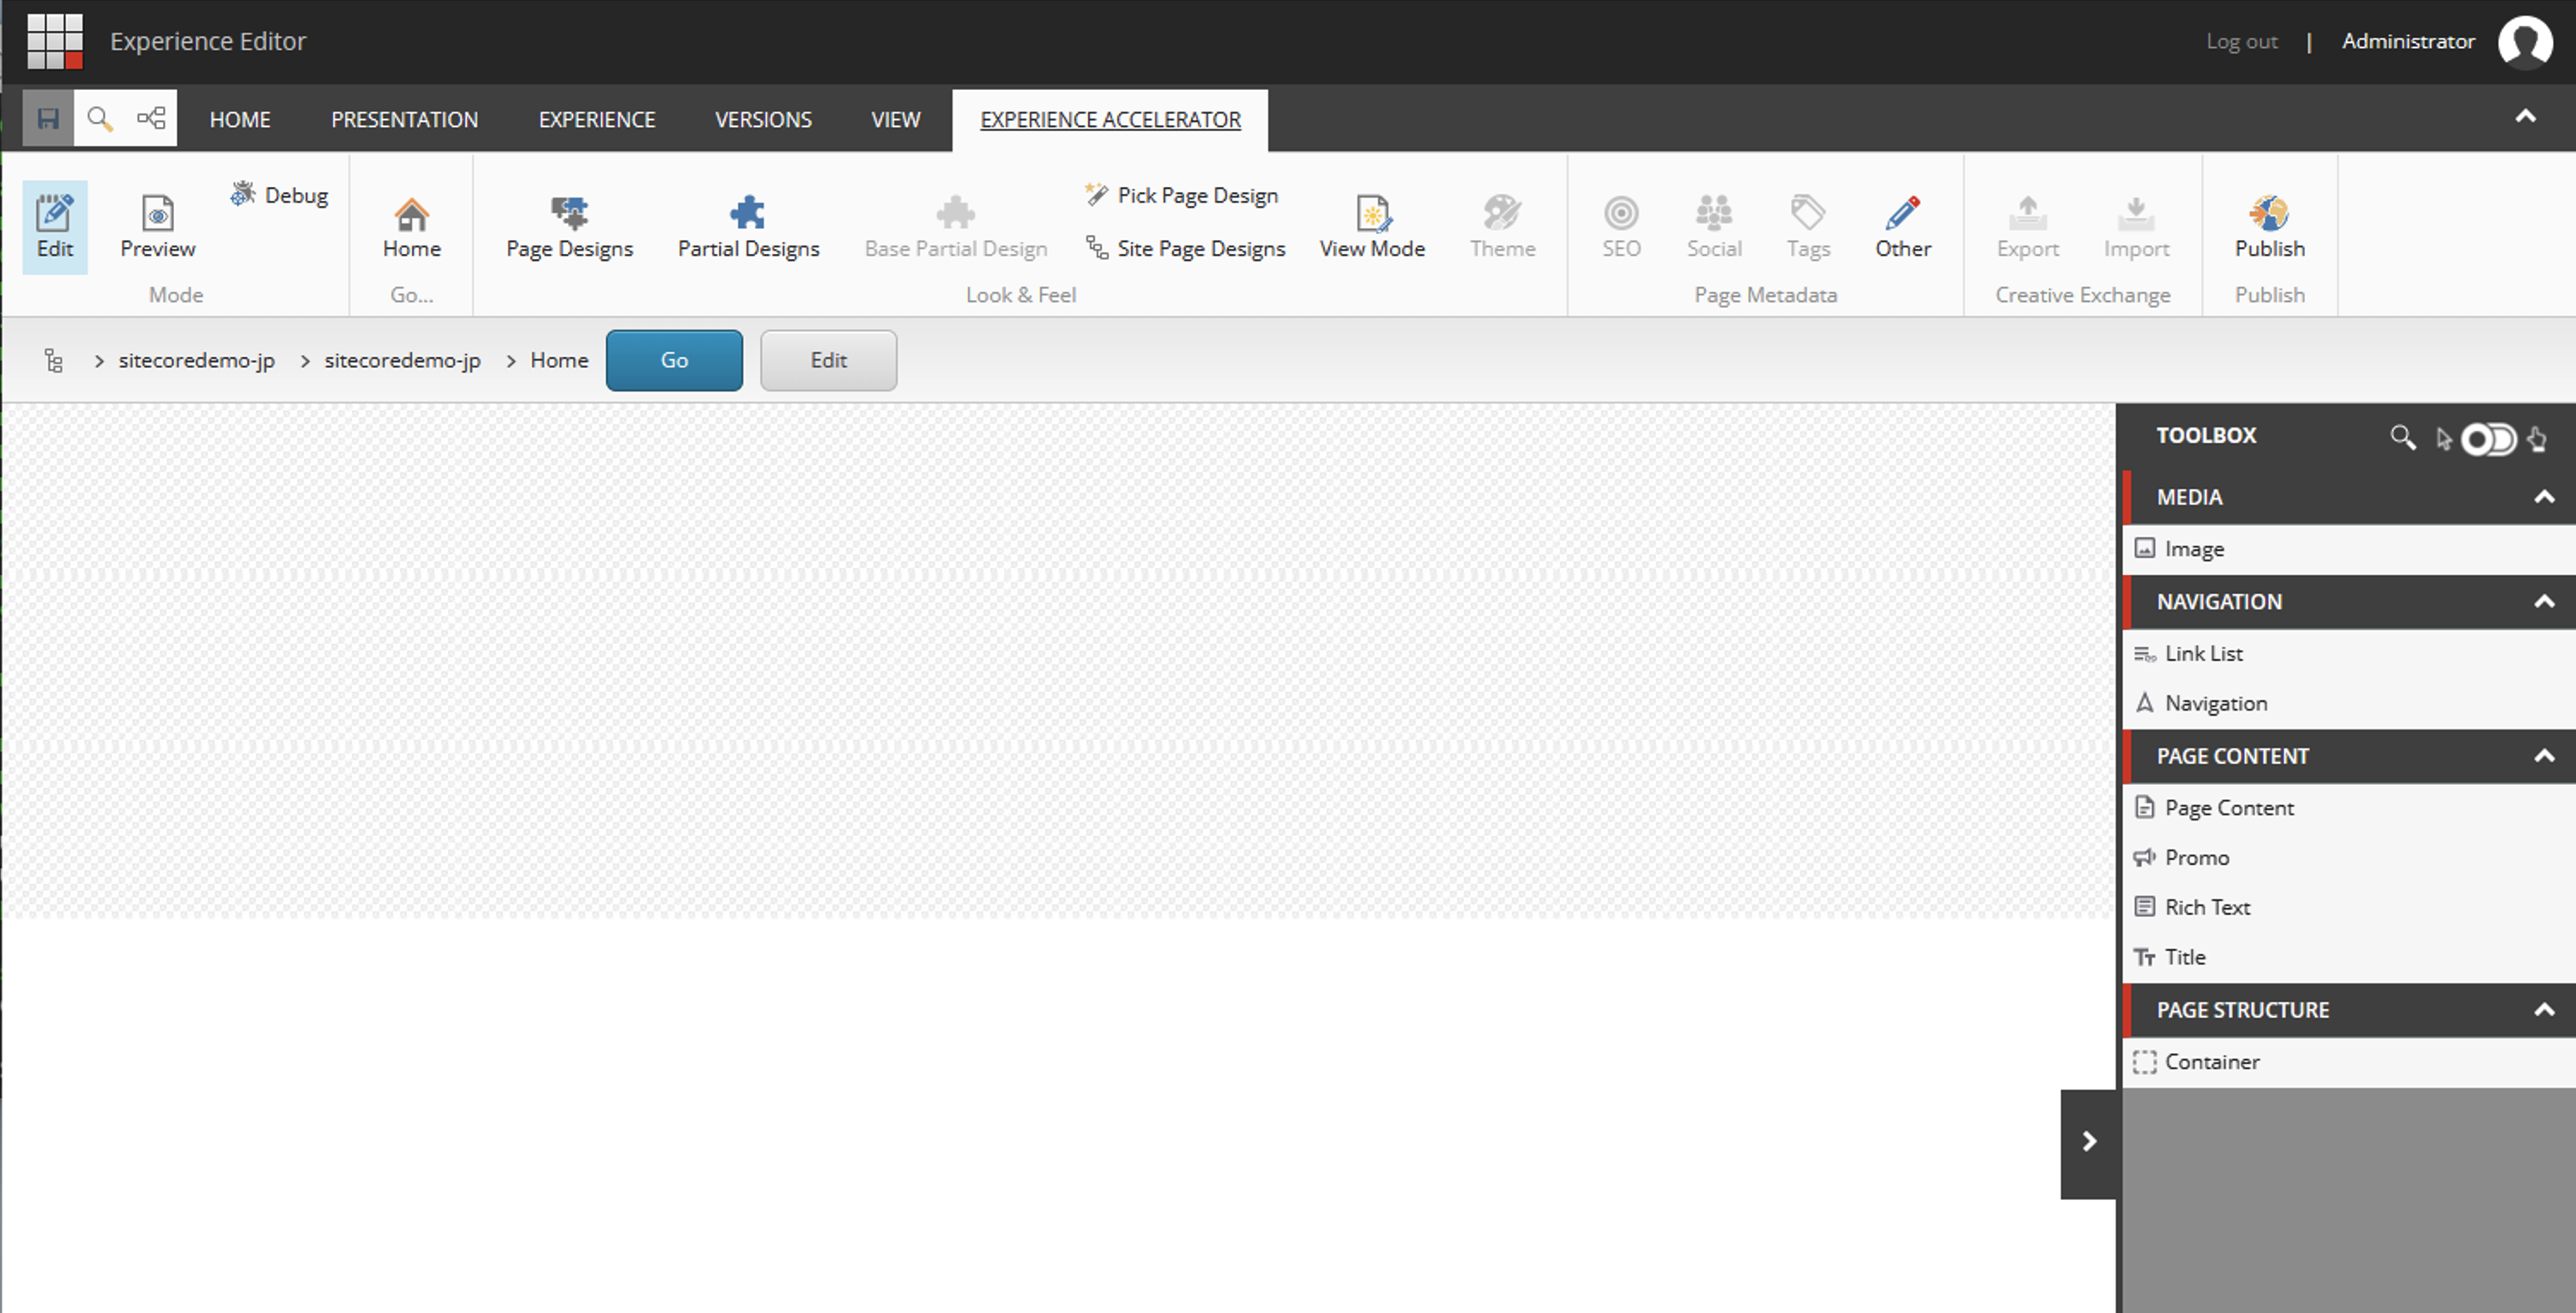
Select the Home item on your site to open the Experience Editor. The following screen appears, with the SXA components on the right side.
Headless SXA is now ready to be used as a development environment.
Summary
Sitecore 10.3 can now be easily launched and used with Sitecore Headless SXA. There are currently three types of SXA available, and the number of components available for Headless varies. See below for more details.