
The headless site we created last time is still just the site core items. In this article, we will add the Next.js project to the site and show how the pages can be edited.
Create a Next.js SXA project
This time we will add the Next.js SXA project, starting from Version 21, the template is deployed in the following repository.
If you have already started a container-based Sitecore, stop it first. After stopping, delete the folder src↪rendering that was used to run the container. At this stage, make sure that there is nothing under src.

To create a template with a version here, run the command as follows (the numbers below are the GitHub repository numbers)
PowerShell
npx create-sitecore-jss@21.0.2 --templates nextjs,nextjs-sxaFrom here on, it is normal to put in the Next.js project settings. The folder of the project from here on is `C:\Projects\Sitecoredemo.Docker`, so please execute it according to your hand at any time.
- Confirmation of the installation directory will be displayed. This time, specify C:\Projects\Sitecoredemo.Docker\src\rendering
- A confirmation of the app name will be displayed. The name of the application is assumed to be sitecoredemo-jp in this case.
- You will be asked for the name of the CMS server next, set it to cm.sitecoredemo.localhost.
- Next, you will be asked whether you want a GraphQL or REST project. In this case, we will choose GraphQL.
- Finally, you will be prompted to select SSG or SSR.
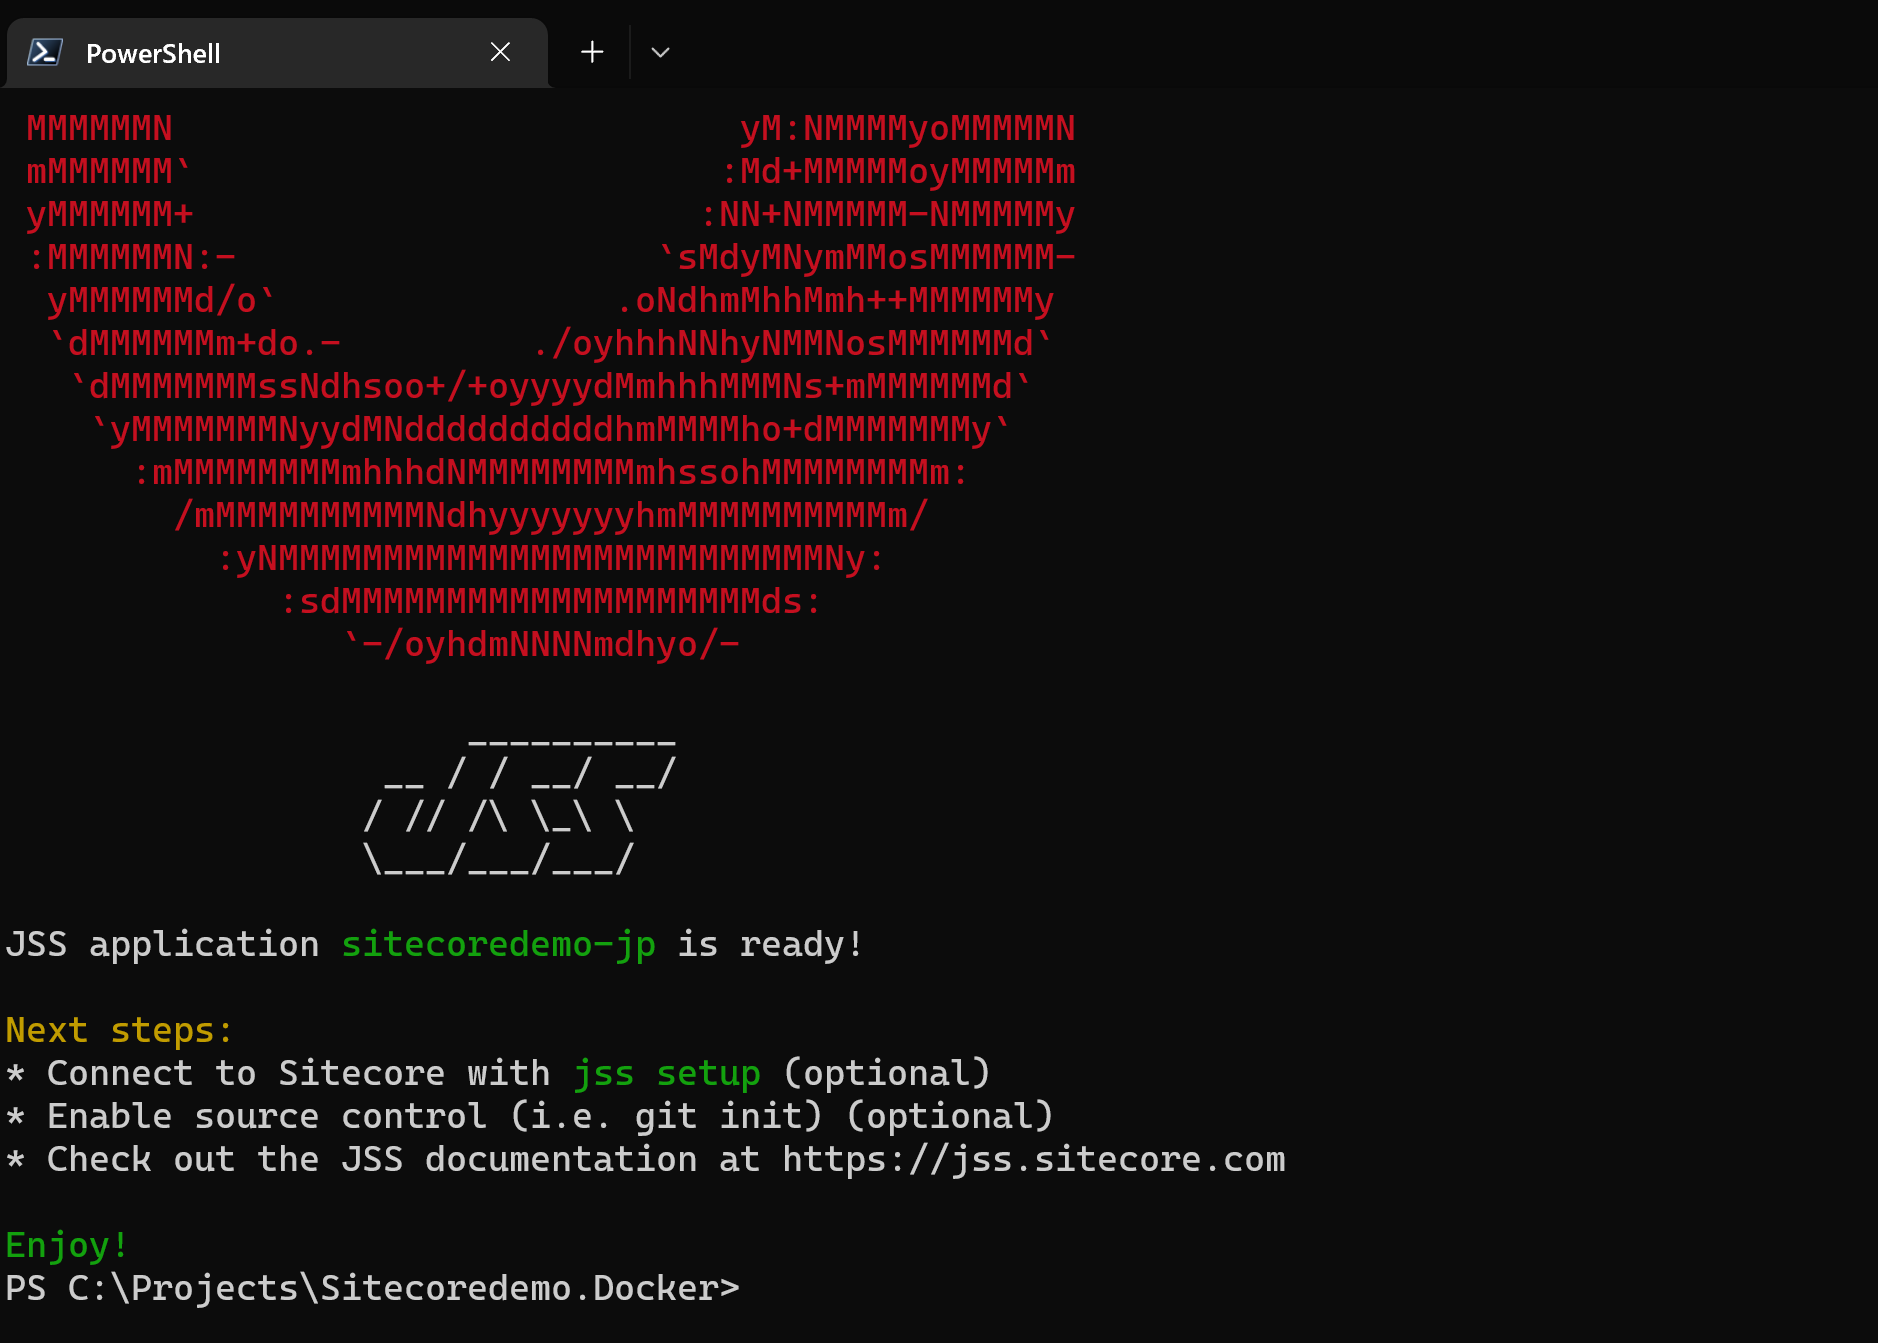
This completes the setup procedure. npm install, etc. will be executed automatically.

After a while, the project creation is completed as follows.
The project is now created.
Change Next.js settings
In order to use Next.js when deploying to a container, jss setup must be run.
PowerShell
cd src\renderingjss setupThe following data will be set
Settings | Value |
|---|---|
Path to the Sitecore folder | ..\..\docker\deploy\platform\ |
Sitecore hostname | https://cm.sitecoredemo.localhost/ |
Sitecore import service URL | https://cm.sitecoredemo.localhost/sitecore/api/jss/import |
Sitecore API Key | src\items\api-key\DockerStarter.yml の ID |
Please enter your deployment secret | .env の JSS_DockerStarter_DEPLOYMENT_SECRET |

In this case, the project is created with DockerStarter, so the parameters and file names have names. If you are creating a project with a different name, please change the above references and set the values.
We will make minor adjustments to the configuration file that is created. This is because we are deploying the created site using the SXA template.
First, change the value of JSS EDITING SECRET to the JSS_EDITING_SECRET key defined in .env. Also, since it is commented out, the value of the setting should be taken out of the comment.
XML
      <!--
        JSS EDITING SECRET
        To secure the Sitecore editor endpoint exposed by your Next.js app (see `serverSideRenderingEngineEndpointUrl` below),
        a secret token is used. This is taken from an env variable by default, but could be patched and set directly by uncommenting.
        This (server-side) value must match your client-side value, which is configured by the JSS_EDITING_SECRET env variable (see the Next.js .env file).
        We recommend an alphanumeric value of at least 16 characters.
      -->

        <setting name="JavaScriptServices.ViewEngine.Http.JssEditingSecret" value="Your Key" />
Then delete the following settings
XML
      <site patch:before="site[@name='website']"
            inherits="website"
            name="sitecoredemo-jp"
            hostName="cm.sitecoredemo.localhost"
            rootPath="/sitecore/content/sitecoredemo-jp"
            startItem="/home"
            database="master" />
Change the App name path as well. Change the hostname listed as localhost to rendering along with `sitecorePath`.
XML
        <app name="sitecoredemo-jp"
            layoutServiceConfiguration="default"
            sitecorePath="/sitecore/content/sitecoredemo-jp/sitecoredemo-jp"
            useLanguageSpecificLayout="true"
            graphQLEndpoint="/sitecore/api/graph/edge"
            inherits="defaults"
            serverSideRenderingEngine="http"
            serverSideRenderingEngineEndpointUrl="http://rendering:3000/api/editing/render"
            serverSideRenderingEngineApplicationUrl="http://rendering:3000"
/>JavaScript
export class DictionaryServiceFactory {
  create(): DictionaryService {
    return process.env.FETCH_WITH === constants.FETCH_WITH.GRAPHQL
      ? new GraphQLDictionaryService({
          endpoint: config.graphQLEndpoint,
          apiKey: config.sitecoreApiKey,
          siteName: config.jssAppName,
          rootItemId: '{B566D9E5-B3EA-4D35-8825-D578582607E1}',
          /*
            The Dictionary Service needs a root item ID in order to fetch dictionary phrases for the current
            app. If your Sitecore instance only has 1 JSS App, you can specify the root item ID here;
            otherwise, the service will attempt to figure out the root item for the current JSS App using GraphQL and app name.
            rootItemId: '{GUID}'
          */
        })
Finally, we will modify the file src\rendering\.env. Set the respective values for the following items.
- JSS_EDITING_SECRET
- SITECORE_API_KEY
- SITECORE_API_HOST
After the above changes are made, execute the following commands to reflect them in the container.
PowerShell
jss deploy configConfiguration on the site core side
After completing the above settings, start Sitecore.
PowerShell
docker-compose up -dAfter starting, you will see that the item /sitecore/system/Settings/Services/Rendering Hosts/Default is blank. Please configure as follows. This sets the same data as the value of docker\deploy\platform\App_Config\Include\zzz\sitecoredemo-jp.config that you have already configured.

最後に、API キーを公開してください。

This completes the setup.
Operation check
First, connect your local Next.js to Sitecore by navigating to the Next.js project, making sure the .env file is set up, and running
PowerShell
cd src\renderingjss
start:connected
After a few moments, a window will open and an empty page will appear as shown below.

You will notice that when you change the title of an item, the text displayed in the browser tab will change.
Then open the Experience Editor using the Home item.

Since no content has yet been placed on the Home item, a blank page is displayed. Also, the Toolbox has been deployed on the right side, and the standard components are now available.
Summary
As shown here, we were able to create an environment in which Headless SXA can be used with Sitecore XM 10.3. If you already have a Sitecore license, or if you are starting up a new project and want to use Sitecore XM for now, Headless SXA will make it easier to migrate to XM Cloud in the future. In the next article, we will organize the projects we have created so far and organize the repository contents a bit more so that they can be launched easily.