
We have introduced Sitecore on Azure Kubernetes Service in two parts as a preparation for deploying Sitecore on Azure Kubernetes Service. This time, we are ready to deploy Sitecore on Azure.
Previous articles include
The first step is to create an AKS cluster. Please refer to the following article regarding the procedure, which has been previously introduced regarding the tutorial.
This time, we will use the Azure CLI to create it on the command line.
Creating Resource Groups
The first step is to create a resource group to organize the resources. Log in at the command line and specify the subscriptions you wish to use.
PowerShell
az login
az account set --subscription "Your Subscription"
Then create a resource group. Resource groups and data centers should be listed with the values you wish to use.
PowerShell
az group create --name jpn-tokyo-shin-aksxm1 --location japaneastAccess in the Azure Portal confirms that the resource group has been created.

Creating an AKS Cluster
Then create an AKS cluster. Specify a user name.
PowerShell
az aks create --resource-group jpn-tokyo-shin-aksxm1 --name SitecoredemoCluster --node-count 2 --enable-addons monitoring --generate-ssh-keys --windows-admin-username aksdemo --vm-set-type VirtualMachineScaleSets --network-plugin azureThe above command will prompt you for a password and confirmation. The password must be at least 14 characters long, so be sure to set a slightly longer password. If the command is executed correctly, you will see the creation as Running and wait a few minutes for it to complete.

When completed, the Kubernetes service is added to the resource group.

At this timing, if you go to the resource group list, you will see that a resource group with _MC\_ has been added.

If you look inside the resource group, you will see that several resources have been added.

Creating a Windows Server Node Pool
Create the node pool you plan to deploy. If you continue to run the command, it will look like this
PowerShell
az aks nodepool add --resource-group jpn-tokyo-shin-aksxm1 --cluster-name SitecoredemoCluster --os-type Windows --name npwin --node-count 3After a few moments, the node pool will be added, and if you go to the Azure portal site, you will see the following

Obtain credentials so that the settings you have created can be used locally.
PowerShell
az aks get-credentials --resource-group jpn-tokyo-shin-aksxm1 --name SitecoredemoClusterThis allows the use of AKS clusters created by Kubectl.
Ingress Controller Deployment
We will deploy an Ingress controller that can be used as a load balancer for the Kubernetes environment. We will use the helm command.
PowerShell
helm repo add ingress-nginx https://kubernetes.github.io/ingress-nginxNext, install the NGINX ingress controller. The pre-installation configuration is as follows

To install, execute the following command
PowerShell
helm install nginx-ingress ingress-nginx/ingress-nginx --set controller.replicaCount=2 --set controller.nodeSelector."kubernetes\.io/os"=linux --set defaultBackend.nodeSelector."kubernetes\.io/os"=linux --set controller.admissionWebhooks.patch.nodeSelector."kubernetes\.io/os"=linuxAfter the installation is complete, go to the administration page and you will see that there are more items in Services and Ingres.

Finally, to set the hostname and other values, execute the following command
PowerShell
kubectl apply -k ./ingress-nginx/As a result, we can see that there are two more records in the configuration, and we can also see that sitecore-hostnames contains the hostname of the server.

Finally, apply the various parameters that you are setting.
PowerShell
kubectl apply -k ./secrets/
Launch External Service for non-production environments
In the case of a production environment, it is necessary to prepare a separate SQL Database, but since this is an exercise in deployment, we would like to deploy without preparing a separate SQL Database. First, use the External configuration file to create a Pod that will be scheduled to the selected node.
PowerShell
kubectl apply -k ./external/
Verify that the Pod is running on the selected node.
PowerShell
kubectl get pods -o wideIf the status is Running, the program is complete.

The commands to check for completion are as follows
PowerShell
kubectl wait --for=condition=Available deployments --all --timeout=900s
kubectl wait --for=condition=Ready pods --all
If you look at the administration page, you will see that the number of items has increased in Services and Ingres.

The initial data is then applied.
PowerShell
kubectl apply -k ./init/The status of a Job can be checked with the following command
PowerShell
kubectl get jobs -o wide
The following commands can be used to easily confirm completion.
PowerShell
kubectl wait --for=condition=Complete job.batch/solr-init --timeout=900s
kubectl wait --for=condition=Complete job.batch/mssql-init --timeout=900s
The description for mounting persistent storage will be as follows
PowerShell
kubectl apply -f ./volumes/azurefileWhen you go to check the storage, you will see that it has been created.

Start Sitecore
After all preparations are complete, we will deploy the Sitecore Pod. The command is as follows
PowerShell
kubectl apply -k ./
As for the deployment status, the following commands are the same as before.
PowerShell
kubectl get pods -o wide
You can also check the startup status with the following command
PowerShell
kubectl wait --for=condition=Available deployments --all --timeout=1800sWhen all are activated, the command line will appear as follows

Accessing the test environment
Sitecore is already up and running. However, we first check the server information for the connection.
PowerShell
kubectl get ingressThe following results were returned

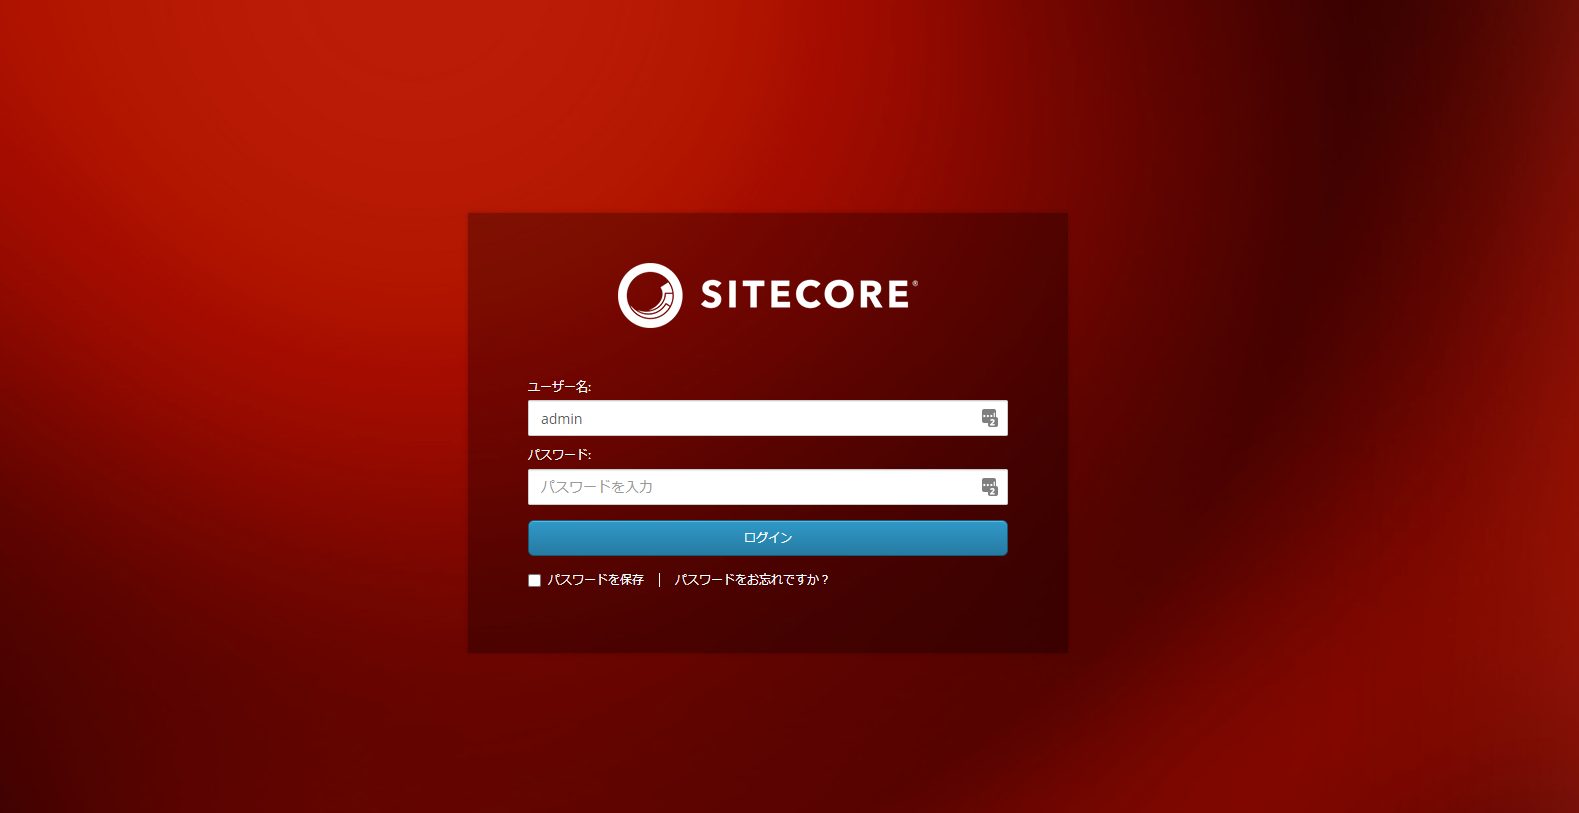
Enter the IP address and server name on localhost. After entering the IP address and server name, access https://cm.sitecoredemo.jp/sitecore with a browser. The login screen will appear as shown below.
Once logged in, the Sitecore administration screen will appear.

This completes the installation.
Summary
We have introduced the procedure for running Sitecore in a container-based environment using Docker in three parts, and we have been able to run Sitecore on the Azure Kubernetes Service. We will end this article at the point of starting up the service, and we would like to make some changes to the configuration using the environment in which the service is running.