
Regarding the setup procedure for deploying Sitecore using AKS, we will now create the data in the various configuration files. The data in the configuration files will be used as the data for the actual deployment.
Creating Kubernates Secret
In order to be able to have the various settings of Kubernates as parameters, it is necessary to put the text files, and the associated settings, in a folder called `secrets`. In the case of XM1, the files that need to be configured are as follows
| Filename | Description | Default value |
|---|---|---|
sitecore-license.txt | License file | |
sitecore-adminpassword.txt | Admin password | |
sitecore-telerikencryptionkey.txt | Telerik Web key | |
sitecore-identitycertificate.txt | Identity Server Certificate | |
sitecore-identitycertificatepassword.txt | Identity Server Certificate Password | |
sitecore-identitysecret.txt | secret key | |
sitecore-solr-connection-string.txt | Solr connection string | http://solr:8983/solr;solrCloud=true |
sitecore-solr-core-prefix-name.txt | Common Prefix | sitecore |
sitecore-databaseusername.txt | SQL Admin name | sa |
sitecore-databaseservername.txt | Database name | mssql |
sitecore-databasepassword.txt | Database password | |
sitecore-database-elastic-pool-name.txt | Database Elastic Pool name | |
sitecore-core-database-username.txt | Core database user name | coreuser |
sitecore-core-database-password.txt | Core database password | |
sitecore-master-database-username.txt | Master database user name | masteruser |
sitecore-master-database-password.txt | Master database password | |
sitecore-web-database-username.txt | Web database user name | webuser |
sitecore-web-database-password.txt | Web database password | |
sitecore-forms-database-username.txt | Form database user name | formsuser |
sitecore-forms-database-password.txt | Form database password | |
sitecore-media-request-protection-shared-secret.txt | Secret for Media Request | CoreHQ(NjM(u6_5koVlacTf4ta8x1h6Sb+ZcUQrULUz-0Afpx0cx- NuMtIoQkpDFmX5 |
Of these, the following files can be configured in the form of passwords and keys.
- sitecore-adminpassword.txt
- sitecore-telerikencryptionkey.txt (64-128 characters)
- sitecore-databasepassword.txt
- sitecore-database-elastic-pool-name.txt
- sitecore-core-database-password.txt
- sitecore-master-database-password.txt
- sitecore-web-database-password.txt
- sitecore-forms-database-password.txt
- sitecore-media-request-protection-shared-secret.txt (There is a default value, but changing it is recommended)
For the remaining files, here are the steps to follow.
sitecore-license.txt
We need to set the information about the Sitecore license to text. Since it is easy to create it here using the SitecoreDockerTools module, first create an .env file in the folder C:\Projects\aksxm1\secrets The file should contain only one line.
Plain Text
SITECORE_LICENSE=Then navigate to the above Path and execute the following commands (check the path for the license file). The following commands are executed in a terminal with administrator privileges.
PowerShell
cd C:\Projects\aksxm1\secrets
Install-Module SitecoreDockerTools
Set-DockerComposeEnvFileVariable "SITECORE_LICENSE" -Value (ConvertTo-CompressedBase64String -Path "C:\Projects\license\license.xml")
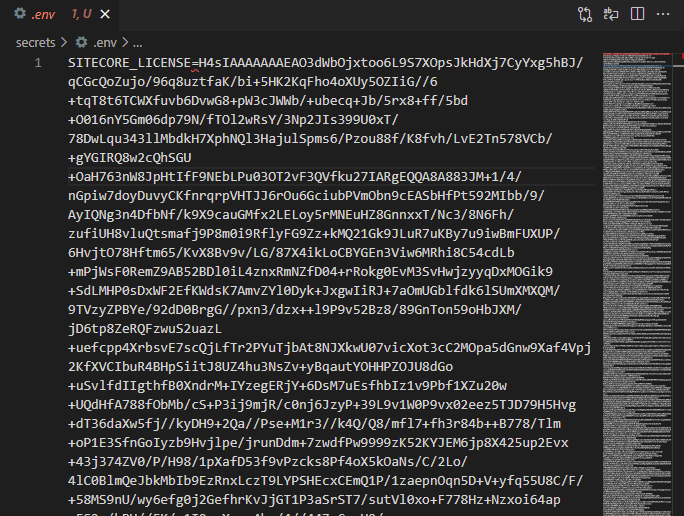
When executed, the data is created behind the .env file as shown below. Delete the first SITECORE_LICENSE= and copy the text data to the file sitecore-license.txt to complete the work.
Identity Server files
We will use SitecoreDockerTools to generate keys in the same way as the above procedure. First, rewrite the .env file as follows. The license part has already been worked on, so you can delete it.
Plain Text
SITECORE_IDSECRET=
SITECORE_ID_CERTIFICATE=
SITECORE_ID_CERTIFICATE_PASSWORD=
To generate the following key, execute the following code
PowerShell
Import-Module SitecoreDockerTools
Set-DockerComposeEnvFileVariable "SITECORE_IDSECRET" -Value (Get-SitecoreRandomString 64 -DisallowSpecial)
$idCertPassword = Get-SitecoreRandomString 12 -DisallowSpecial
Set-DockerComposeEnvFileVariable "SITECORE_ID_CERTIFICATE" -Value (Get-SitecoreCertificateAsBase64String -DnsName "localhost" -Password (ConvertTo-SecureString -String $idCertPassword -Force -AsPlainText))
Set-DockerComposeEnvFileVariable "SITECORE_ID_CERTIFICATE_PASSWORD" -Value $idCertPassword
Each value is generated in an .env file. Copy the generated values to the following file
Filename | Column |
|---|---|
sitecore-identitysecret.txt | SITECORE_IDSECRET |
sitecore-identitycertificate.txt | SITECORE_ID_CERTIFICATE |
sitecore-identitycertificatepassword.txt | SITECORE_ID_CERTIFICATE_PASSWORD |
The work is completed by copying the entire line and deleting the item name and =. The .env file can be deleted when the work is complete.
Host Name Change
In order to deploy, the hostname of each instance of Sitecore must be set. Each of these files is shown below.
- configmaps\cd-hostname
- configmaps\cm-hostname
- configmaps\id-hostname
Note that this section is omitted since the procedure for certificates was described in the previous blog post.
Summary
You are now ready to deploy Sitecore on AKS. In the next article, we will perform the deployment of AKS as a non-production environment.