
We have been providing information on headless on our blog for some time now. While we will continue to provide links to the procedures, this time we will focus on how to quickly set up a test environment.
Sitecore Headless - Next.js Evaluation Environment
Experience Manager (XM)Next.jsPublished: 2022-02-18
Prerequisite.
In this case, the following settings are made as prerequisites.
- Must have a GitHub account
- It is useful to have a Vercel account and to create it with a GitHub account
- Ability to set up an XM server on the Internet
Preparing Sitecore XM
For this environment, we will prepare Sitecore XM and set it up as a server. If you just want to run Sitecore XM on your own, you can simply deploy it on a virtual machine. You only need to start up the machine when you work on it.
Build a sample site using Next.js SDK
This procedure is a long one, so I will introduce the steps to take shortcuts, but what is it that we are doing? I will make the introduction to clarify the following.
First, create an empty Next.js site; you can skip the Japanese content part of Part 1.
In the next step, since XM is already prepared (the first step in this article), the first half is not necessary and only the second half of the procedure is to proceed.
The next step is to connect Sitecore to the demo environment.
Finally, the environment connected to Sitecore locally is maintained.
By following the above steps, you can now run the demo at hand. Finally, connect to Vercel.
By following the above steps carefully, Sitecore XM and Vercel environments can be connected, and Experience Editor can be used as an editing environment.
This procedure is honestly long, so we will present a shorter procedure.
Prepare the environment in the shortest possible time
Prerequisite.
We assume that you already have a Sitecore XM environment ready and an API Key. We also assume that you have access to the management server via the Internet.
Repository Preparation
Download the code from the following repository on GitHub and create your own repository.
- https://github.com/SitecoreJapan/sitecoredemo-jp/tree/step-1 ( Note: Already deleted)
Make sure the branch is set to Step 1.

Create a repository on your own GitHub using the downloaded file.
Local execution
Let's try to run it in a situation where it is deployed in the local environment. First, execute the following command
PowerShell
npm installNow that you are ready to go, do it.
PowerShell
jss startIf you access http://localhost:3000 in this state and the screen appears, local execution is complete.

Verify access with Sitecore XM API key
We will access the Sitecore XM environment to verify that the keys are working properly. This will take the form of creating a new key under /sitecore/system/Settings/Services/API Keys. The values for each are as follows
Column | Value |
|---|---|
COROS Origins | * |
Controller | * |
Impersonated User | extranet\Anonymous |
The place to get stuck is extranet\Anonymous, but be careful, as this is separated by a backslash. By the way, you can leave the field blank for a fake user.
Using the item ID of the created API key, access the following URL and check if JSON data is returned.
Plain Text
https://yourhostname/sitecore/api/layout/render/jss?item=/&sc_apikey={YOUR_API_KEY_ID} 
If the results are displayed, proceed to the next step. If you do not see the results, please check to see if you have published the key.
Work with Sitecore XM
The next step to connect to Sitecore XM is to create a setup file.
PowerShell
jss setupFor this sample, we proceeded as follows. For the first answer, choose n since the server is prepared on the Internet.
PowerShell
Is your Sitecore instance on this machine or accessible via network share? [y/n]: nThen specify the name of the server.
PowerShell
Sitecore hostname (e.g. http://myapp.local.siteco.re; see /sitecore/config; ensure added to hosts): https://test.cmsdemo.jpIf the URL for the import service is the same as the name of the server, simply press Enter to proceed.
PowerShell
Sitecore import service URL [https://test.cmsdemo.jp/sitecore/api/jss/import]: Set the API Key for the already activated XM environment.
PowerShell
Sitecore API Key (ID of API key item): {110D559F-DEA5-42EA-9C1C-8A5DF7E70EF9}Finally, the Deployment secret is specified. If there is no specific code, it is automatically generated by typing Enter.
PowerShell
Please enter your deployment secret (32+ random chars; or press enter to generate one): The screen shot of the execution result is as follows for reference.

Two files have been generated by carrying out the above steps.
- scjssconfig.json
- sitecore/config/sitecoredemo-jp.deploysecret.config
Copy the two config files in sitecore/config/ to the App_Config\Include\zzz directory in the XM installation directory.
Edit XM permissions
Before importing data into the XM environment, the user must be enabled for import. Access the User Manager, select the JssImport account, and activate it to make the account available.

Then open the Roles Manager, select sitecore\JSS Import Service Users, and open the Security Editor. Once opened, you will be able to set permissions regarding this role, but since we will be deploying the item directly under /content, proceed as follows
- Sitecore/Content Select content item
- Click on Remove Item Protection
- Grant permissions to add and remove items with the currently selected role

Import is now possible for XM.
Deploy your content on XM
As noted above, but again, please confirm the following two points
- Is the config file expanded to App_Config\Include\zzz
- Can it be accessed with an API key
If this is clear, the first step is to deploy the content and templates to Sitecore. To deploy, simply execute the following command, and Sitecore will generate the items.
PowerShell
jss deploy items -c -d
Once the deployment is complete, the item can be viewed in the content editor as shown below.

Adjusting the Config file Part 1
In order to connect to Vercel in the next step, we will use the config file and change the following items. The target file is App_Config\Include\zzz\sitecoredemo-jp.config.
The first step is to change the JSS_EDITING_SECRET item. This field is commented out by default, so it is necessary to repair the comment and set the key. An example configuration is shown below (the key should be a random one with at least 16 characters).
XML
<setting name="JavaScriptServices.ViewEngine.Http.JssEditingSecret" value="PEygKc5QcGWbTYPsta2A692w7" />The hostName should be the name of the domain where the site will be published as a production environment, not the name of the CM server.
XML
<sites>
    <!--
    JSS Site Registration
    This configures the site with Sitecore - i.e. host headers, item paths.
    If your JSS app lives within an existing Sitecore site, this may not be necessary.

    IMPORTANT: JSS sites ship in 'live mode', which makes development and testing easy,
    but disables workflow and publishing. Before going to production, change the `database`
    below to `web` instead of `master`.
    -->
    <site patch:before="site[@name='website']"
        inherits="website"
        name="sitecoredemo-jp"
        hostName="cmsdemo.jp"
        rootPath="/sitecore/content/sitecoredemo-jp"
        startItem="/home"
        database="master" />
</sites>
At this stage, the first step to deploy to Vercel has been completed.
Deployment to Vercel
Let's assume that a sample repository has already been created and that the Vercel account and GitHub account are linked. Now, let's proceed with the actual deployment procedure.
- Create a new project from Vercel's administration screen with New Project
- Select the target repository and click the Import button

- We will add an Environment Variable item. In the following table, we will set the second through fourth values this time.
Column | Value |
|---|---|
PUBLIC_URL | Public URL (skip this time) |
SITECORE_API_KEY | Set the API key |
SITECORE_API_HOST | Specify the hostname of Sitecore (https://test.cmsdemo.jp) |
JSS_EDITING_SECRET | Combination of 16 or more letters and numbers set by JSS_EDITING_SECRET |
GRAPH_QL_ENDPOINT | This setting is required to use Experience Edge. In this case, it is omitted because it works with XM's defaults. |

- Press Deploy button to start deployment

- Deployment will be completed after a few moments
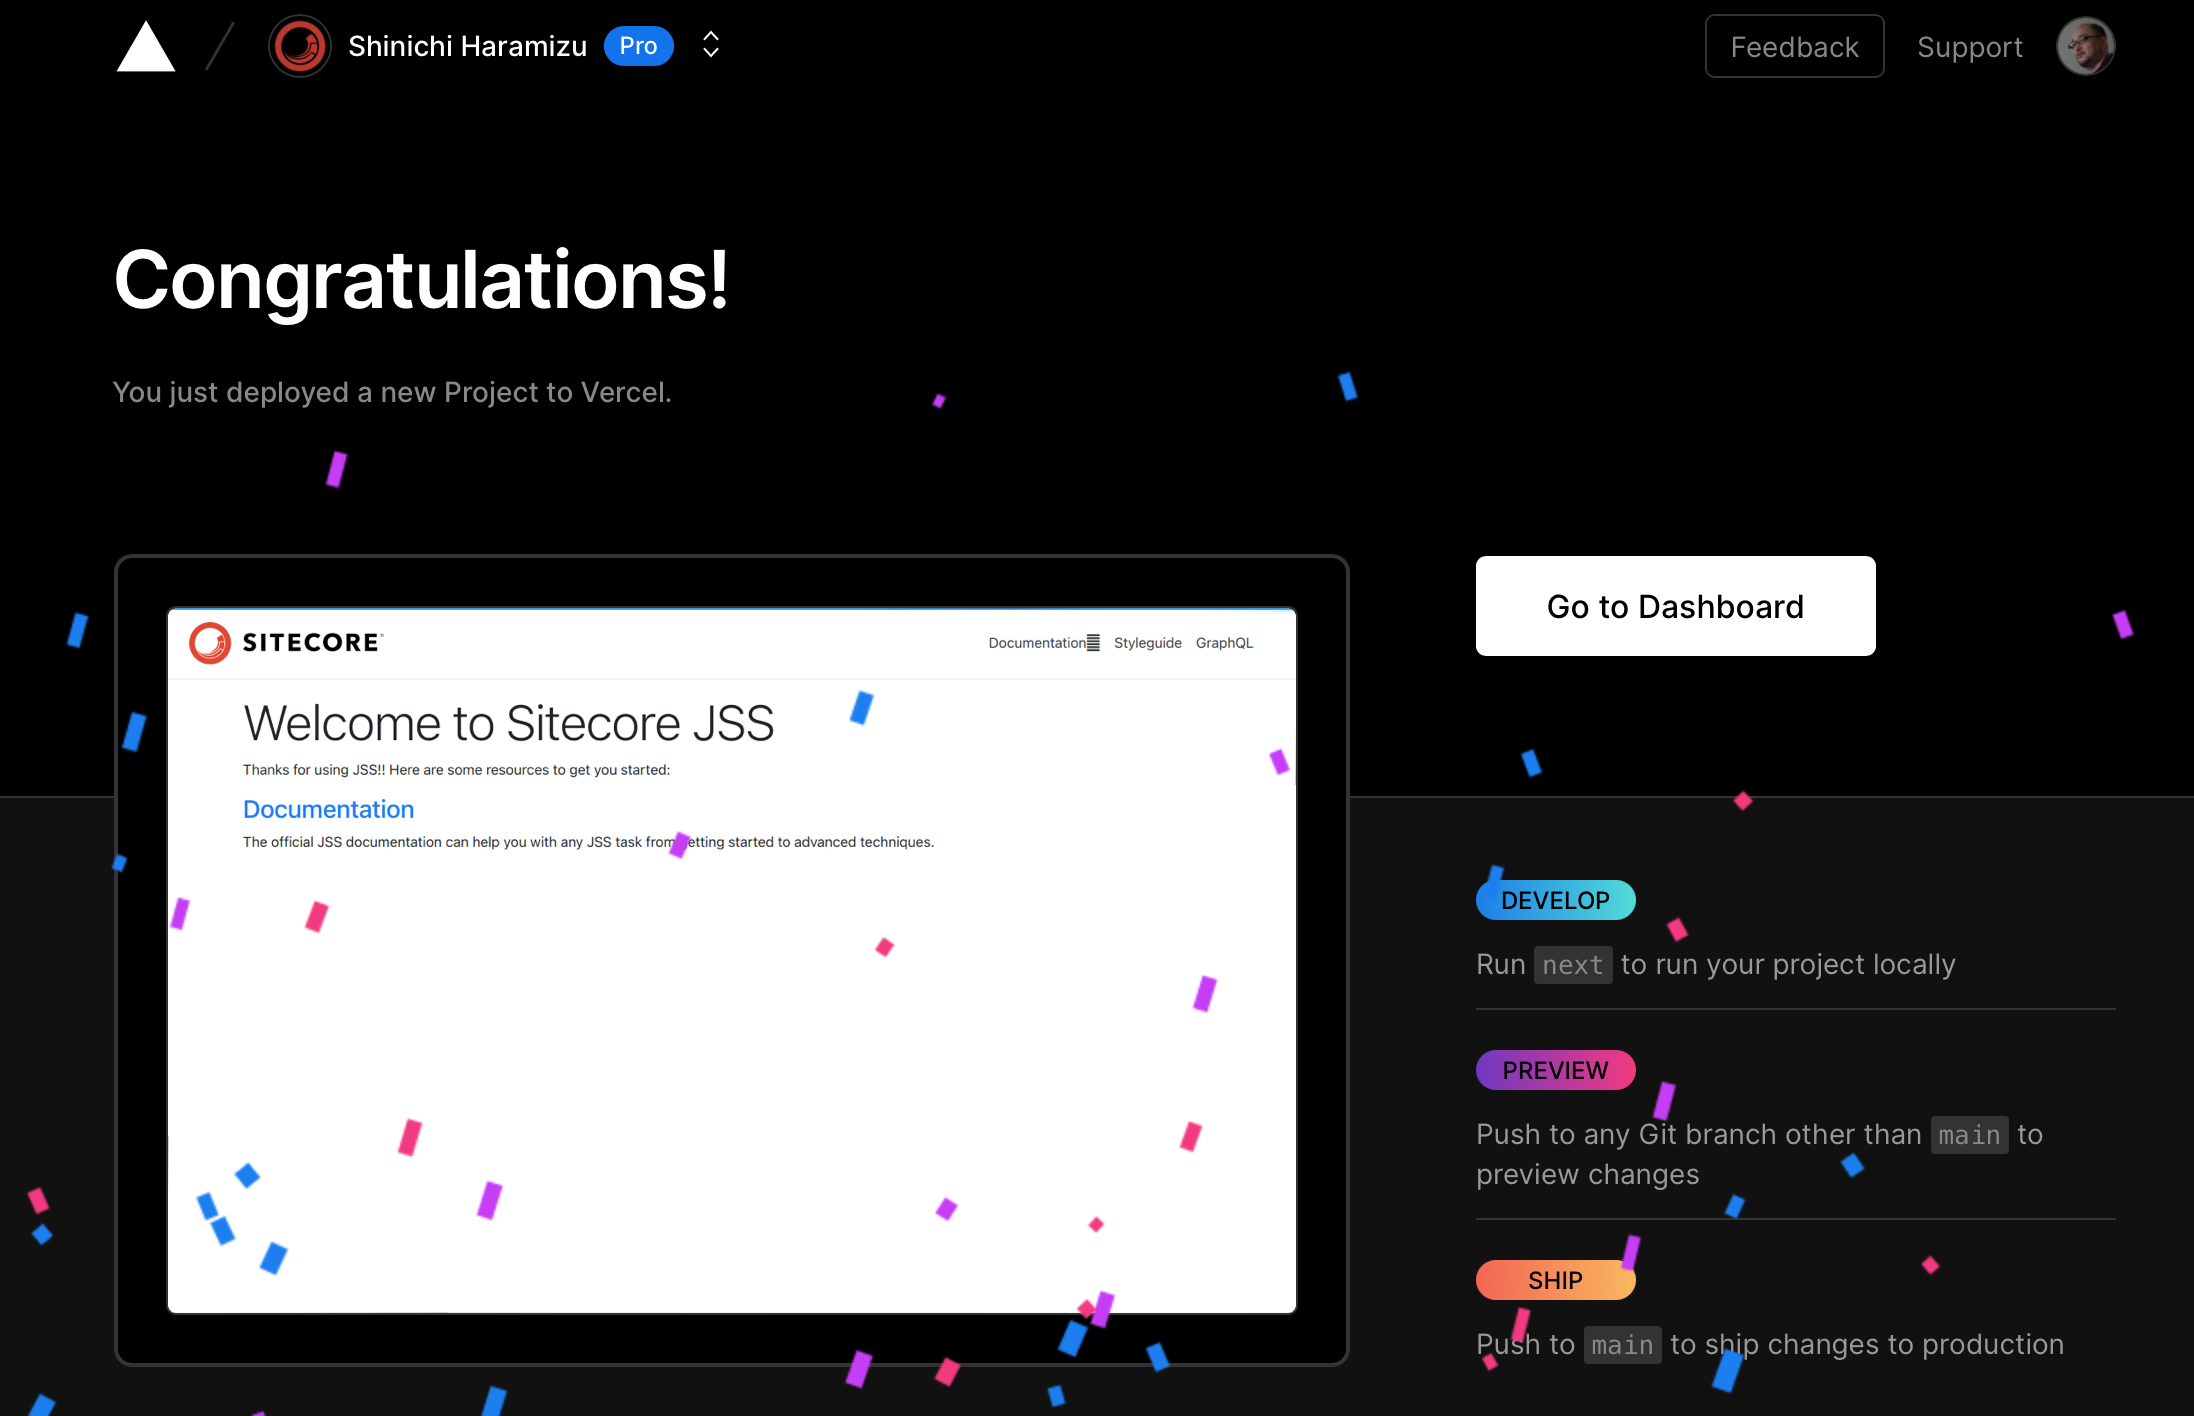
Confirmation of operation after deployment
The first step is to access the site deployed in Vercel. You will see that the locally implemented content has been deployed as follows.

The name of the instance deployed this time is set on the Sitecore XM side. The target file is App_Config\Include\zzz\sitecoredemo-jp.config. Change the value of app. Set the hostname extracted by Vercel to serverSideRenderingEngineEndpointUrl and serverSideRenderingEngineApplicationUrl. The following is a sample, so you will need to set the hostname that you have deployed on your end.
XML
<app name="sitecoredemo-jp"
    layoutServiceConfiguration="default"
    sitecorePath="/sitecore/content/sitecoredemo-jp"
    useLanguageSpecificLayout="true"
    graphQLEndpoint="/sitecore/api/graph/edge"
    inherits="defaults"
    serverSideRenderingEngine="http"
    serverSideRenderingEngineEndpointUrl="https://sitecoredemo-jp.vercel.app/api/editing/render"
    serverSideRenderingEngineApplicationUrl="https://sitecoredemo-jp.vercel.app"
/>
This completes the configuration of the XM server.
Select the item /sitecore/content/sitecoredemo-jp/home in the content editor to see if it works, and open the Experience Editor.

You will see that you can edit the page. Then go to the Sitecore admin page, change the text and save, go to the page hosted by Vercel, reload it (the first time you may get a cache, load a few times if necessary) and you will see that the page has been updated.

Summary
This time we prepared an environment of XM + Vercel + Sitecore XM. In the next article, we would like to prepare an environment in the form of a test and open environment, with a slight change in configuration for further verification.