
We've previously introduced how to use Next.js samples several times. While detailed information can be found in past articles, this time, we'll explore how combining Next.js with the handy features of Vercel impacts site development and configuration.
Building a site with Sitecore Headless and Next.js - Building a Vercel environment
VercelPublished: 2021-09-09
Prerequisite.
For this project, the following environment was prepared.
- Server environment
- Sitecore Experience Platform 10.1 Update 1
- Sitecore Headless Rendering 18.0.0
- Client Environment
- macOS Big Sur (Of course, Windows 10 is also fine.)
- Visual Studio Code
- Node.js 14.17.0
- npm 7.19.0
- GitHub Desktop
Note that the above site is accessible to a Microsoft Azure virtual machine using a wildcard certificate so that it can be accessed as a public server. This is a requirement when working with Vercel (in order to run the servers in conjunction with each other).
Please refer to the previous articles for detailed procedures, as we will use the shortest possible procedure in this article.
- Sitecore JSS - Building a sample site using Next.js SDK - Part.1
- Sitecore JSS - Building a sample site using Next.js SDK - Part.2
- Sitecore JSS - Building a sample site using Next.js SDK - Part.3
- Sitecore JSS - Building a sample site using Next.js SDK - Part.4
Launch the sample application at hand.
For this sample application, we will create nextjsdemo as a nextjs-based application as follows.
PowerShell
jss create nextjsdemo nextjs

After the creation, execute the following commands to display the screen to confirm the operation.
PowerShell
cd nextjsdemo
jss start
After a few moments, a message appears saying that you can access the site at http://localhost:3000. When you access the site, you can confirm that it works in your local environment.

Configure Sitecore integration
We will stop the above process once and run the jss setup command to set each value. Since we have a server in a different environment this time, we will set the first question, and thereafter the server name, security key, and deployment key (or auto-generated if none are available).

The definitions are created in the file scjssconfig.json. Please modify this file when making changes.
JSON
{
  "sitecore": {
    "instancePath": "",
    "apiKey": "{1ED35304-B022-509B-AC5E-5C85047454A6}",
    "deploySecret": "mewuff45f8lst6a05b322o27v9tgviq76nnueg631icd",
    "deployUrl": "https://manage.cmsdemo.jp/sitecore/api/jss/import",
    "layoutServiceHost": "https://manage.cmsdemo.jp"
  }
}
The following two files are also generated in the sitecore/config folder.
- nextjsdemo.config
- nextjsdemo.deploysecret.config
Copy this file to the folder /App_Config/Include/zzz of the running Sitecore.

This completes the configuration for deployment. In order to deploy the sample as it is this time, use the following command to deploy the item to Sitecore.
PowerShell
jss deploy items -c -d

When completed, the necessary items will be deployed on the Sitecore side.

Connect to Sitecore and check operation
We will use the items in Sitecore to verify that the application works properly.
PowerShell
jss start:production
After a few moments, the build will run and generate HTML files in .next/server/pages, which can be viewed locally.

Stop once and update the item. In this case, I added home/page components/ContentBlock-1 with Demo as the title as shown below.

If you run jss start:production again and access localhost:3000, you will see that the page has been updated as follows.

Deploy to Vercel
Deploy to Github
In this case, we choose Vercel as our delivery environment, largely because of its compatibility with Next.js. In fact, Vercel is a platform that incorporates a global CDN, making it a strong platform in terms of static content placement. It is also free for personal use, which is nice to know.
To deploy to Vercel, we first want to deploy the code at hand to Github. In this case, we will use GitHub Desktop.
- ファイル - ローカルリポジトリの追加 を選択
- Specify the target path

- Click the Create a Repository section to switch to the following screen. Set the necessary items and click Create Repository.

- The screen changes as follows.

- Click on the Publish repository button and leave the Keep this code private checkbox checked.

- A private repository has been created on Github.

Integrate Vercel with Github repositories
The next step is to link the Github repository to the Vercel environment. The procedure is described in the following page.
The following is a step-by-step procedure based on screen shots.
- Click New Project. If you have already linked your GitHub account, a list of repositories will be displayed.

- Select the target repository
- Skip in Create a Team
- We will review the Configure Project settings

- Here we will add Environment Variables.
- PUBLIC_URL This is omitted this time as it will be set after deployment.
- SITECORE_API_KEY Set the API key
- SITECORE_API_HOST Specify host name
- JSS_EDITING_SECRET Combination of 16 or more letters and numbers (new)
- GRAPH_QL_ENDPOINT Configuration is required to use Experience Edge. We will not configure it this time (expect XM's default behavior).

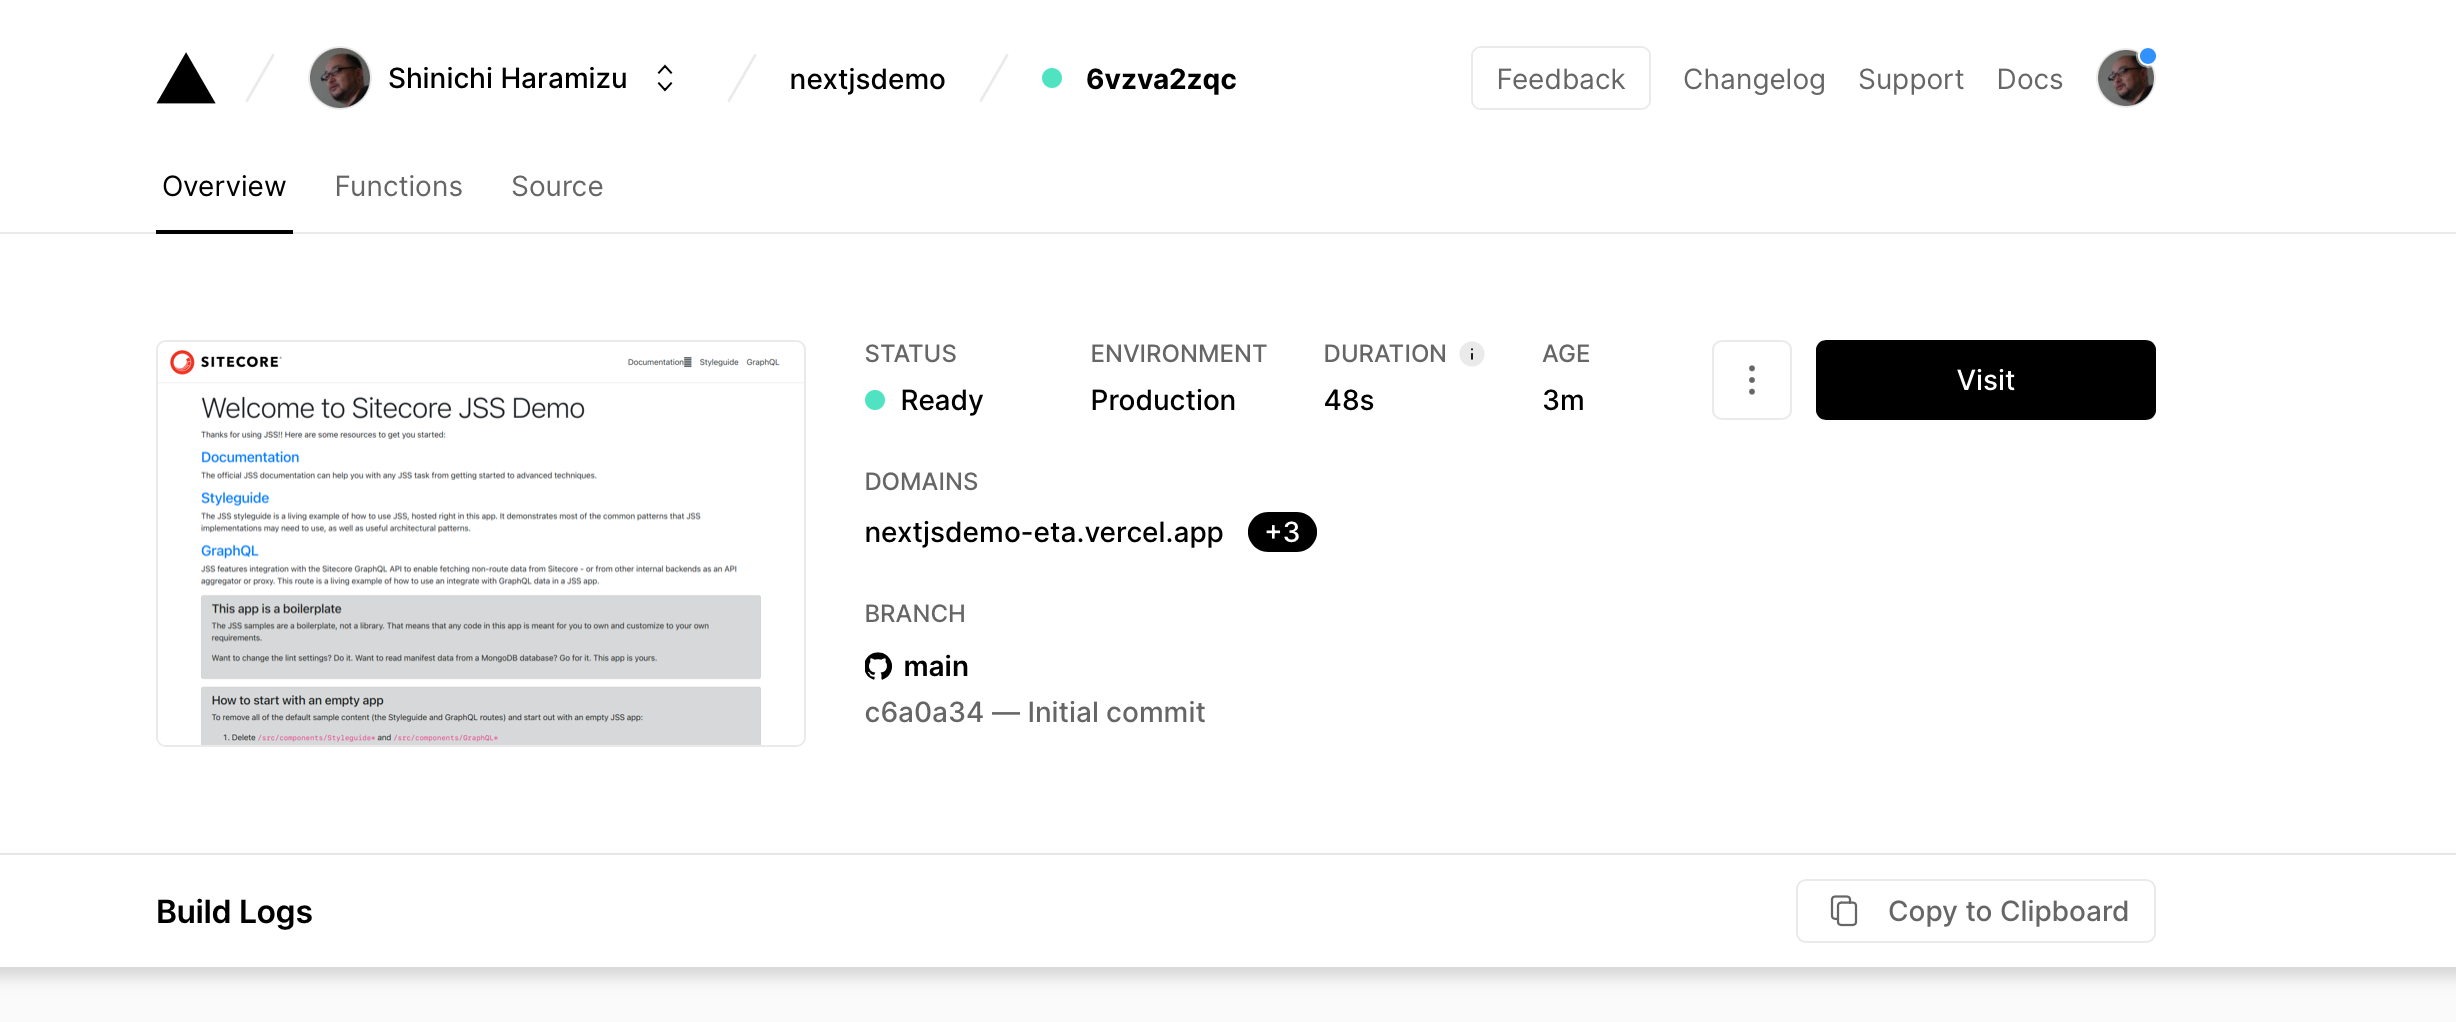
- Clicking the Deploy button starts the Vercel deployment and ends the following.

You will notice that the thumbnail page has no CSS or images applied. To correct this, proceed as follows
- Check the domain of the site you have deployed.

- Open Settings - Environment Variables
- Specify PUBLIC_URL and execute Add

- Switch to the Deployments menu, check the items you deployed last time and select Redeploy.

After a short time, the process was completed and deployment was completed with the required data loaded as shown below.
Changes to the Sitecore administration screen
We will change the configuration of the server on which Sitecore is deployed so that it also integrates with the Vercel environment. Edit the config file (in this case, nextjsdemo.config) in the /App_Config/Include/zzz folder that you deployed in the initial step.
Two items in the JSS App Registration section, serverSideRenderingEngineEndpointUrl and serverSideRenderingEngineApplicationUrl, are http://localhost The default setting is :3000. Change this to the URL of the Vercel server.

Also, enable the JSS EDITING SECRET item that is commented out and set the value.
XML
<setting name="JavaScriptServices.ViewEngine.Http.JssEditingSecret" value="" />
After completing the above settings, open the Experience Editor by selecting the Home item in Sitecore's Content Editor.

The Sitecore server does not require Node.js or anything else to be installed, and the Experience Editor now runs in the Vercel environment.
Shutdown of Sitecore
We have now proceeded to the situation where the deployment has been completed, and we would like to shut down the Sitecore virtual machine for the last time.
As a result, the site running in Vercel continues to work; we have confirmed that the content is running as a static site when Next.js is deployed.
Summary
In this case, we used Next.js to generate a static site, work with editing only in Sitecore, and use Vercel as the deployment. Since the site is static, the site will continue to work even if Sitecore shuts down (although editing is not possible).