
In the previous article, we introduced the settings for using the Experience Editor. In this article, we will introduce the settings for referencing Sitecore data during development.
Prerequisite
In setting up this time, we assume that the environment has been set up to the previous topic.
- Sitecore instance is running
- Can launch Next.js apps
Change the operating environment
Information about the Sitecore instance to be connected is contained in scjssconfig.json. While looking at the parameters here, change the following two parts of the .env file.
JSON
SITECORE_API_KEY= apiKey
SITECORE_API_HOST= URL of the Sitecore server to connect to (from http)
Launch the application
Check that the above settings are correct (if you have already gone this far, you are fine, but if you are just verifying this, you may have forgotten to publish your API key, etc.), and then start the system.
PowerShell
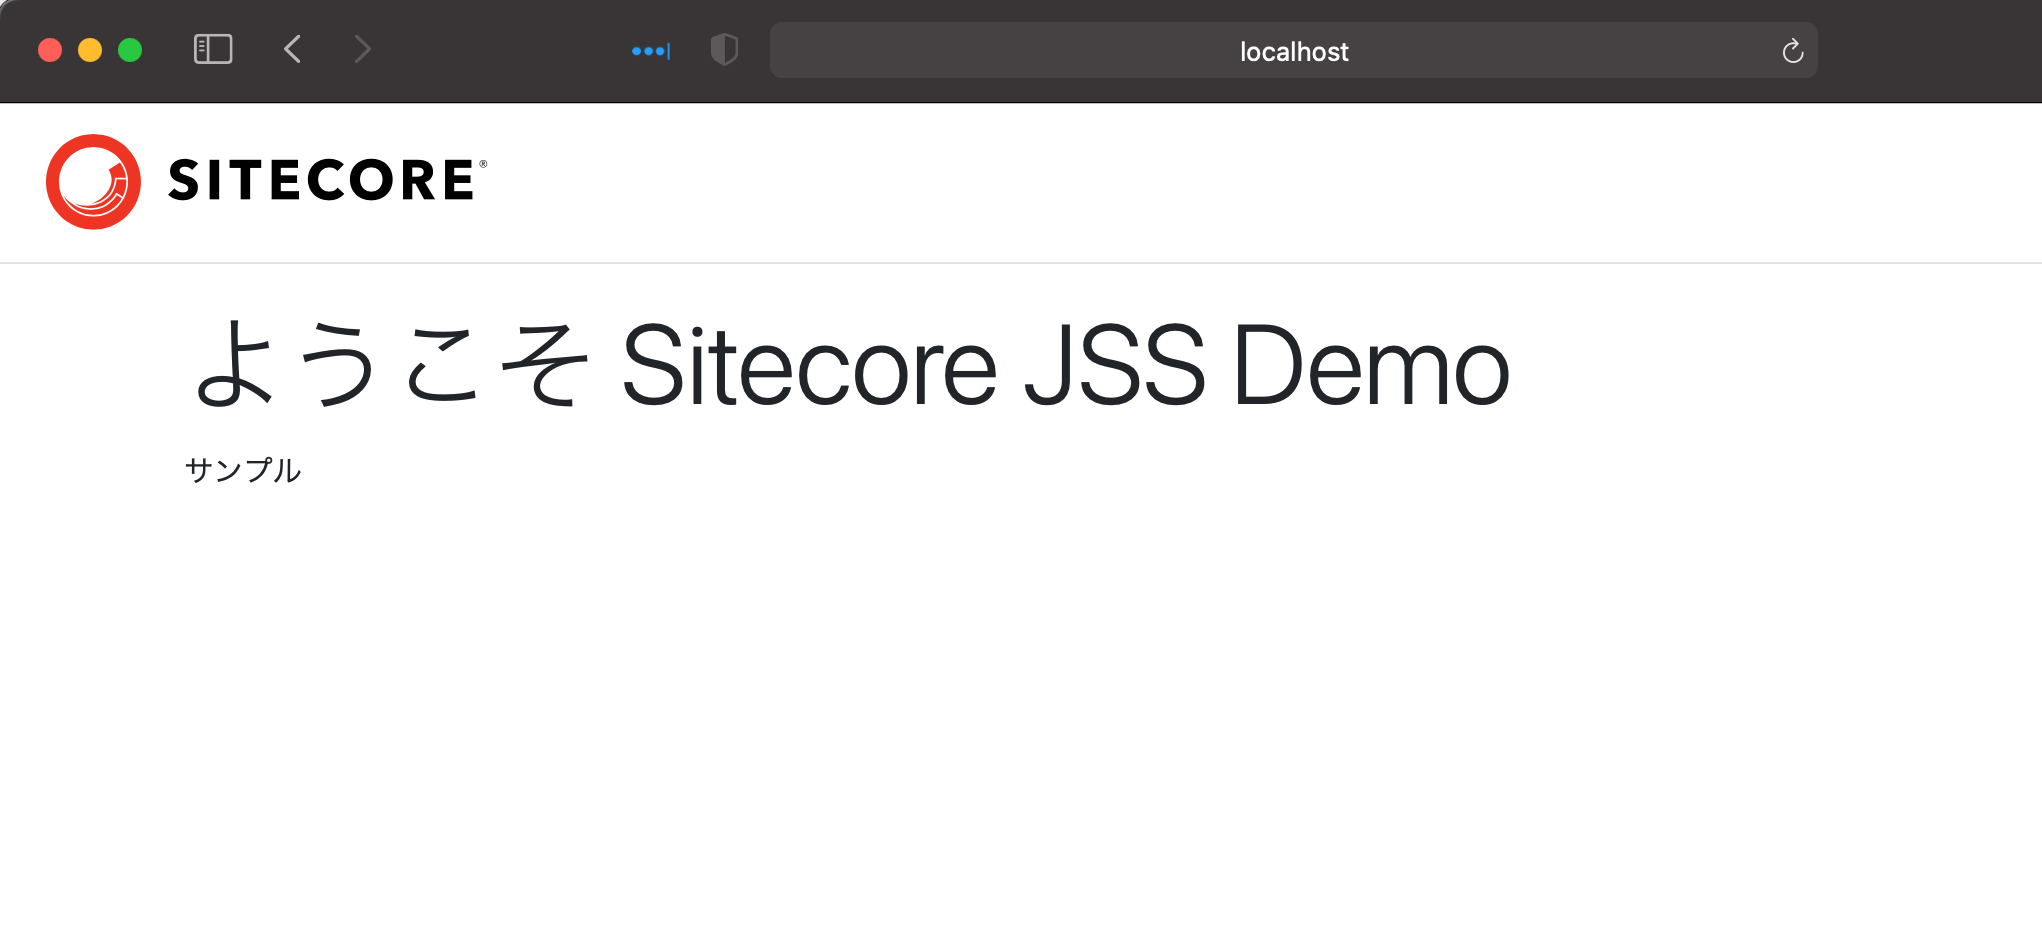
jss startAfter a few moments, you will see the content managed by Sitecore instead of local content.
You can see that the URL in the browser is set to localhost, and that the text you edited in the previous experience editor is displayed.
Summary
As mentioned above, we introduced the following flow of Next.js app development: create locally, import into Sitecore, work with the Experience Editor, and use the data edited in Sitecore for local development as well.
We would like to introduce tips for building a static site, which is possible only with Next.js, and for deploying it in Vercel. Before that, we will introduce development using React, which is the base of Next.js, in the next issue.
- Building a sample site using Next.js SDK - Part. 1
- Building a sample site using Next.js SDK - Part. 2
- Building a sample site using Next.js SDK - Part. 3
- Building a sample site using Next.js SDK - Part. 4