
We have shown you how to set up a demo environment for Sitecore Experience Platform (XP), and now we will set up an environment for Sitecore Experience Manager (XM), which is a CMS-only instance of the platform.
Prerequisite.
We will proceed with the setup assuming the following environment is in place.
- Windows Server 2019 Standard
- Start as a Microsoft Azure virtual machine
- SQL Server 2019 Standard
- Visual Studio Code
Package Deployment
Download the XM file from the Sitecore site. In this case, download 10.1.1.
- Sitecore 10.1.1 rev. 005862 (Setup XM1 Developer Workstation rev. 1.2.3-r6).zip
Extract this zip file to the folder c:\projects\sif

Copy the License.xml file into the extracted folder.
Module Installation
Run setup.exe in the extracted folder. The Sitecore Install Assistant Welcome screen will appear.

Click the Start button to switch to the next screen. Clicking the Install button on this screen will automatically execute all the necessary settings for Windows Server.

When the installation is complete, you will get a message asking you to reboot the system.
Solr Installation
From here on, we will proceed with the installation procedure using the files in the path c:\projects\sif First, execute the following command to install the Solr engine.
PowerShell
Install-SitecoreConfiguration .\Solr-SingleDeveloper.json

This command completes the Solr installation and starts it as a service.
Change installation scripts
A script named XM1-SingleDeveloper.ps1 has been prepared in the above folder. Change the following items in this file.
Column | Description | Example |
|---|---|---|
$Prefix | DB or instance name | XM1 |
$SitecoreAdminPassword | admin password | b |
$SCInstallRoot | Installation Root | c:\projects\sif |
$SitecoreContentManagementSitename | CMS URL | $Prefix.cm |
$SitecoreContentDeliverySitename | URL of the delivery server | $Prefix.cd |
$IdentityServerSiteName | Identity Server URL | $prefix.identityserver |
$SolrUrl | Solr URL | https://localhost:8983/solr |
$SolrRoot | Solr Install Location | C:\Solr-8.4.0 |
$SqlAdminPassword | SQL Server Password | password |
After making the changes, run the following command from Powershell
PowerShell
.¥XM1-SingleDeveloper.ps1

When the installation is complete, open the IIS administration tool and you will see three additional instances: the CM server, the CD server, and the Identity Server, since this will be an XM1 configuration.
Importing Japanese resources
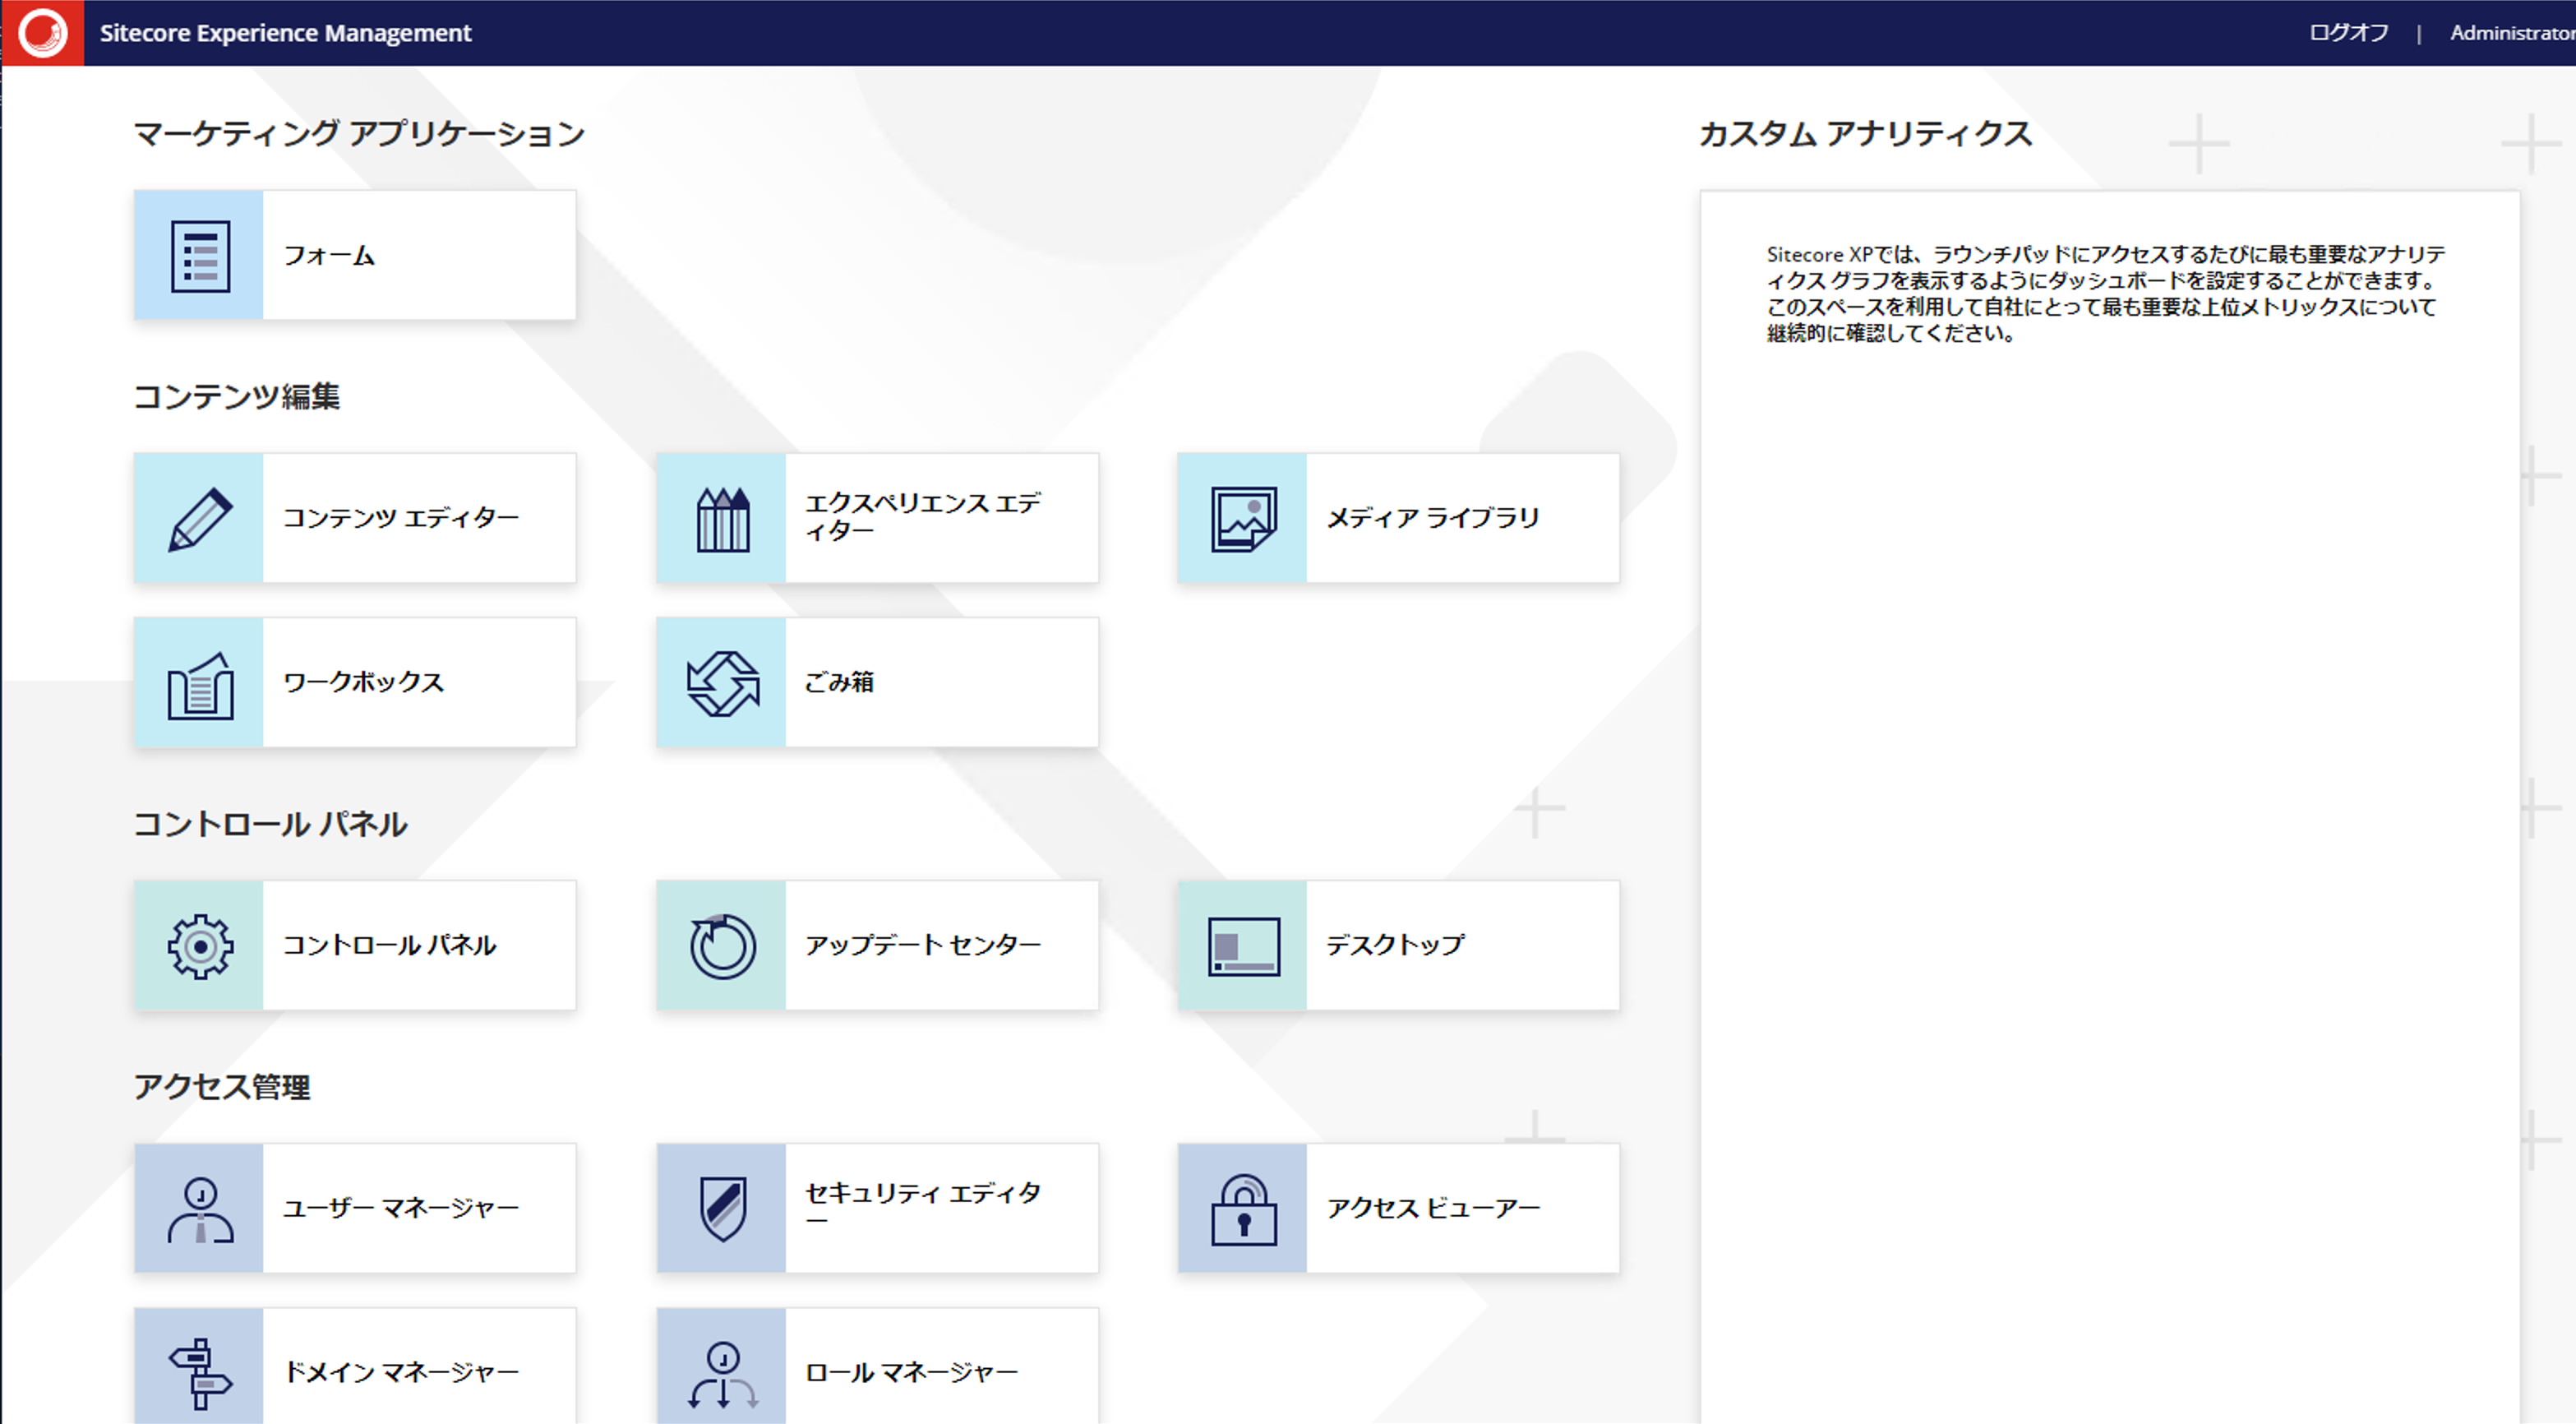
Log in to the administration panel, open Desktop, and change the database name to Core in the lower right corner.

Open the Control Panel and click on Localization - Add a new language. Select "Japanese(Japan):日本語(日本)" here.

Download resources in Japanese.
- Sitecore 10.1.1 rev. 005862 (ja-JP).zip
Extract this file to App_Data in the path where the Sitecore administration tool is installed.

After that, run iisreset and restart the system, and the management screen will be in Japanese.
Summary
One major difference from the previous Sitecore Experience Platform environment is that XM is deployed separately on CM and CD. This also changes the procedure for installing modules. We will introduce the installation procedures for some of the modules as they become available.