
Previously, we set up the server, but the key is to run the container locally. Let's organize the steps we've taken so far to prepare an environment where Docker-based Sitecore can run on our local machine.
Building a Sitecore Headless Development and Test Environment Part 2 - Server Preparation (Container)
DockerPublished: 2022-08-25
Note that we will follow exactly the same procedure as in our previous article, so we have omitted the details.
Project Creation
The files for this project will be based on the Docker example published by Sitecore on GitHub. First, download custom-images from the following repository and extract it to C:\projects\Sitecoredemo.Docker
- https://github.com/Sitecore/docker-examples

To rename the project, change COMPOSE_PROJECT_NAME in the .env file as follows
Plain Text
COMPOSE_PROJECT_NAME=sitecoredemo-dockerThis time, we also want to change the hostname of the local host, so we opened the init.ps file and modified the following parts. Also change the passwords of the Sitecore administrator and the database administrator (the passwords below are examples).
PowerShell
    [string]
    $HostName = "sitecoredemo",

    [string]
    $SitecoreAdminPassword = "D05f2F%*l6Vb",

    [string]
    $SqlSaPassword = "0pj7uM3jxF%n"
Since this custom image contains unnecessary container data, etc., please organize the files as follows
- Delete the docker-compose file, leaving the docker-compose.xm1.* file.
- Change docker-compose.xm1.yml file to docker-compose.yml
- Change docker-compose.xm1.override.yml file to docker-compose.override.yml
- Delete the entire cortex*, prc, rep, xconnect, xdb* folders in the docker/build folder
- Delete the docker/deploy/xconnect folder
- Delete all folders from the src folder except DockerExamples.Website
Since Visual Studio project files will also be affected at this stage, we will proceed as follows.
- Open the DockerExamples.sln project
- Delete projects and files that cannot be loaded (bottom screen is before deletion)

Build the project once it has been organized.

Finally, remove the relevant build commands from the Docker file. Comment out the following line
PowerShell
RUN msbuild .\src\DockerExamples.XConnect\DockerExamples.XConnect.csproj /p:Configuration=$env:BUILD_CONFIGURATION /p:DeployOnBuild=True /p:DeployDefaultTarget=WebPublish /p:WebPublishMethod=FileSystem /p:PublishUrl=C:\out\xconnect

COPY --from=builder C:\out\xconnect .\xconnect\
Project Initialization
After the preliminary preparations are complete, initialize the project as follows. Initialization is done using the Sitecore Docker Tool, so the following script must be run with administrator privileges.
PowerShell
.\init.ps1 -LicenseXmlPath "C:\projects\license\license.xml"When execution is complete, the certificate is created and each host is configured, and the container can be launched.

Launching Containers
Once the above configuration is complete, you are ready to start the container. To start it up, execute the following command as usual.
PowerShell
docker compose up -dIt will take some time to download the relevant images, etc., but after a short while, the container will finish building and launching.

Once completed, access the following URL
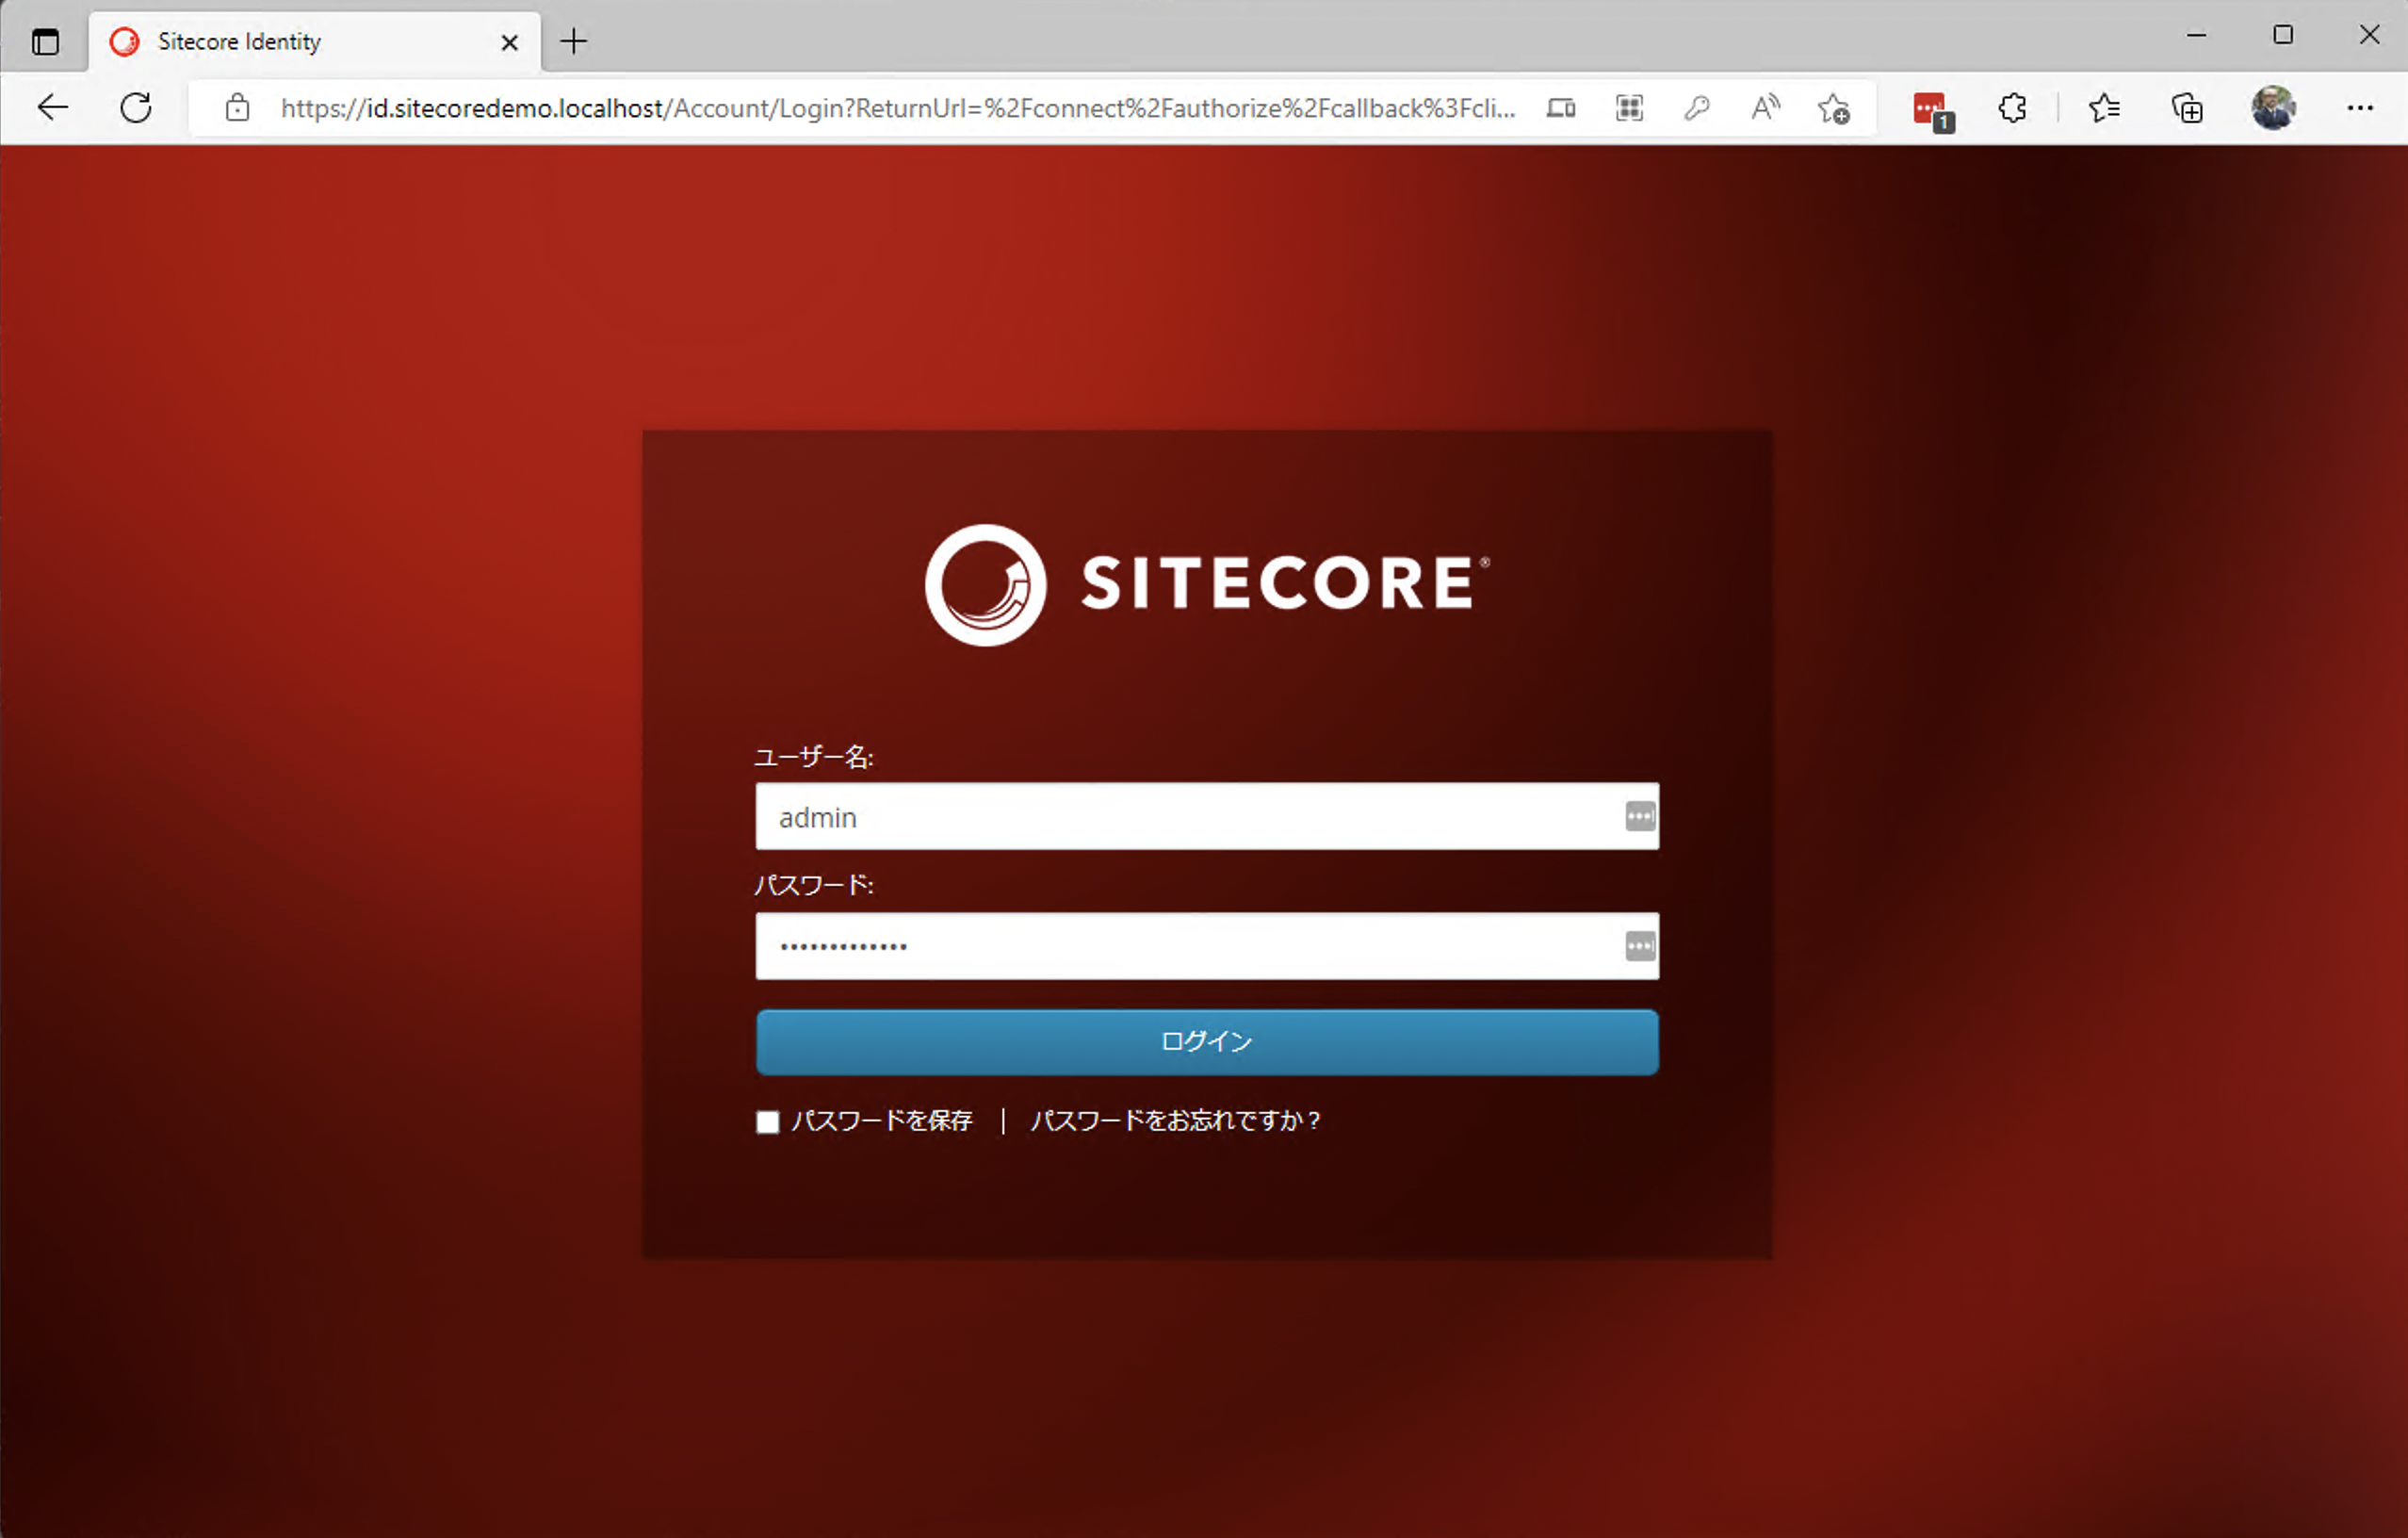
- https://cm.sitecoredemo.localhost/sitecore/
The login screen is now displayed.
Summary
We have completed creating a project to launch and work with the container. In the next article, we will proceed with the steps to install the module.