So far, we have been testing the operation by launching a sample Docker image, but in reality, we will be creating an image that contains the modules we will need. This time, we will create a custom image that you want to use yourself from the sample.

Docker Samples
Sample custom images are deployed in the following repositories
Download this repository.

Copy the folder C:\projects\docker-examples\custom-images to C:\projects\sitecoredemo-jp and work in this folder from now on.
Creating a configuration file
To create the .env file, first run init.ps1. As before, once executed, we will modify the .env file. In this sample init.ps1, the administrator password is embedded, so only the license file is specified.
.\init.ps1 -LicenseXmlPath C:\projects\license\license.xml
The script will configure the necessary items in the .env file. First, we will change the host name. In this case, we will change it as follows
CD_HOST=cd.sitecoredemojp.localhost
CM_HOST=cm.sitecoredemojp.localhost
ID_HOST=id.sitecoredemojp.localhost
HRZ_HOST=hrz.sitecoredemojp.localhost
We will also add this domain to the host file.
Add-HostsEntry "cd.sitecoredemojp.localhost"
Add-HostsEntry "cm.sitecoredemojp.localhost"
Add-HostsEntry "id.sitecoredemojp.localhost"
Add-HostsEntry "hrz.sitecoredemojp.localhost"
The following items should also be changed from their default values.
SITECORE_ADMIN_PASSWORD
SQL_SA_PASSWORD
The certificate is created as follows Move to the folder docker\traefik\certs and create the file with the mkcert command.
mkcert -key-file key.pem -cert-file cert.pem "*.sitecoredemojp.localhost"
Running XM images
The sample includes sample files that can boot XP and XM. This time, to start with the xm1 configuration, specify the file and start as follows.
docker-compose -f docker-compose.xm1.yml -f docker-compose.xm1.override.yml up -d
It will take some time to build the image, etc., so please wait a while with a drink.

Access a sample site
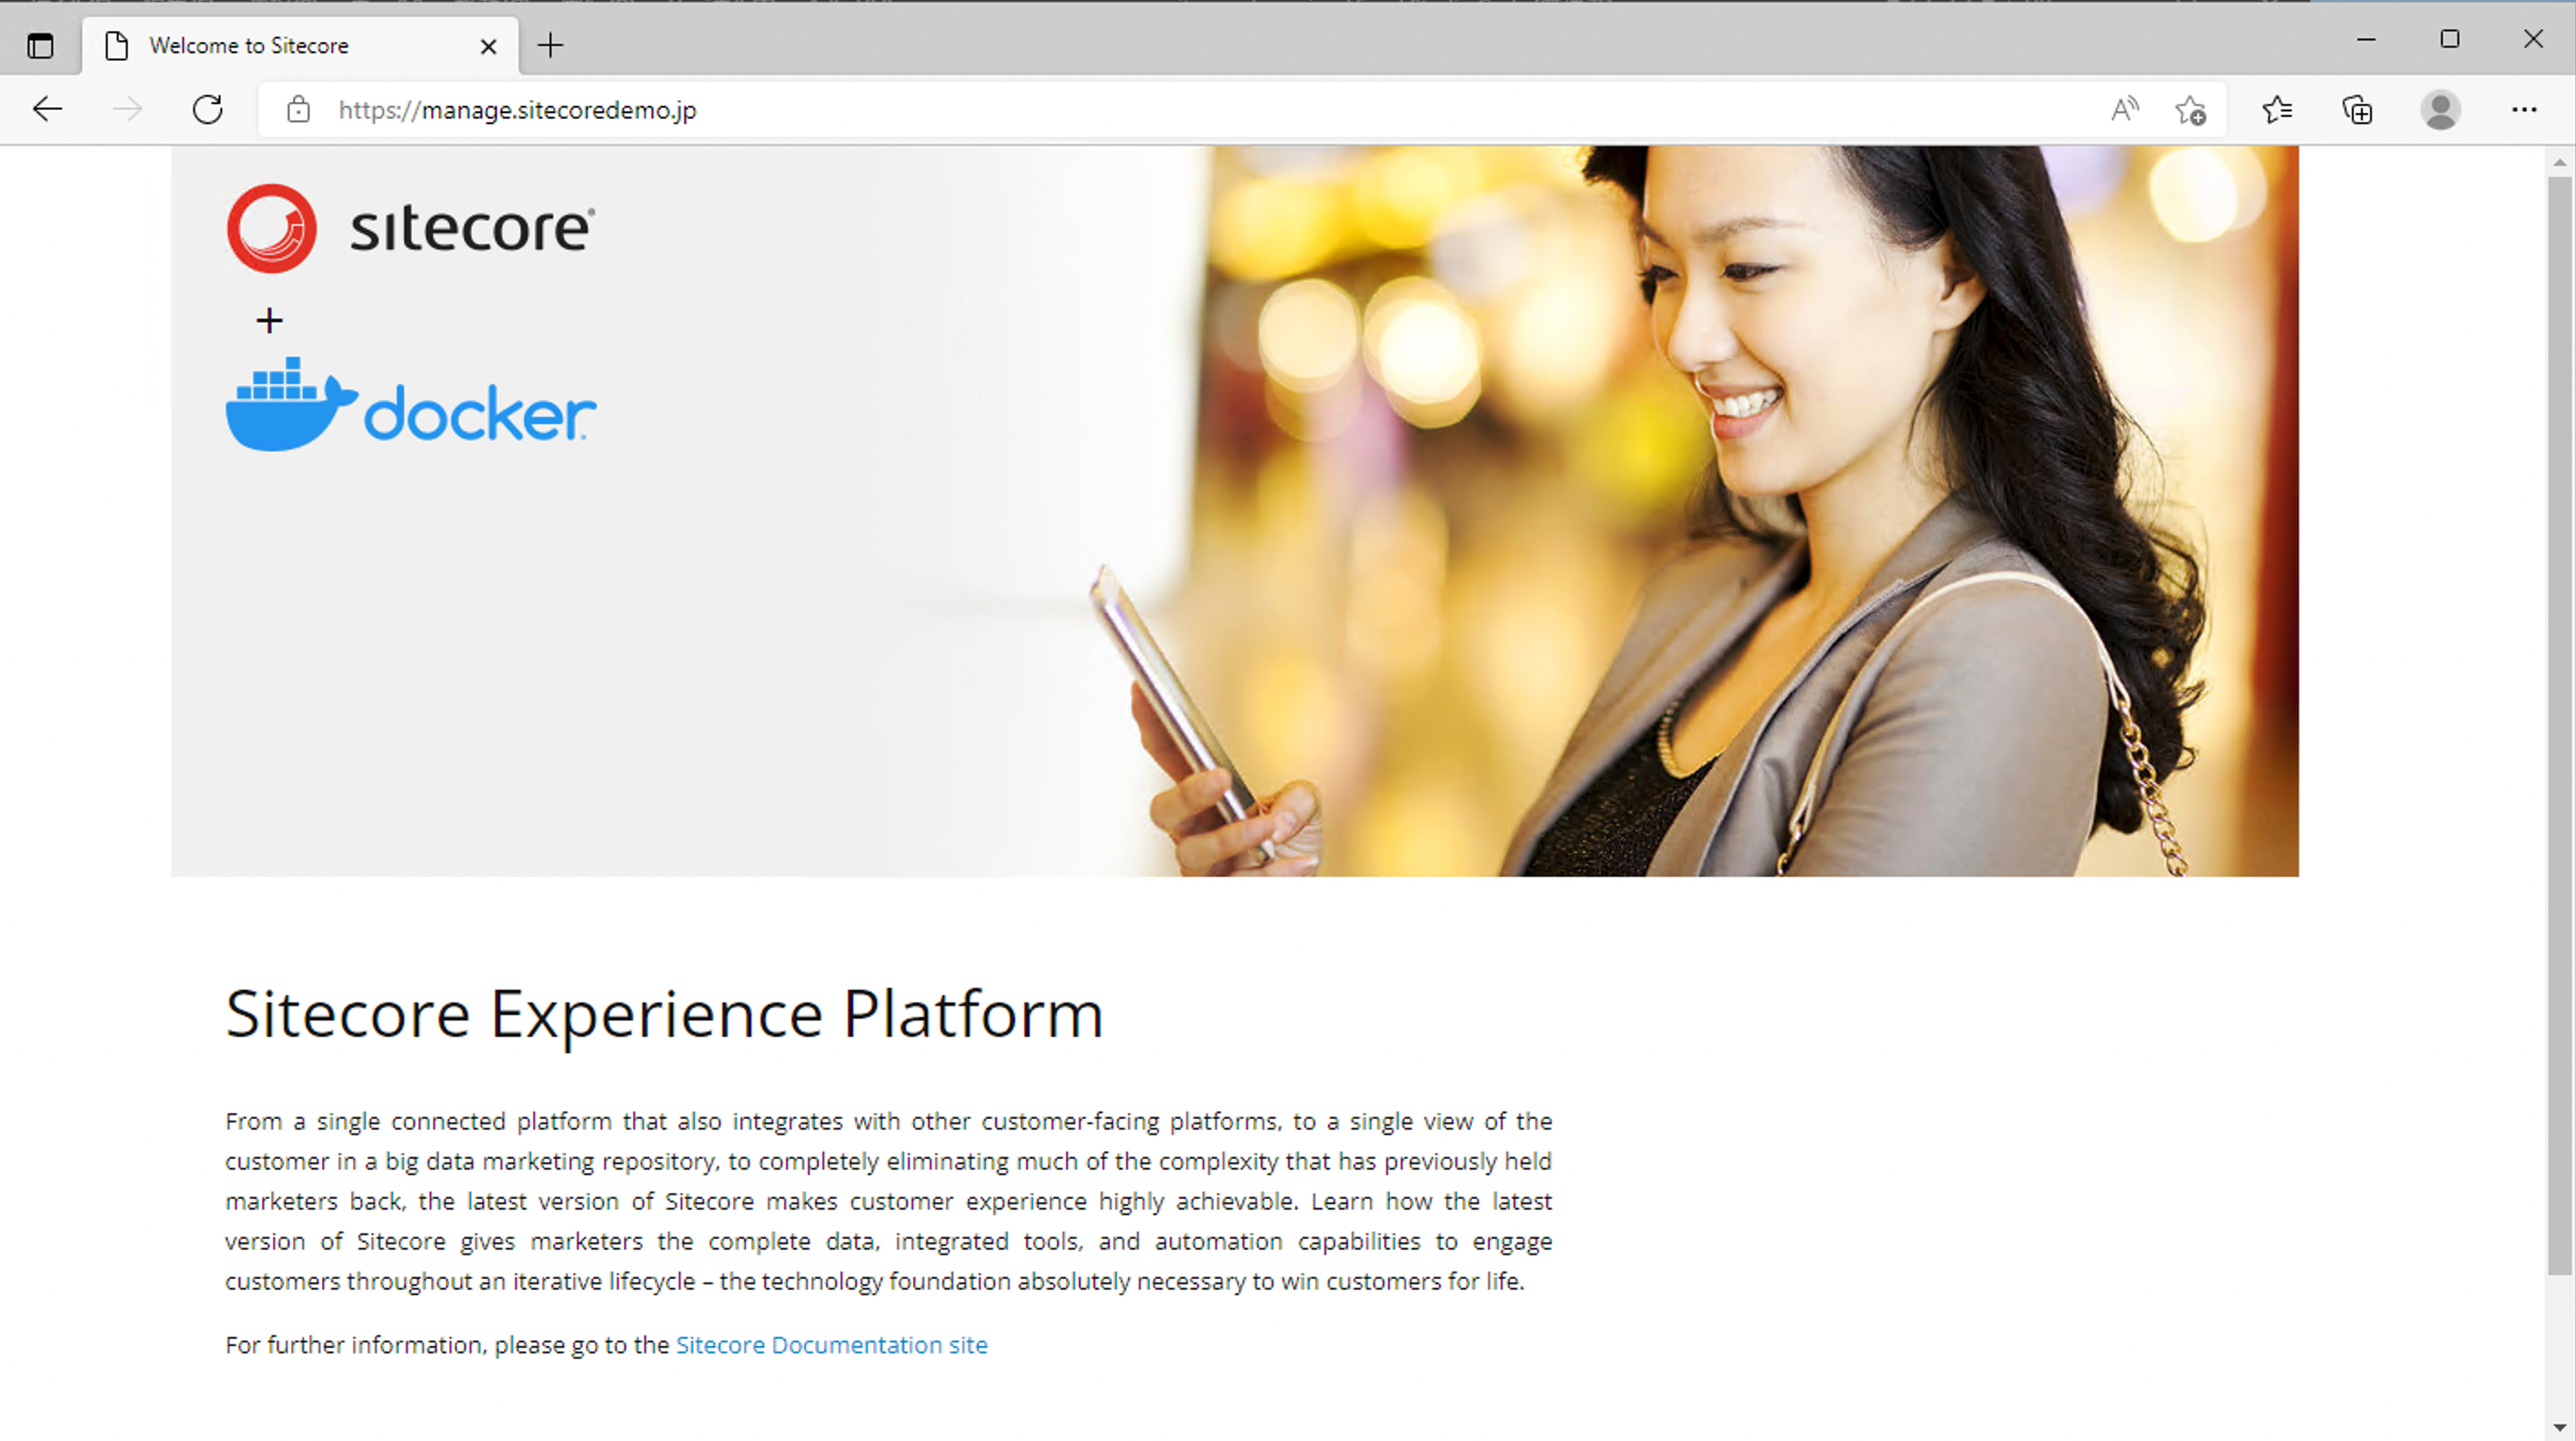
Once all containers have been activated as described above, please access the site. First, access the management server and you will see the following

Once logged in, the administration screen will appear.

The system was successfully activated.
Summary
This time, we will run the sample to the point of starting it up as a base. In the next issue, we will customize it so that we can remove unnecessary parts and base it on the actual project.