
The demo Sitecore Helix provided by Sitecore includes a sample based on Next.js. In this article, we will show you how to run this sample. The actual container launching will be introduced in the next article.
What is Sitecore Helix?
Sitecore Helix is the name of the architectural guide that should be considered when building a site with a CMS and continually updating and enhancing it. If you do not consider the architecture at all at the beginning, you may end up with many incompatible components in future implementations. This is an important factor.
The site is set up as follows, although only in English.
We have also published a repository called Sitecore Helix Examples as a sample that differs from the traditional demo.
ASP.NET Core, Next.js, Sitecore TDS, and Unicorn. In this article, we will introduce the procedure for launching the Next.js sample.
Prerequisite.
First of all, it is assumed that Docker is running in the environment where this verification will be conducted. For this reason, it is assumed that the following steps have been completed.
Clone Repository
In this case, we will use GitHub Desktop to create a repository under c:\projects as follows. The URL of the specified repository is https://github.com/Sitecore/Helix.Examples.git.

Copy helix-basic-nextjs in the created folder C:\projects\Helix.ExamplesExamples directly under C:\projects

Launch GitHub Desktop and add a newly created folder as Add local repository to manage the repository.

Check the contents of init.ps1
The example provided by Sitecore includes a script that can be used for initial setup, such as `init.ps1`. In this article, we will look at the contents of this file. If you just want to run the script, the following line is all you need to do.
PowerShell
.\init.ps1 -InitEnv -LicenseXmlPath "C:\path\to\license.xml" -AdminPassword "DesiredAdminPassword"The purpose of going through the script is to understand how it works in this case. The first three parameters are set.
JSON
[CmdletBinding(DefaultParameterSetName = "no-arguments")]
Param (
    [Parameter(HelpMessage = "Enables initialization of values in the .env file, which may be placed in source control.",
        ParameterSetName = "env-init")]
    [switch]$InitEnv,

    [Parameter(Mandatory = $true,
        HelpMessage = "The path to a valid Sitecore license.xml file.",
        ParameterSetName = "env-init")]
    [string]$LicenseXmlPath,

    # We do not need to use [SecureString] here since the value will be stored unencrypted in .env,
    # and used only for transient local development environments.
    [Parameter(Mandatory = $true,
        HelpMessage = "Sets the sitecore\\admin password for this environment via environment variable.",
        ParameterSetName = "env-init")]
    [string]$AdminPassword
)
Two of these, LicenseXmlPath and AdminPassword, are required. You can see that these are the same parameters that are executed in the init.ps1 described a while ago. The processing of these two parameters will be described later.
The next step is to install the Sitecore Docker Tools and perform the steps regarding certificates. If you have already installed Sitecore Docker Tools before, you do not need to install Sitecore Docker Tool. The same is true for certificates.
After registering the certificate and host, you will see that each parameter is set in the "Populate the environment file" area. In other words, by using this init.ps1, the .env is set up as automatically as possible.
Since it is time-consuming to set various parameters each time, we will proceed by rewriting the .env file after running init.ps1 once. So, the following is executed.
PowerShell
.\init.ps1 -InitEnv -LicenseXmlPath "C:\projects\license\license.xml" -AdminPassword "DesiredAdminPassword"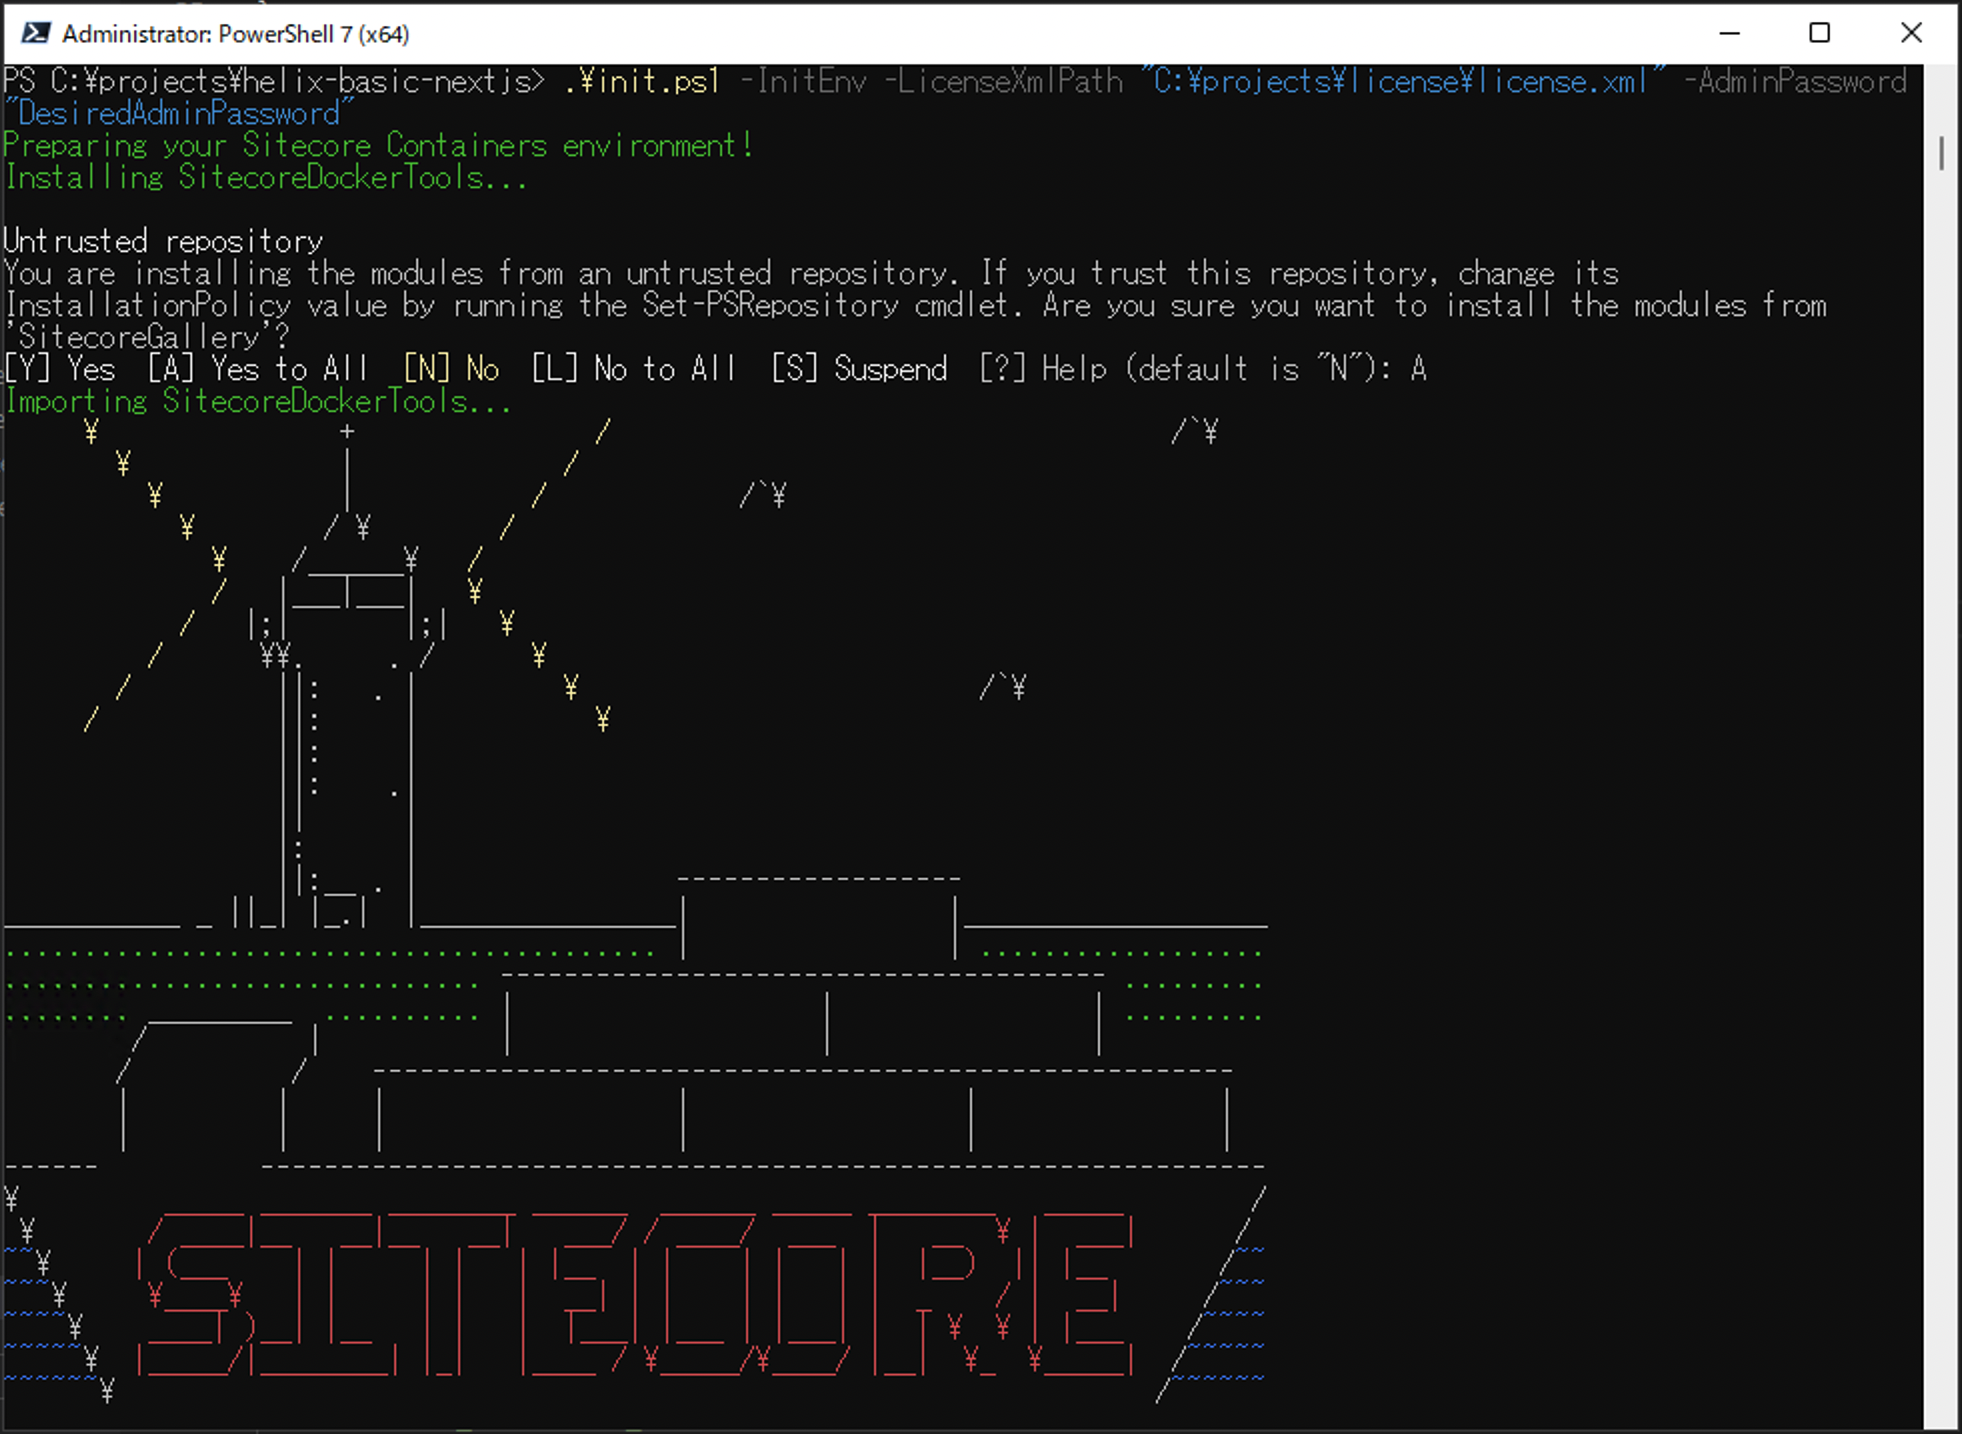
Change Domain
In this case, we will configure the following settings for the domain. Make the following entries in the .env file
Plain Text
CM_HOST=cm-basic-company-nextjs.sitecoredemo.jp
CD_HOST=cd-basic-company-nextjs.sitecoredemo.jp
ID_HOST=id-basic-company-nextjs.sitecoredemo.jp
RENDERING_HOST=www-basic-company-nextjs.sitecoredemo.jp
The certificate file created previously will be used as it is.
Copy the certificate file to C:\projects\helix-basic-nextjs\docker\traefik\certs, C:\projects\helix-basic-nextjs\docker\traefik\config\dynamic\certs Rename the files listed in _config.yaml.
Dockerfile
tls:
  certificates:
    - certFile: C:\etc\traefik\certs\_wildcard.sitecoredemo.jp.pem
      keyFile: C:\etc\traefik\certs\_wildcard.sitecoredemo.jp-key.pem
Run the command in PowerShell to add the following hosts to localhost
PowerShell
Add-HostsEntry "cm-basic-company-nextjs.sitecoredemo.jp"
Add-HostsEntry "cd-basic-company-nextjs.sitecoredemo.jp"
Add-HostsEntry "id-basic-company-nextjs.sitecoredemo.jp"
Add-HostsEntry "www-basic-company-nextjs.sitecoredemo.jp"
The .env files are set to various values as follows.

The key point here is that the value of JSS_EDITING_SECRET is also set in the root .env, but the same value is also set in the .env in the src\Project\BasicCompany\nextjs\. It is a form of batch execution of necessary settings.
Summary
In this article, we introduced the preparations required to start a container. This time, we went a little further and checked how init.ps1 works. In the next issue, we would like to set up a demo environment following the procedure.