
This section will show you how to set up a site for a Sitecore environment running in a container, using a wildcard certificate instead of a self-certificate. This will allow you to reproduce at hand a form that closely resembles actual operation.
Note that this procedure was previously introduced in a previous verification on Windows Server 2019, but is being introduced again.
Deleting a running container
The container that was running last time needs to be stopped, but in the form of a different configuration, since the domain name, etc. will be changed. For this reason, the following command is executed to delete the container once.
PowerShell
docker-compose down

Preparation of Domain Settings
The wildcard certificate created by Let's Encript will be used in this case. Please refer to various blogs on how to create a wildcard certificate. In this case, we will use the domain name sitecoredemo.jp.
Put the certificate pfx file in C:\projects\license
From this file, a crt file and a key file must be generated. To generate the files, install the OpenSSL commands. If you have installed chocoretly, you can install OpenSSL with the following command.
PowerShell
choco install openssl

Since the Path is not reflected only by installation, drop PowerShell once and start it up again.
Create and set up certificate files
Since we already have a PFX certificate, we will use this file to create two pem files. You will be asked to enter the password for the PFX files as shown below.
PowerShell
cd C:\projects\xm1-sample\traefik\certs
openssl pkcs12 -in "/projects/license/sitecoredemo20220411.pfx" -clcerts -nokeys -out _wildcard.sitecoredemo.jp.pem
openssl pkcs12 -in "/projects/license/sitecoredemo20220411.pfx" -nocerts -nodes -out _wildcard.sitecoredemo.jp-key.pem

Next, rewrite the file C:\projects\xm1-sample\traefik\config\dynamic\certs_config.yaml, which specifies the certificate, as follows
YAML
tls:
  certificates:
    - certFile: C:\etc\traefik\certs\_wildcard.sitecoredemo.jp.pem
      keyFile: C:\etc\traefik\certs\_wildcard.sitecoredemo.jp-key.pem

Change Domain
As for the domain setup, the .env file contains the following information
Plain Text
CD_HOST=xm1cd.localhost
CM_HOST=xm1cm.localhost
ID_HOST=xm1id.localhost
This will now be changed as follows.
Plain Text
CD_HOST=xm1cd.sitecoredemo.jp
CM_HOST=xm1cm.sitecoredemo.jp
ID_HOST=xm1id.sitecoredemo.jp
To add these hostnames, also run the following commands
PowerShell
Add-HostsEntry "xm1cd.sitecoredemo.jp"
Add-HostsEntry "xm1cm.sitecoredemo.jp"
Add-HostsEntry "xm1id.sitecoredemo.jp"
This completes the preparation.
Start Sitecore
With the above configuration completed, start the container.
PowerShell
docker-compose up -d
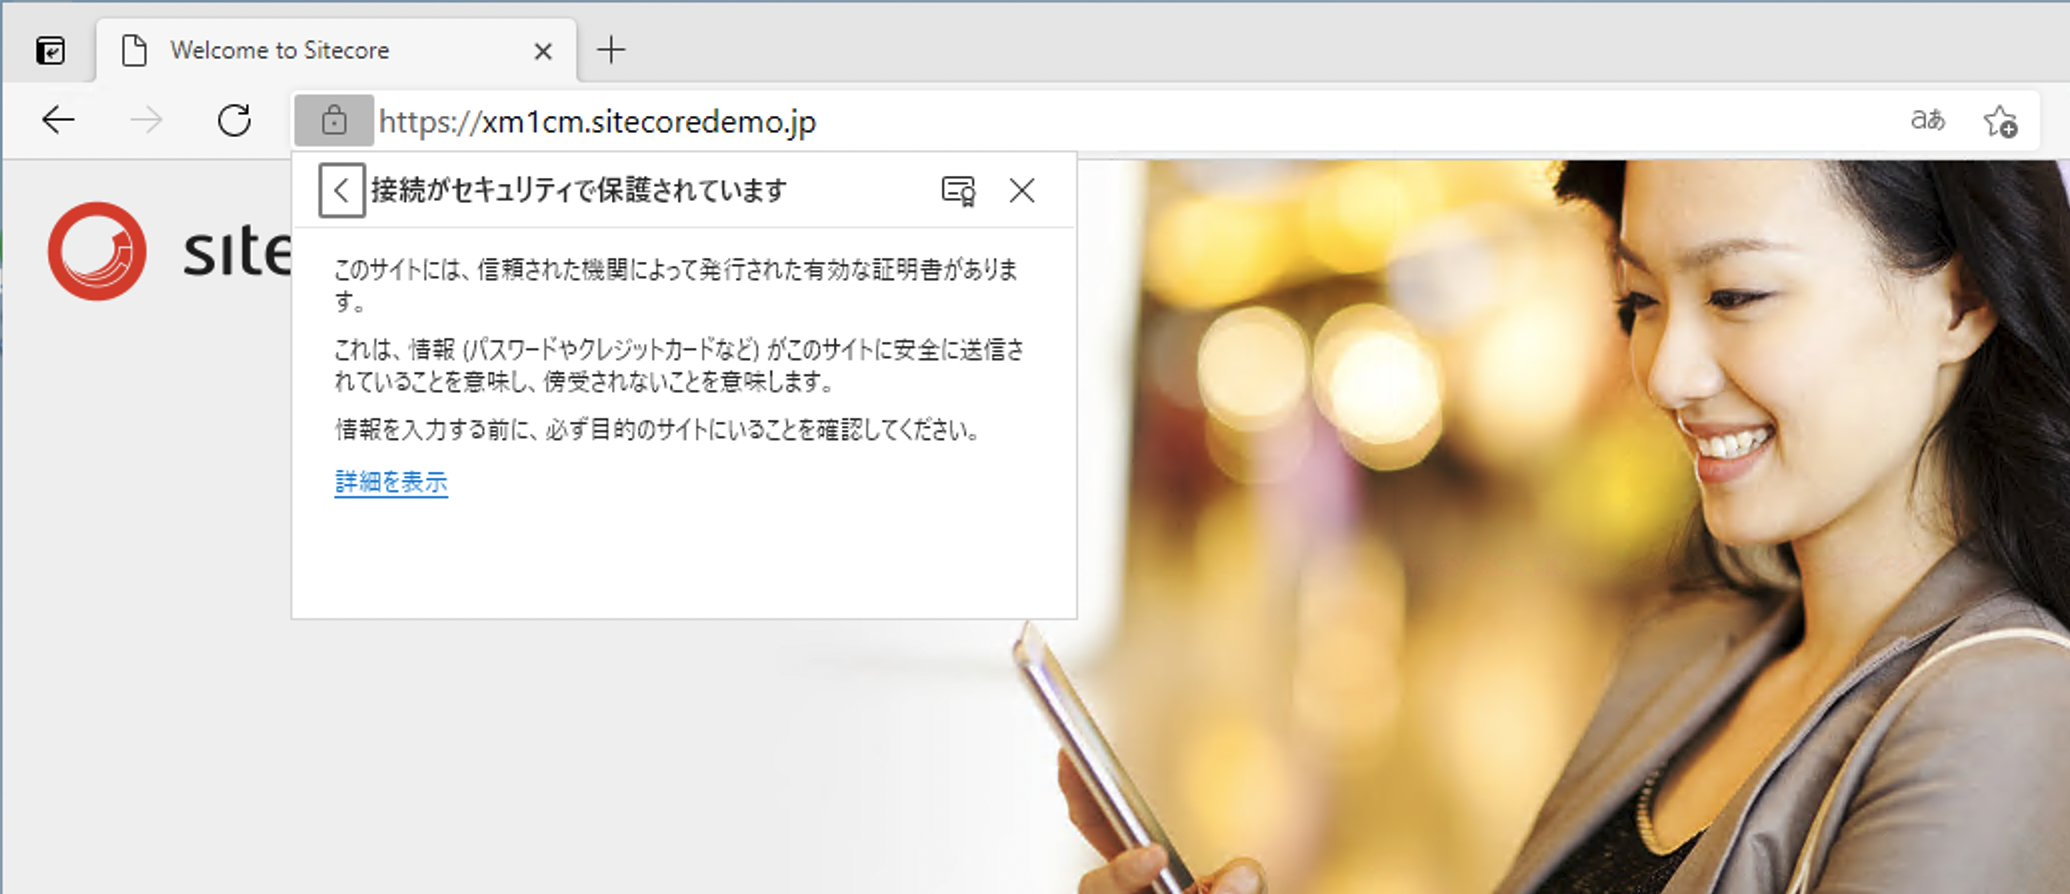
After a short while, all containers will be up and accessible. The first step is to access https://xm1cm.sitecoredemo.jp.
Adding /sitecore to access the administration page brought up the login screen, and once logged in, the administration page appeared.

Summary
In this article, we have shown how to use certificates to avoid errors during browser self-certification. While it is easy to use a self certificate, it is often necessary to create an environment or take a step to verify it. By preparing an official certificate that can be used for development purposes, it is possible to avoid minor problems.