
In the previous article, we introduced the process of setting up a Docker environment. In this article, we will introduce Sitecore XM 10.2 and how to run it with Docker.
Preparation of Deployment Files
The deployment files for running Sitecore in containers are deployed on the official GitHub of Sitecore.
This time we will deploy this repository locally, using GitHub Desktop, under `c:\projects`.

The Sitecore 10.2 XM1 deployment files are prepared in the following folders
- C:\projects\container-deployment\compose\sxp\10.2\ltsc2019\xm1
It is tedious to move and work in this hierarchy every time, so copy the entire folder to C:\projects\xm1-sample

Environment
Using Visual Studio Code, open the folder C:\projects\xm1-sample At this time, make sure you have obtained administrator privileges.

In the prepared folder, there is an .env file and a docker-compose.yml file. In order to create the Sitecore environment to be launched this time, we will set the values in the .env file.
Plain Text
COMPOSE_PROJECT_NAME=sitecore-xm1
SITECORE_DOCKER_REGISTRY=scr.sitecore.com/sxp/
SITECORE_VERSION=10.2-ltsc2019
SITECORE_ADMIN_PASSWORD=
SQL_SERVER=mssql
SQL_SA_LOGIN=sa
SQL_SA_PASSWORD=
TELERIK_ENCRYPTION_KEY=
SITECORE_IDSECRET=
SITECORE_ID_CERTIFICATE=
SITECORE_ID_CERTIFICATE_PASSWORD=
SITECORE_LICENSE=
CD_HOST=xm1cd.localhost
CM_HOST=xm1cm.localhost
ID_HOST=xm1id.localhost
TRAEFIK_IMAGE=traefik:v2.2.0-windowsservercore-1809
TRAEFIK_ISOLATION=hyperv
ISOLATION=default
SOLR_CORE_PREFIX_NAME=sitecore
# You should change the shared secret to a random string and not use the default value
MEDIA_REQUEST_PROTECTION_SHARED_SECRET=HQ(NjM(u6_5koVla-cTf4ta8x1h6Sb+ZcUQrULUz-0Afpx0cx-NuMtIoQkpDFmX5
If you check the file, you will see the following
The project name is sitecore-xp0 and the Docker registry is the image provided by Sitecore. The standard parameters are set, but you will need to fill in the blanks.
Parameters | Value |
|---|---|
COMPOSE_PROJECT_NAME | sitecore-xm1 |
SITECORE_DOCKER_REGISTRY | scr.sitecore.com/sxp/ |
SITECORE_VERSION | 10.2-ltsc2019 |
SITECORE_ADMIN_PASSWORD | |
SQL_SA_PASSWORD | |
TELERIK_ENCRYPTION_KEY | |
SITECORE_IDSECRET | |
SITECORE_ID_CERTIFICATE | |
SITECORE_ID_CERTIFICATE_PASSWORD | |
SITECORE_LICENSE | |
CD_HOST | xm1cd.localhost |
CM_HOST | xm1cm.localhost |
ID_HOST | xm1id.localhost |
TRAEFIK_IMAGE | traefik:v2.2.0-windowsservercore-1809 |
TRAEFIK_ISOLATION | hyperv |
ISOLATION | default |
SOLR_CORE_PREFIX_NAME | sitecore |
The above settings can be made at once by rewriting the contents of the compose-init.ps1 file to create the initial settings, but this time we will proceed manually.
SITECORE_ADMIN_PASSWORD
Set a password to be used by the Sitecore administrator. For this reason, please set a password that is used by a general administrator.
SQL_SA_PASSWORD
Set the password that SQL Server will use. In this case, we will use a tool to set the password.
JSON
Set-DockerComposeEnvFileVariable "SQL_SA_PASSWORD" -Value (Get-SitecoreRandomString 19 -DisallowSpecial -EnforceComplexity)TELERIK_ENCRYPTION_KEY
A random string of 64 to 128 characters must be set here. The tool will automatically set this up as well.
PowerShell
Set-DockerComposeEnvFileVariable "TELERIK_ENCRYPTION_KEY" -Value (Get-SitecoreRandomString 128)
Configuration for Identity Server
The following three items must be configured for the Identity Server to log in.
- SITECORE_IDSECRET : Random string of 64 characters
- SITECORE_ID_CERTIFICATE :
- SITECORE_ID_CERTIFICATE_PASSWORD
This can also be configured by executing the same command as above. In this case, we will work with a domain name of localhost, so we will create it as follows
PowerShell
Set-DockerComposeEnvFileVariable "SITECORE_IDSECRET" -Value (Get-SitecoreRandomString 64 -DisallowSpecial)

$idCertPassword = Get-SitecoreRandomString 8 -DisallowSpecial
Set-DockerComposeEnvFileVariable "SITECORE_ID_CERTIFICATE" -Value (Get-SitecoreCertificateAsBase64String -DnsName "localhost" -Password (ConvertTo-SecureString -String $idCertPassword -Force -AsPlainText))

Set-DockerComposeEnvFileVariable "SITECORE_ID_CERTIFICATE_PASSWORD" -Value $idCertPassword

Having proceeded this far, the only item remaining is the license.

SITECORE_LICENSE
The license file is used to define this environment variable. This can also be easily configured by using the tool.
PowerShell
Set-DockerComposeEnvFileVariable "SITECORE_LICENSE" -Value (ConvertTo-CompressedBase64String -Path "C:\projects\license\license.xml")

Hostname
This time, the host name is XM1, so the configuration is simple: one CM/CD each and one Identity Server. This time, we will proceed with the name as it was originally written.
Plain Text
CD_HOST=xm1cd.localhost
CM_HOST=xm1cm.localhost
ID_HOST=xm1id.localhost
Note that the above host must be locally identifiable, so it must be written on localhost. The process is completed by executing the following two lines in PowerShell.
PowerShell
Add-HostsEntry "xm1cd.localhost"
Add-HostsEntry "xm1cm.localhost"
Add-HostsEntry "xm1id.localhost"
The preparation is complete in the form that all have been executed and the parameters have been filled in.
Certificate Preparation
Since https communication is the standard for Sitecore, it is necessary to prepare a certificate even when running locally. In this case, we are working with the domain name localhost, so we will create a self-certificate. The tool to create the certificate is mkcert. This command was already installed when the environment was set up.
Create the client cert and key files needed to set up the certificate using mkcert. After moving to `traefik` as a directory, execute the following command
PowerShell
mkcert -cert-file certs\xm1cd.localhost.crt -key-file certs\xm1cd.localhost.key "xm1cd.localhost"
mkcert -cert-file certs\xm1cm.localhost.crt -key-file certs\xm1cm.localhost.key "xm1cm.localhost"
mkcert -cert-file certs\xm1id.localhost.crt -key-file certs\xm1id.localhost.key "xm1id.localhost"

After completing the above steps, the required files have been created under certs。

The file certs_config.yaml is prepared in the folder C:\projects\xm1\traefik\config\dynamic
YAML
tls:
  certificates:
    - certFile: C:\etc\traefik\certs\xm1cd.localhost.crt
      keyFile: C:\etc\traefik\certs\xm1cd.localhost.key
    - certFile: C:\etc\traefik\certs\xm1cm.localhost.crt
      keyFile: C:\etc\traefik\certs\xm1cm.localhost.key
    - certFile: C:\etc\traefik\certs\xm1id.localhost.crt
      keyFile: C:\etc\traefik\certs\xm1id.localhost.key
Since the file name is the same as the file name of the certificate file we are creating, we will proceed as is.
Start the container
Go to the folder C:\projects\xm1-sample and execute the following command ps1docker-compose up -d

After a few moments, the server will be up and running.
Operation check
First you want to access the CM server; when you access https://xm1cm.localhost/ you will see the following screen. You will be warned several times that the certificate is not secure, but since it is a self-certified certificate, some browsers will warn you. We will ignore them here and proceed.

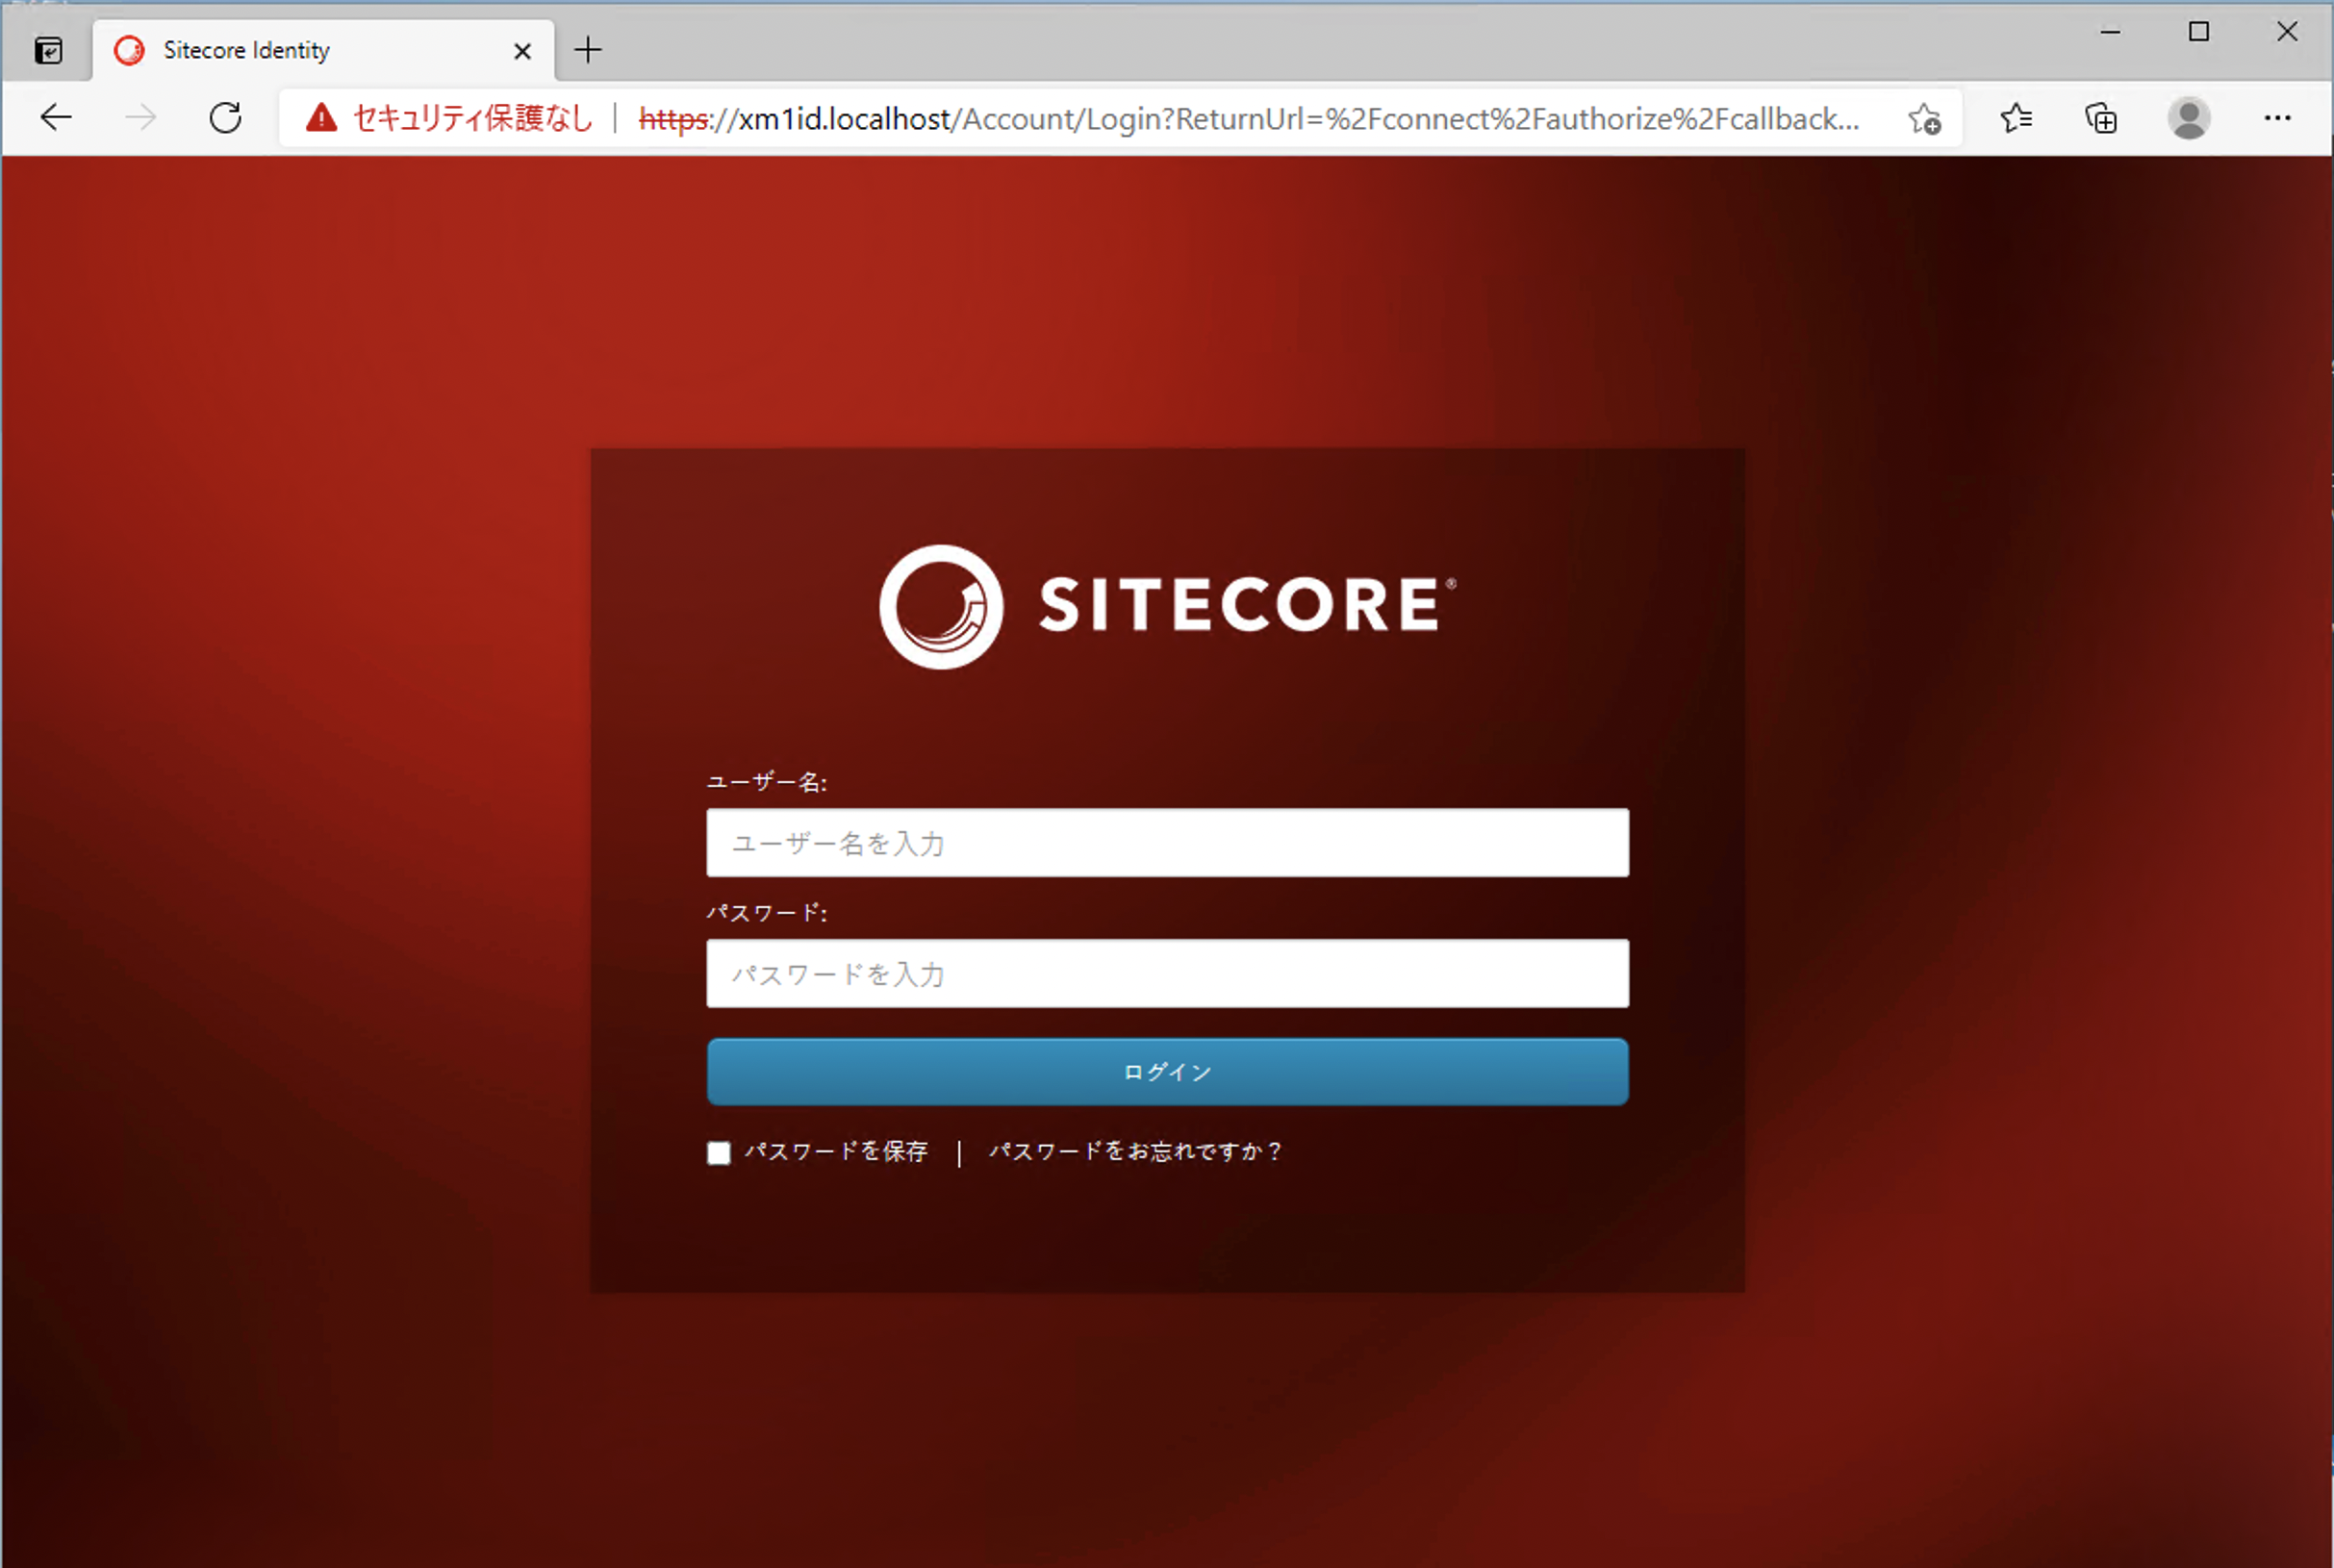
To go to the administration page, add /sitecore to access it, and you will see the login screen.
However, the browser displays an error because the certificate is not properly recognized. We will discuss this next time when we set up our own domain.
The actual startup status can be checked on the Container List screen in Visual Studio Code.

Summary
In this case, the XM1 environment was started in a container. The self-certification is a tricky issue to deal with. This can be avoided by following the procedure for registering the self-certificate to the computer (please check the Internet separately for the procedure). In the next issue of this blog, we will introduce the procedure for starting up using a wildcard certificate.
Related article
- Preparing the environment to run Sitecore XM1 on Docker
- Run your first Sitecore instance
- Running Sitecore 10 on Docker