
We previously installed Sitecore Experience Accelerator in an XP0 configuration, sharing CM and CD servers. Now, with XM, CM and CD are separate. This means installing required modules on CD servers. This article guides through the process.
Sitecore XM Series - Sitecore Experience Accelerator Installation
Experience Manager (XM)Published: 2021-09-27
Prerequisite.
Regarding the installation of Sitecore XM, we assume that you have completed the steps described in the following article.
Module Preparation
Download the module from the following site This time, it is based on Sitecore XM 10.1.
- Sitecore Experience Accelerator 10.1.0
- SXA SIF templates
Extract the file SXA_SIF_Templates_10.1.0.zip to c:\projects\sxa

The file we will be using is SXA-SingleDeveloper-XM1.ps1. Also, copy the following three files from c:\projects\sif to this folder.
- Sitecore Experience Accelerator XM 10.1.0.3751 CD.scwdp.zip
- Sitecore Experience Accelerator XM 10.1.0.3751.scwdp.zip
- Sitecore.PowerShell.Extensions-6.2.scwdp.zip
File Setup & Execution
The following items will be changed with respect to the file
Column | Description | Example |
|---|---|---|
$Prefix | Value used during installation | XM1 |
$SitecoreAdminPassword | admin password | b |
$SCInstallRoot | Installation Root | C:\projects\sxa\SXA_SIF_Templates_10.1.0 |
$SolrUrl | Solr URL | |
$SolrRoot | Solr Install Location | C:\Solr-8.4.0 |
$SqlAdminPassword | SQL Server Password | password |
$CMSitename | CM Server Name | xp1.cm |
$CDSiteName | CD Server Name | xp1.cd |
The Solr port has a different value than the XM1 installation, so be sure to change it if necessary.
Then copy the following files in the config folder to the same hierarchy as the script files.
- SXA-SingleDeveloper-XM1.json
- spe.json
- sxa-solr.json
- sxa-XM1-CM.json
- sxa-XM1-CD.json

The preparation is now complete. Run the script to install.
Confirmation of installation
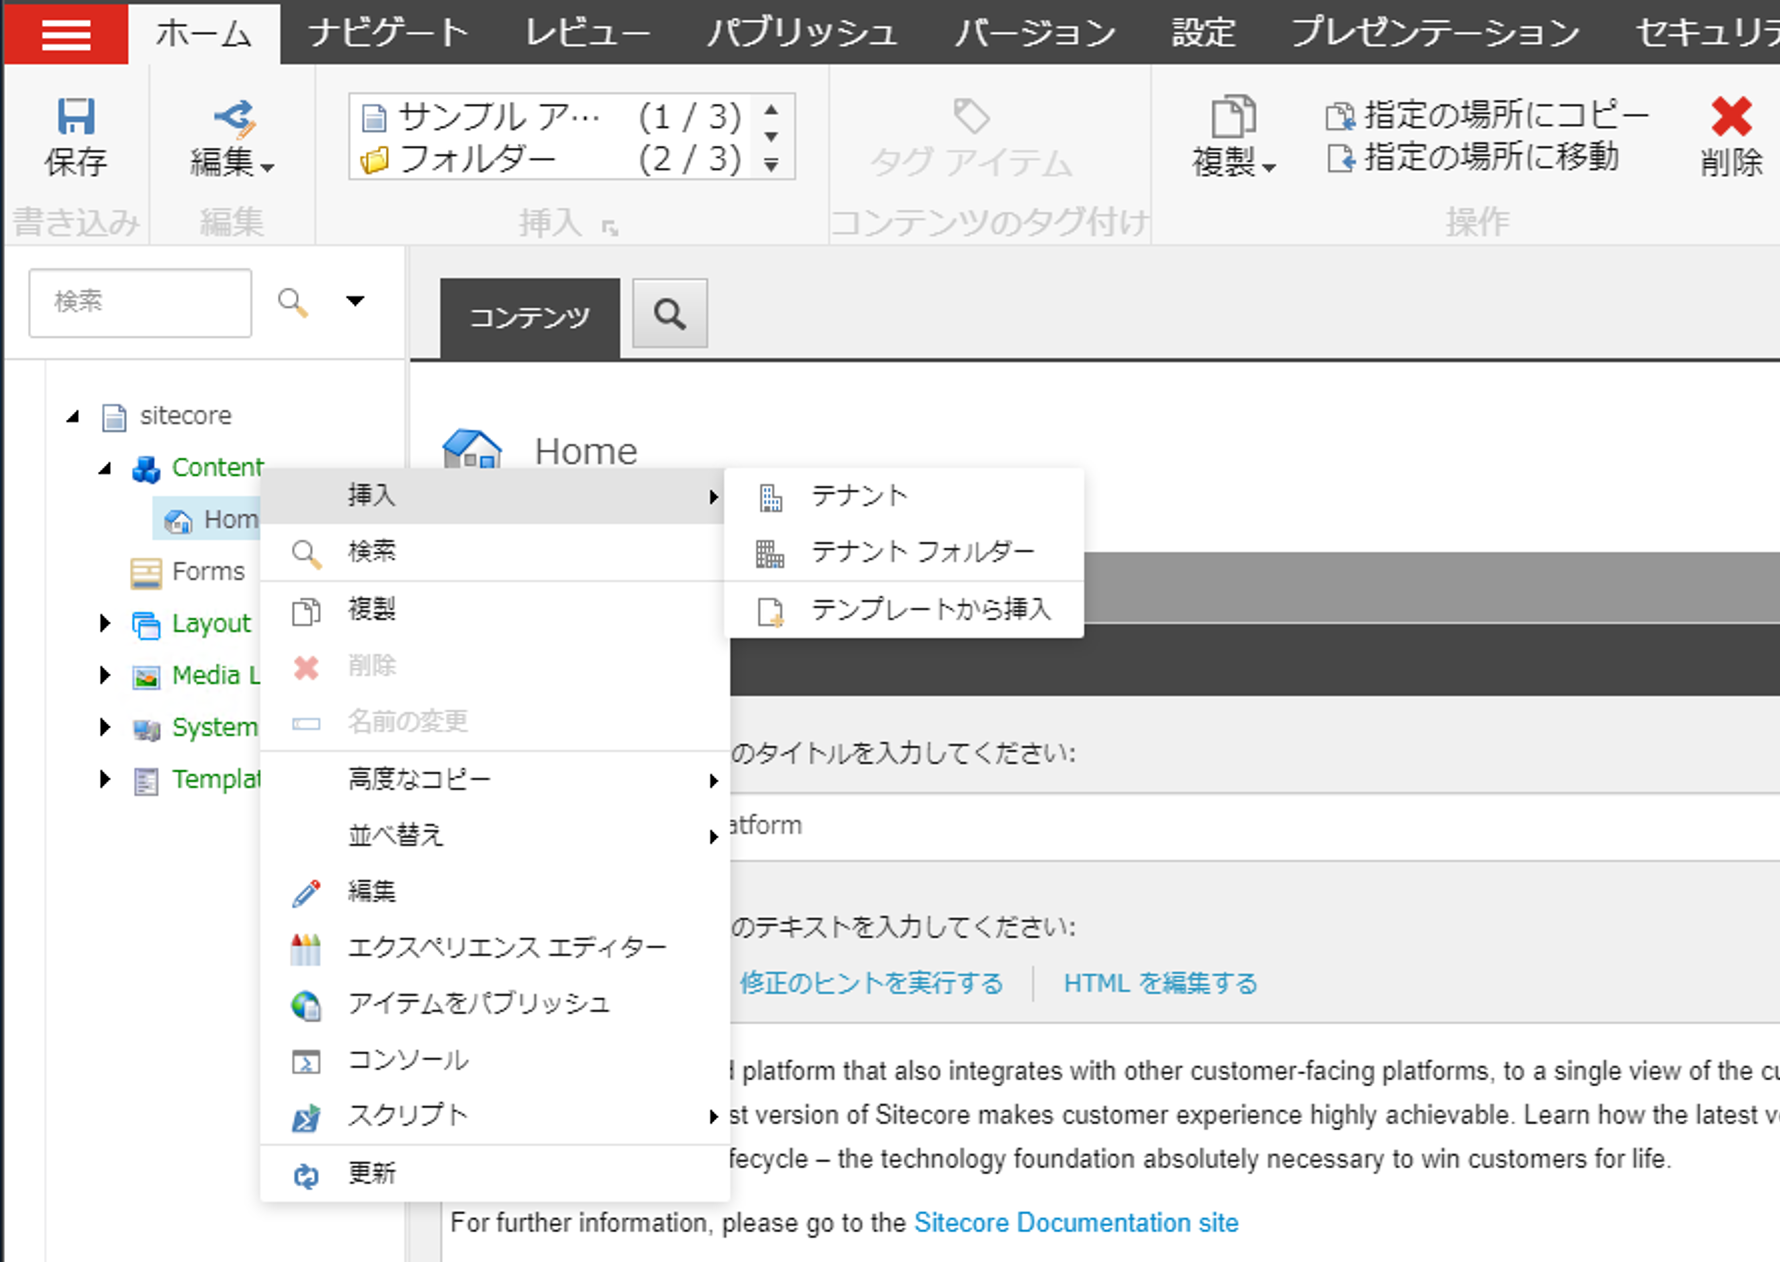
After installation is complete, log in and launch the Content Editor. Now right click on the Sitecore/Content item and you should see items such as Insert > Tenant.

Add Japanese language resources
The installation of the module has been completed, but the installation of Japanese resources has not been completed. Therefore, we will proceed as follows.
- Open the Control Panel
- Click Globalization - Import Language Files
- Select /temp/SXAtranslations/ja-JP.xml as language file

- Proceed with the dialog to perform the import
The above resources are a little short on resources, so you can find them in the following Github repositories
- https://github.com/SitecoreJapan/InstallScript
- 101
- SXA-ja-JP-update.xml
- powershell-report-ja-jp.xml
and import the two files in the same manner as in the above procedure. After the import is complete, you can confirm that the Japanese resources have been applied by right-clicking and selecting the content editor as before.
Summary
The Sitecore XP development environment is a single instance, so the work is completed by simply installing the package from the administration screen. The XM development environment, on the other hand, is split into CM and CD, so the procedure is to deploy using the Sitecore Install Framework.