
In this article, we will be using a free account on Moosend to introduce the initial settings. Of course, you can change various settings later, but let's follow the on-screen instructions and enter the settings required initially.
Moosend's free plan allows you to use most of our services for a limited period of 30 days. Please also refer to our previous related articles.
- Create a free account with Moosend
- Introduction to Moosend and Sitecore Send
- Sitecore Send / Moosend Initialization
Adding an e-mail address
Once logged in, a dialog appears with the message Αdd a new "from" name and email address.

We want to use a different email address than our account, so we click Yes. You will then switch to the next screen.

Click Add new sender in the upper right corner to go to the input screen.

Please specify your business e-mail address as the Sender (sender). You will be warned that free email addresses cannot be used, so use an email address that can receive incoming messages properly. The screen will change as shown below.

The dialog in the lower right corner says that the mail is being sent to your mailbox, so please confirm. After a while, you will receive the mail.

Click here to proceed. Your browser will open and you will be confirmed.

Click on the dashboard on the left to see the progress of the setup.

DNS Updates
We will add DNS records to ensure that the outgoing email address we have added will not be sent as spam.
Click on the gear symbol in the upper right corner of the login screen and select the Sender item.

Click on the email address you have added and you will be taken to the following screen.
DKIM Settings
As part of the DKIM - Domain Keys Identified Mail setup, two texts must be added to the DNS record.

I am using Netlify's DNS, so I enter each item as follows

SPF Settings
SPF - Sender Policy Framework must be configured in the same way.

For this data, enter and check records in the same way as for DKIM settings. When setting up multiple SPFs, do not create multiple records, but combine them into a single record.
Plain Text
haramizu.com TXT v=spf1 include:spfa.mailendo.com ~allharamizu.com TXT v=spf1 include:otheremail.com ~alland not two records, and combine the two into one record.
Plain Text
TXT haramizu.com v=spf1 include:spfa.mailendo.com include:otheremail.com ~allDMARC Settings
After the SPF and DKIM settings, it is time to configure DMARC. The following page is a good reference on how to configure the settings.
- DMARCとは? ( Japanese )
Again, the TXT record is added to the DNS.
Plain Text
v=DMARC1;p=none;rua=mailto:dmarc-ra@yourdomain.com;ruf=mailto:dmarc-ra@yourdomain.com;rf=afrf;pct=100If you use GoDaddy
Regarding the above two configurations, support was provided for setting them up with GoDaddy. If you use GoDaddy for your domain and DNS, please refer to this page.
Verify DNS records
After updating the DNS records, I cannot authenticate for a while. In my case, I set the TTL to 3600, so I waited about an hour. After that time, click the Verify DNS records button on the DKIM and SPF respective screens.

When the information is updated, you will see the TXT records verification succeeded. You can also check the Sender List page to see if your DKIM / SPF settings are complete.

Check DNS settings
It is useful to check if the DNS records have been set correctly at the following site.
When a domain name is entered, if the record is checked and set correctly, it will show Passed without error.

Create your first mailing list
Then create a mailing list. Please have a few accounts on hand or something similar. If you see the above screen, click the Yes button in the Create a new mailing list area. Alternatively, you can click on Mailing lists in the menu on the left side to get to the same screen.

Add members manually
The first mailing list has already been created. Click on the Name of the mailing list that has been created to open it.

If you look at the mailing list dashboard, it is all blank, partly because it is still just a newly created list. If you want to change the name of the mailing list, you can do so on this screen. To add a member to the list, click on Members in the menu on the left.

Of course, the list is empty because it was created anew. Click the Add Member button.

The screen has fields to enter the recipient's email address, name (optional) and cell phone number (optional). Since this is a test, we will add a few names manually. In this case, we added about four email addresses (the email address section is blacked out).

Batch processing
In the menu on the left side, there is an item called Batch Actions. Clicking on this item switches to the menu as shown below.

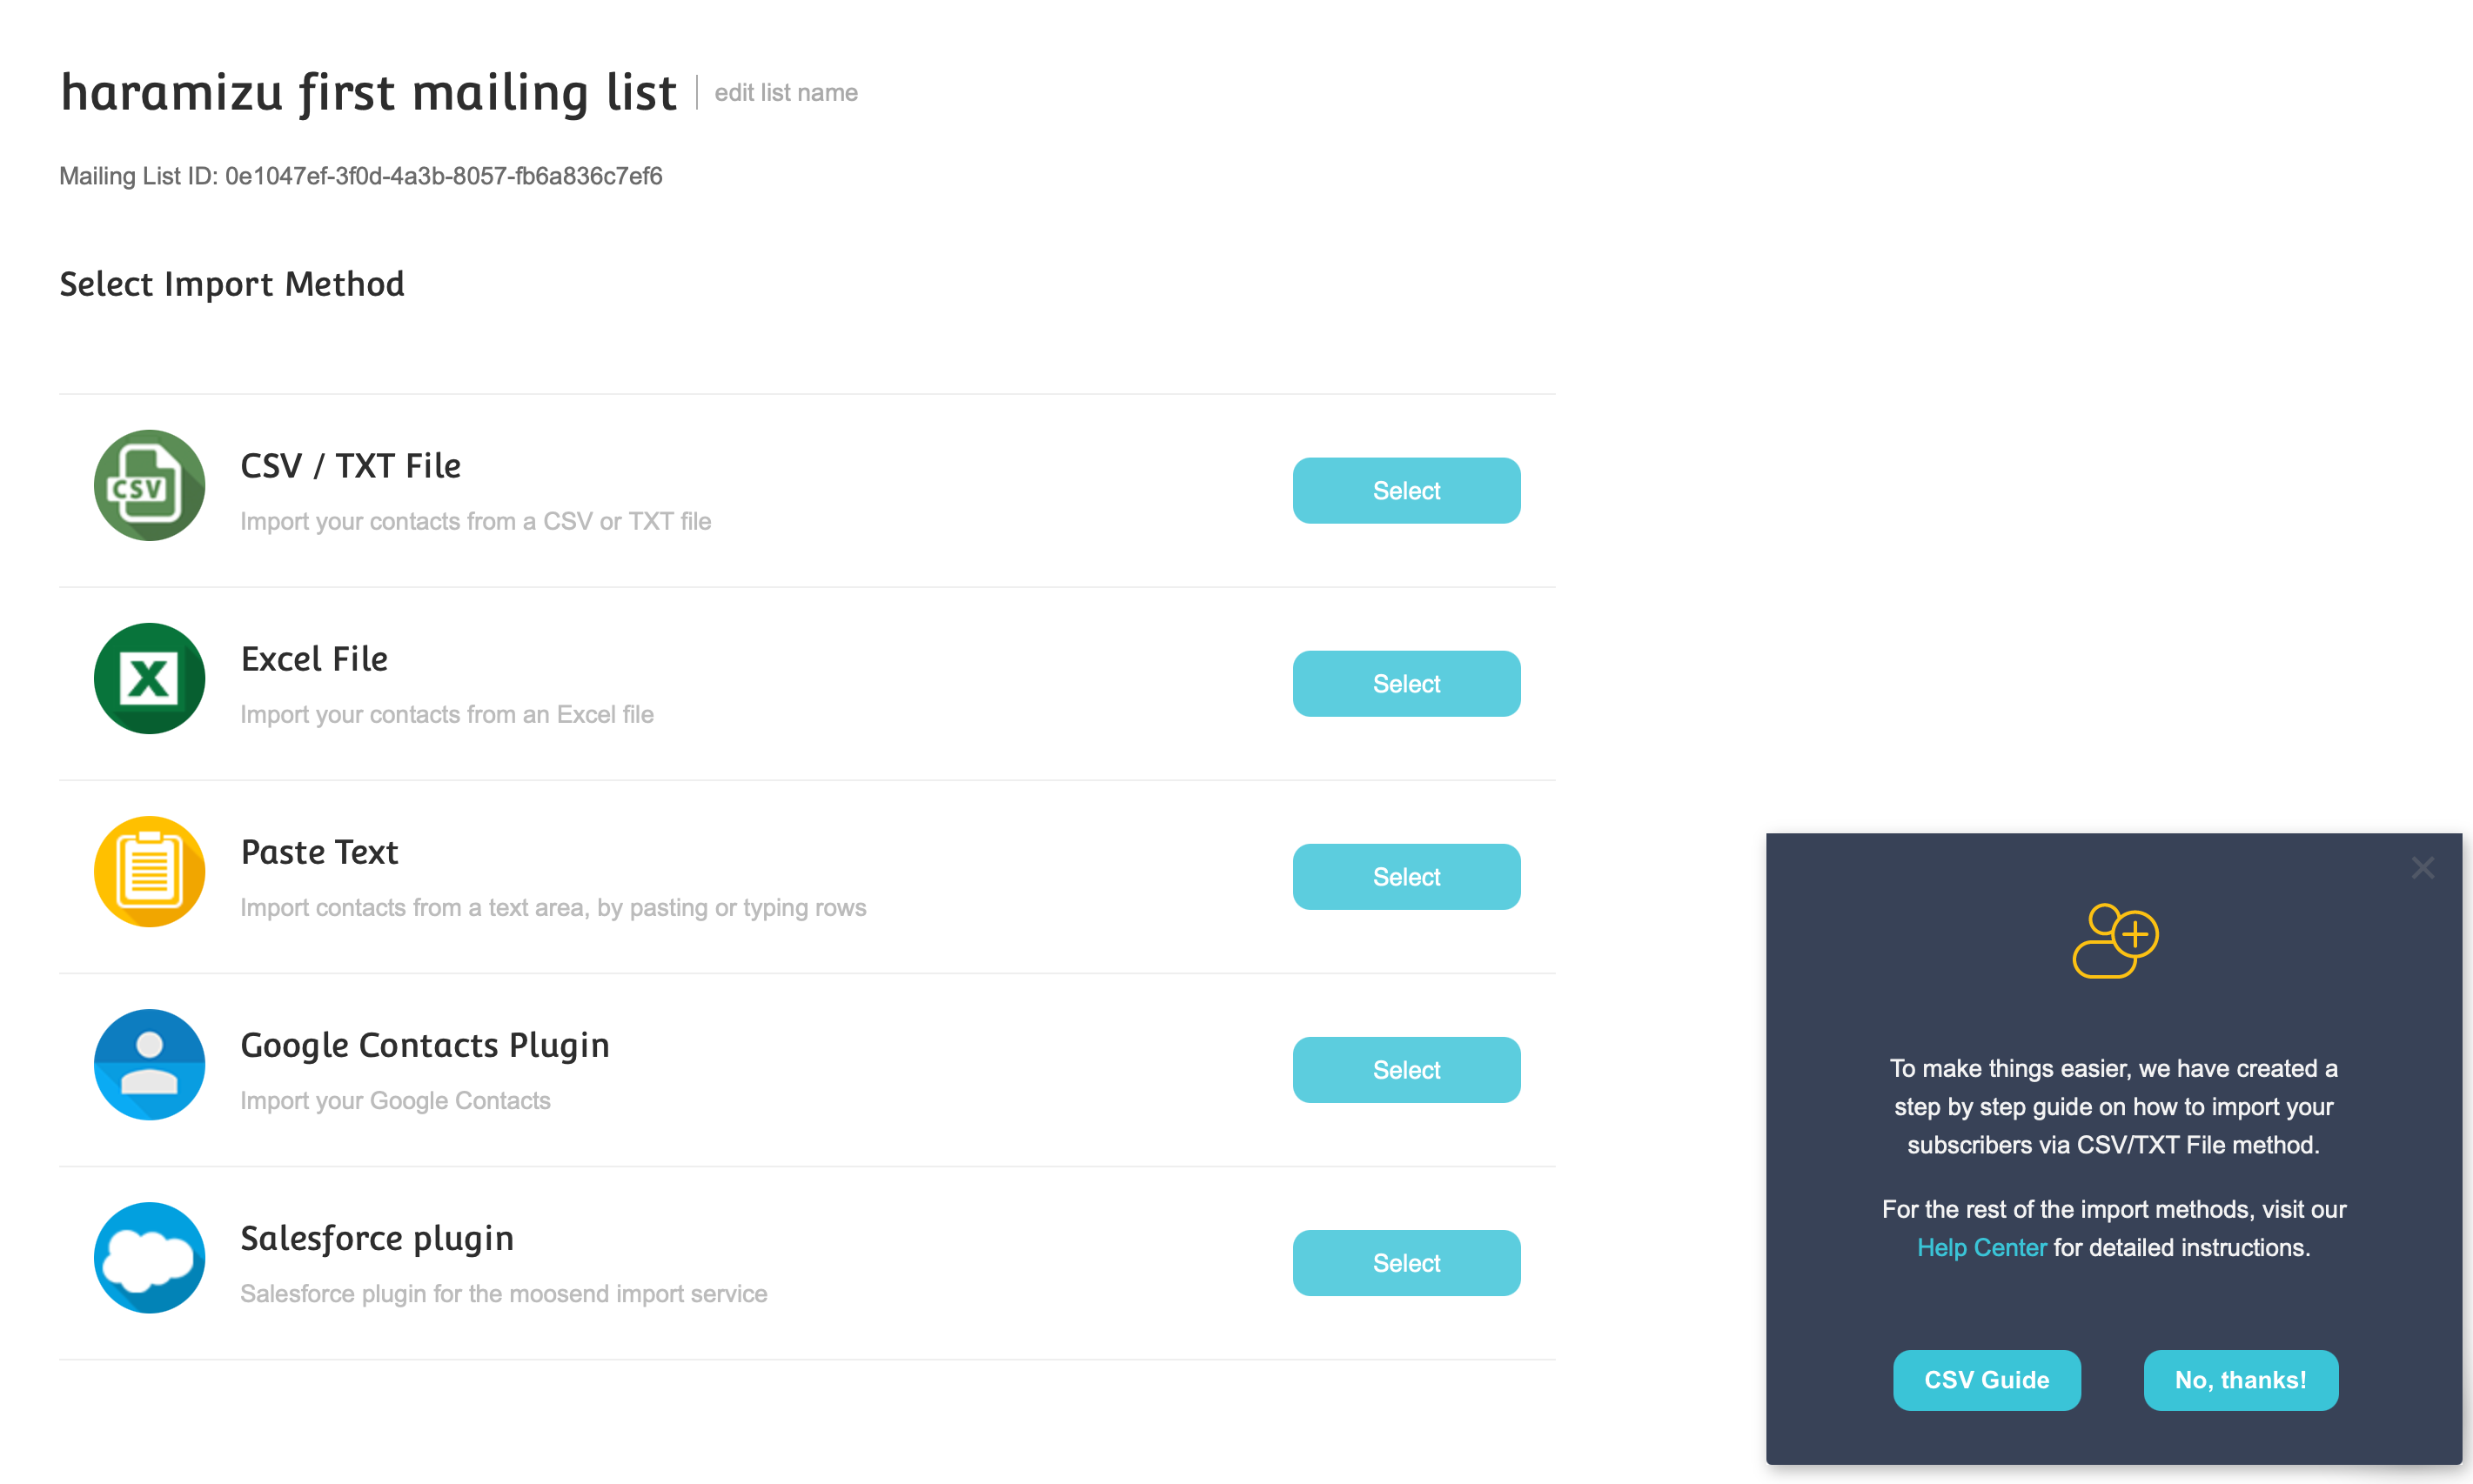
Since manual entry of data is error-prone, it is best to obtain an accurate list from somewhere regarding list management. To import that data, click Import Members into List on the screen above. The screen will change to the one below.
It supports CSV files, Excel files, and text pasting. With system integration, you can also retrieve data from Google Contacts and integrate with Salesforce CRM contacts. If I have time, I would like to create a demo environment for this integration, but for this article, I will only introduce the options that are available.
Other Items
The following items, which are not explained at this time, are additional settings.
Settings
You can enter the URL of the page to be redirected to when you unsubscribe. For example, you may want to ask the reason for the unsubscription on the page after you have unsubscribed.
Custom field
You can create custom fields for your contacts. The standard fields are email address, name, and cell phone number.
Segment
You can cut segments among the members of the mailing list. We hope to be able to explain this again when we discuss the scenarios we use.
Summary
In this issue, we have proceeded to setting up sending addresses and creating a list. In the next issue, we would like to proceed from the template to creating and sending an e-mail.