
In the last issue, we introduced the procedure for signing up for a free plan with Moosend. When you apply for a free plan, you will be presented with four steps to follow. This time, we would like to proceed with this part of the procedure.
Settings
The first step is to change the default values for Moosend. This is because the default settings are strictly related to opt-outs, so it is better to change this item before proceeding with the verification.
To make this change, go to Settings - Account Settings, where you will find the Change Email Address and Password screen, and at the bottom of this screen you will find two options: Unsubscribe Settings and Unsubscribe Type.

Please switch to a double opt-out setting, as shown in the settings above. If you have a single opt-out setting, you may want to set up your mail server, for example, to automatically opt-out when you receive an email. Even though this single opt-out can be automated for the recipient of the e-mail, if you have this feature turned on, even with respect to the e-mail you wish to receive, you will be automatically unsubscribed.
Even if set to double opt-out, subscribers can unsubscribe at any time and should switch to double opt-out to avoid automatic processing on the server side.
The remaining time zones, date formats, etc. can be set to your preference.
Now that the preliminary setup is done, it's time to create your first mailing list.
Create a mailing list
A mailing list can be used as a function to create a list of email addresses to distribute to. This would be in the form of creating a list in Moosend and then proceeding to the next step of setting up the list to include subscribers.

Once created, the mailing list was created as follows.

In this case, the name "first mailing list" is used because it is being introduced as a sample, but in actual operation, it would be better to use a name that is more easily understood (e.g., partner mailing list, customer mailing list, etc.).
Importing Subscribers
Since the mailing list does not have a registered recipient, this time you will set up the recipient; you may want to include a free email address such as Gmail or Outlook as a test distribution so that you can check it yourself.
In addition to adding one item at a time, you can also choose to import using a CSV or Excel file by selecting Perform Batch Actions from the menu on the left side.

- CSV / TXT File
- Excel File
- Paste text
- Import Google Contacts
- Salesforce plug-in (Salesforce CRM integration)
This time, you will manually register several e-mail addresses. Note that there is a section asking if you have obtained consent to send e-mail, so this time you only need to enter your own free e-mail address, so you have obtained consent, but you should not use an e-mail address for which you do not have consent.

This time, it is in the form of about four email addresses (the email address portion was masked).

Set initial sender name
The next step is to configure the sender settings for email delivery. In this setting, if you can edit DNS records, you can configure SPF / DKIM settings. By setting these two items, the rate at which emails are certified as SPAM will be reduced and the delivery rate when delivering emails can be increased. In this article, we will introduce the procedure including DNS settings.
Adding a Sender
This setting serves as a mechanism for sending domain authentication, which prevents spoofing of the sender of an e-mail. These two keywords are abbreviated as follows
- SPF - Sender Policy Framework
- DKIM - DomainKeys Identified Mail
Since most junk mail disguises the sender (from and server are separate), email marketing tools, not just Moosend, need to send non-spam emails. In this case, the two mechanisms are used to combine the domain and service settings so that the recipient of the e-mail is preconfigured to not identify it as spam.
Please refer to the following article for a detailed explanation of how DKIM works.
This time, create a new sender.

After adding a sender, the screen changes to the one shown below.

The email address you added is currently awaiting approval from the sender. An email for authorization has arrived at the target email address.

Click on it and you will see the authenticated item change to a check.
SPF / DKIM settings
Click on the Set up SFP/DKIM button. DKIM information will be displayed first.

Set these values in the DNS. The following is an example of how to add a record to Godaddy (use the respective values).

Next is the SPF value, which can be found at the bottom of the previous screen. Click on it to see the value.

After completing the above settings, check Verify DNS Record in the lower left corner to see if the values are reflected. If the above settings are complete and the Moosend service is able to verify the values, a check will be placed in the SPF / DKIM field. You can now deliver your emails with peace of mind.

Create your first campaign
When you return to the home screen after logging in in the form that all the above steps have been completed, you will see the following, Let's create your first campaign. The campaign will be about sending an email, so this is where you will create your email.

We will create a campaign as soon as possible.
Create a new campaign
The following four patterns can be created for a campaign
- Standard: General Newsletter Distribution
- A/B testing: You can split an email into two parts and measure the effectiveness of each part
- Repeat: Automatically send the latest content, digests, etc. from a URL at a specified time
- RSS: Automatically sends the latest posts retrieved from RSS feeds
For this simple test, we will select standard.
Standard Campaign Settings
The basic settings of the campaign you have created are determined. For the campaign type, choose HTML, as this will be reflected in the report, including open rates. Don't worry about creating an HTML email, it's easy to do.
Several input fields are provided as follows.
- Campaign Name: This is for management within the tool. It will not be displayed to recipients, so please set a title that can be recognized later.
- Subject : This is the part of the email that sets the subject line item and is the first thing the recipient will see. Make sure the subject line is both attractive and concise.
- Preview Text: For mailers that display preview text in addition to the subject line, a brief description can be displayed. Please add the content of the message along with the subject line.
- Sender Name / Email Address: This should be the sender you set up in the third step
- REPLY-TO: This field is a reply-to field and allows you to specify to whom the e-mail should be replied. Please set the email address of the relevant department.
There are three other items not listed above.
- Confirmation Email To: You will receive a confirmation email when your campaign is emailed. By default, the account administrator is set.
- Track Campaigns with Google Analytics: If you have Google Analytics set up on your website, you can turn on this feature to track
- Track Campaign Revenue: Allows you to report revenue as a result of the emails you send out. To turn on this feature requires integration with other systems.
Select a mailing list
Select the list of subscribers to whom you want to send the email you are about to create. This is the list you created at the beginning of this step.

You may select multiple lists here. Even if one email address is included in multiple mailing lists, you will receive only one email regarding the campaign, not two.
Design
In this section, we will create an HTML email design using a browser. To save you time and effort, we will proceed with the process of creating an e-mail by selecting a template from a large number of sample e-mails.

Click Start Design to switch to the Template List screen.

A very large number of templates are available. For example, if you want to browse Christmas card templates, click on Chrismas in the menu on the left to narrow down the list to only Christmas templates.
A very large number of templates are available. For example, if you want to browse Christmas card templates, click on Chrismas in the menu on the left to narrow down the list to only Christmas templates.

Clicking on the Use Template button will allow you to use the template to change the design of the email. The screen will open to the edit screen as shown below.

On the left side, there are components such as the structure of the e-mail (divide into two, divide into three, etc.), and you can also change the contents of the HTML e-mail by selecting an image or selecting text to switch to the screen for the settings of that part of the e-mail. Of course, Japanese can also be included as content, so please click on the template data to create your email.
The icons above, from left to right, are the Save HTML Email, Save Template, and Open Template functions. You can also see that items such as Test Send Mail are also located.
At the top of the screen is a Preview button. By clicking this button, you can see a preview of what the message you are editing will look like on a PC, tablet, or smartphone.

Save the design and click Update Campaign & Continue in the upper right corner to continue, and the HTML email is complete.
Scheduled send email
Once the HTML email is created and the recipients are confirmed, all that is left is to send the email. There are two options: send immediately or send at a specific time.

As for the time of delivery, the time zone can be specified. This means that if you want to send an e-mail overseas at 9:00 a.m., there is no need to calculate the time.
The above is timed for reference, but in this case we want to make sure the first email is delivered, so turn on Send Now and click Next.
Preview
After all settings have been made, a preview screen will appear before delivery. Here you can check if any settings are missing. You can also check the HTML you are creating.

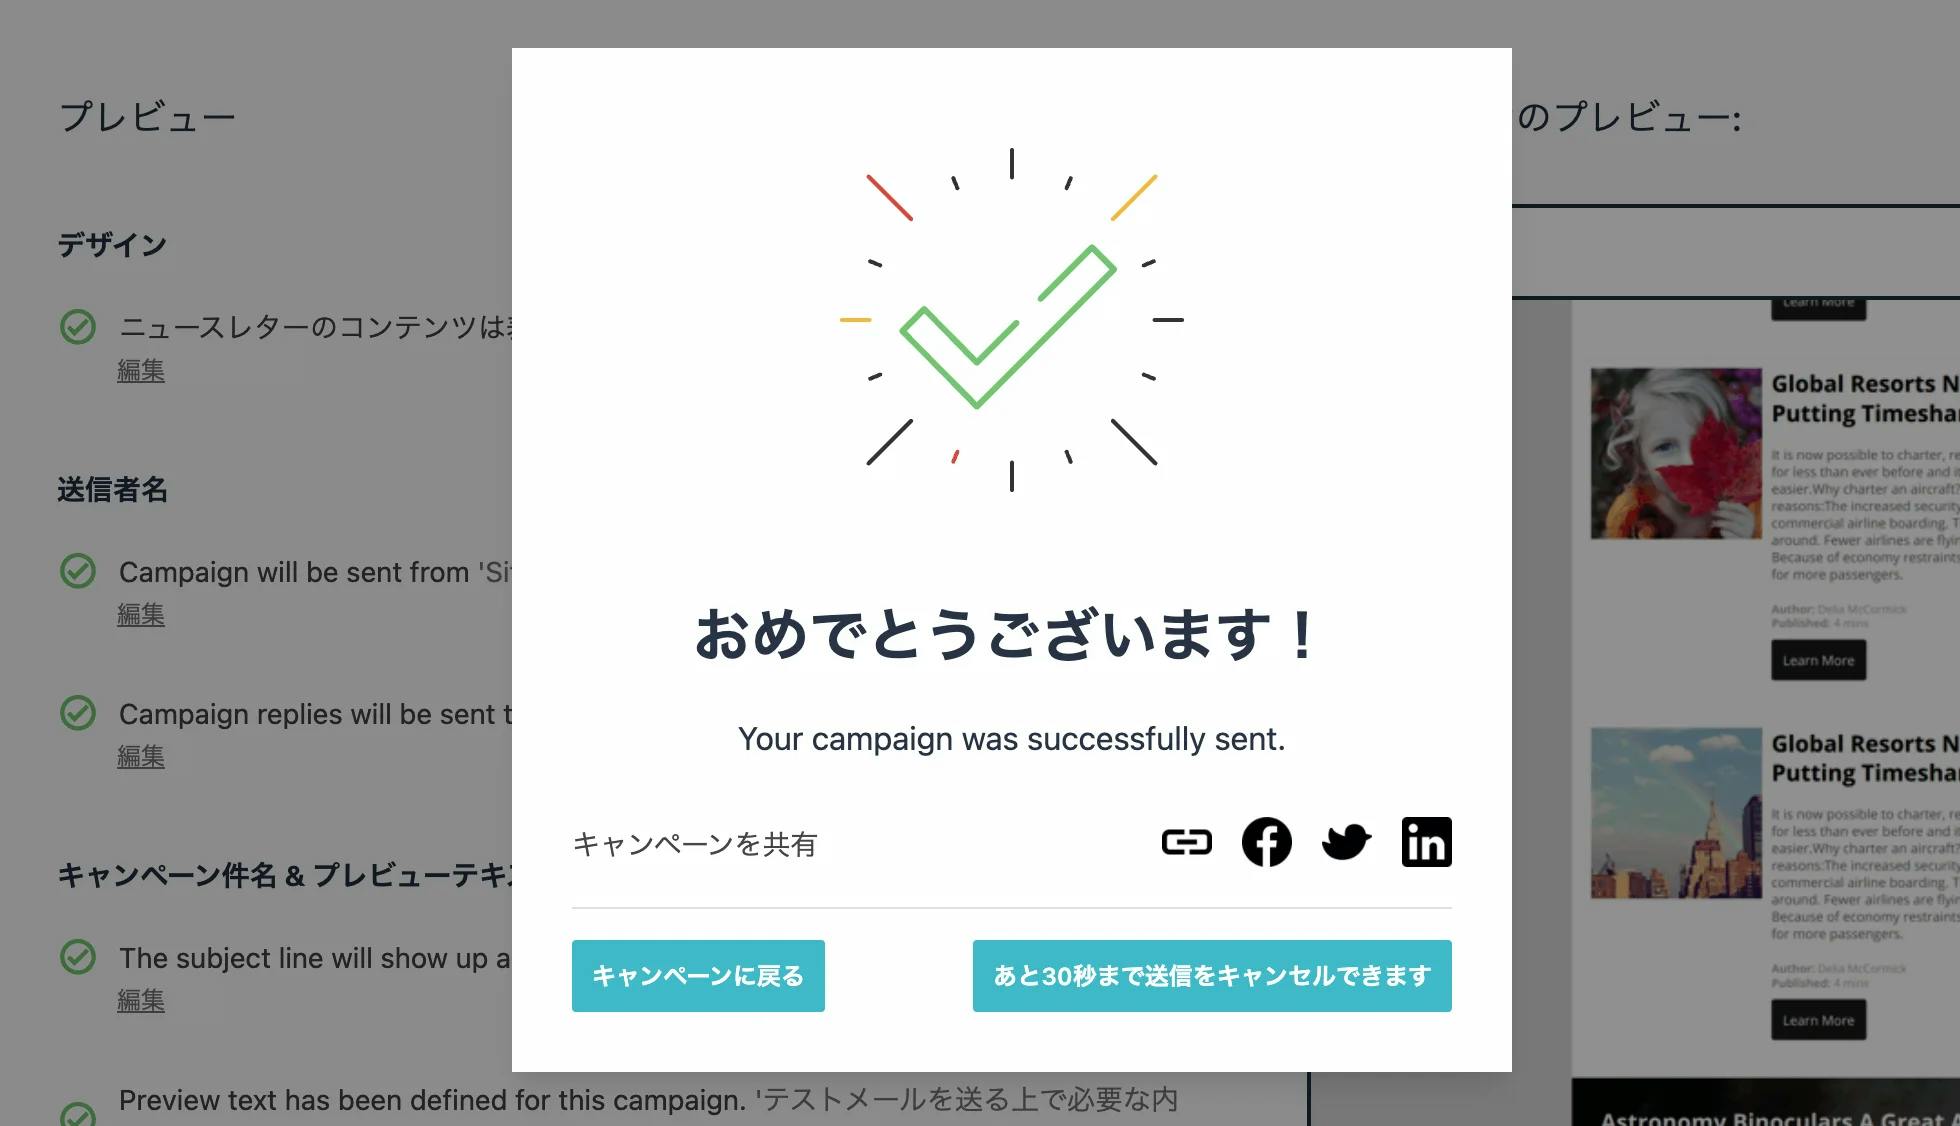
This completes the setup and executes the sending of the e-mail. As a matter of fact, the follow-up is that you can unsubscribe 30 seconds after pressing the send button.
Summary
In this article, after creating a free account, we have introduced the next step, which is to set up Moosend for the first time and send out the first newsletter.
This is true for email marketing tools other than Moosend as well, but in the configuration area, you will need to change your DNS in regards to SPF / DKIM. Considering that there are many unsolicited emails in the world and that many companies have put in place mechanisms to eliminate them, we recommend that you take action on this setting as it will be a form of increasing your deliverability rate.
It's a very easy email marketing tool to get started with, and since it's free for a 30-day period, we encourage you to at least check it out so far.