
So far, we have introduced a sample application and tested its operation. This time, we would like to actually add React components.
Sitecore JSS - Building a sample site using React SDK - Part.4
Related TechnologyPublished: 2021-05-06
jss scaffold ComponentName
To create a new component, the command jss scaffold can be used to generate the necessary files. In this case, we would like to create a component called Test.
PowerShell
jss scaffold Testcommand, the results will be displayed as follows.

sitecore/definitions/components/Test.sitecore.js is generated as the file defining the component data, and src/components/Test/index.js is generated as the React component file. src/components/Test/index.js is generated as the React component file. The following is a reference to each of these files.
sitecore/definitions/components/Test.sitecore.js
Referring to the file, it is stated as follows
JavaScript
// eslint-disable-next-line no-unused-vars
import { CommonFieldTypes, SitecoreIcon, Manifest } from '@sitecore-jss/sitecore-jss-manifest';

/**
 * Adds the Test component to the disconnected manifest.
 * This function is invoked by convention (*.sitecore.js) when 'jss manifest' is run.
 * @param {Manifest} manifest Manifest instance to add components to
 */
export default function(manifest) {
  manifest.addComponent({
    name: 'Test',
    icon: SitecoreIcon.DocumentTag,
    fields: [
      { name: 'heading', type: CommonFieldTypes.SingleLineText },
    ],
    /*
    If the component implementation uses <Placeholder> or withPlaceholder to expose a placeholder,
    register it here, or components added to that placeholder will not be returned by Sitecore:
    placeholders: ['exposed-placeholder-name']
    */
  });
}
The important items in this file are the following
JavaScript
  manifest.addComponent({
    name: 'Test',
    icon: SitecoreIcon.DocumentTag,
    fields: [
      { name: 'heading', type: CommonFieldTypes.SingleLineText },
    ],
A field called heading is provided for use in the Test component, and this string is defined as a SingleLineText.
src/components/Test/index.js
Then referring to the React component, the code looks like this
JavaScript
import React from 'react';
import { Text } from '@sitecore-jss/sitecore-jss-react';

const Test = (props) => (
  <div>
    <p>Test Component</p>
    <Text field={props.fields.heading} />
  </div>
);

export default Test;
This is the form that contains the actual HTML tags and descriptions for displaying the items being defined. From top to bottom
JavaScript
import React from 'react';
import { Text } from '@sitecore-jss/sitecore-jss-react';
In this second line, the text defined in Sitecore JSS is imported. This is then embedded in the HTML as shown below.
HTML
<div>
<p>Test Component</p>
<Text field="{props.fields.heading}" />
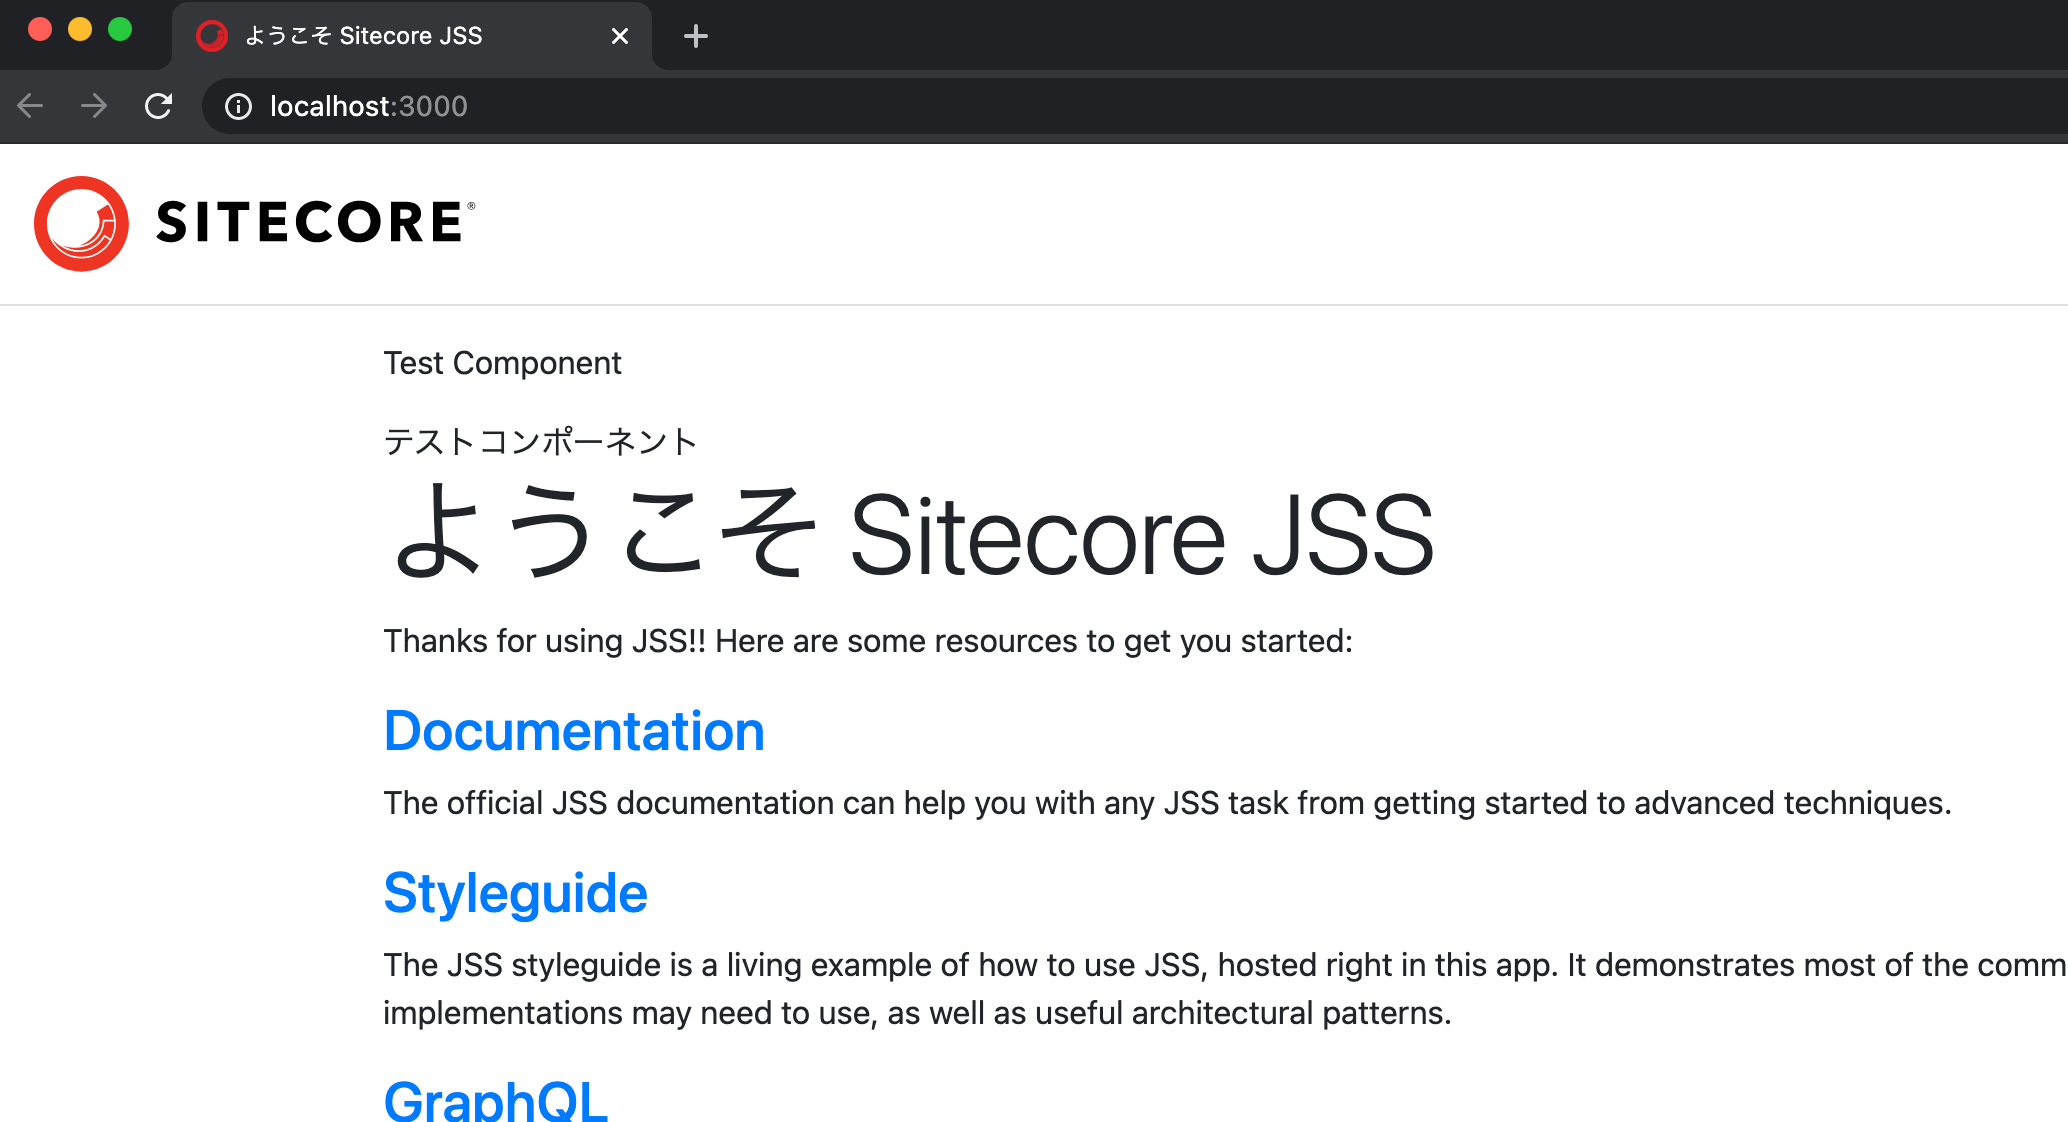
</div>This test component will behave as follows: it will display the words Test Component, followed by the text as content.
Editing Content
jss start
This time, we will assume that you are using Visual Studio Code. First, we will run the project with the added component to check if it works correctly.
PowerShell
jss startWhen executed, the following is displayed.

This time, leave it running and edit the content.
Change content
When this is used on the actual page, the following file is the content and should be edited.
- react-app/data/routes/ja-JP.yml
Suppose the original file contains the following statement.
YAML
placeholders:
  jss-main:
    - componentName: ContentBlock
      fields:
        heading: ようこそ Sitecore JSS
ContentBlock is the sample component originally provided. This time, we will add content in front of it.
YAML
placeholders:
  jss-main:
    - componentName: Test
      fields:
        heading: テストコンポーネント
    - componentName: ContentBlock
      fields:
        heading: ようこそ Sitecore JSS
When you save the file, the compilation is executed again, and when you reload the file in the browser window, you will see that it has been reflected.
Summary
In this article, we created a new component by executing a command. In terms of what files do what, we showed you the file that defines the content template, the file of the React component that displays it, and how to edit the actual content to use the component.
- Building a sample site using React SDK - Part.1
- Building a sample site using React SDK - Part.2
- Building a sample site using React SDK - Part.3
- Building a sample site using React SDK - Part.4