
We've previously introduced Next.js apps in several parts. Since Next.js is built with React, understanding React is beneficial. Therefore, we'll return to basics and focus on React in this blog. This time, we'll cover how to start a React app.
Sitecore JSS - Building a sample site using React SDK - Part.1
Related TechnologyPublished: 2021-04-21
Introduction.
The flow of this introduction will be based on the documentation of Sitecore JavaScript Services. If English is not a problem for you, please visit the following site.
The first part of the standard is to run a sample application. Let's proceed with this.
Launching Sample Apps
To launch the sample application, perform the following steps
I have already installed the jss command in my environment, so I will first create a sample application.
PowerShell
jss create react-app react
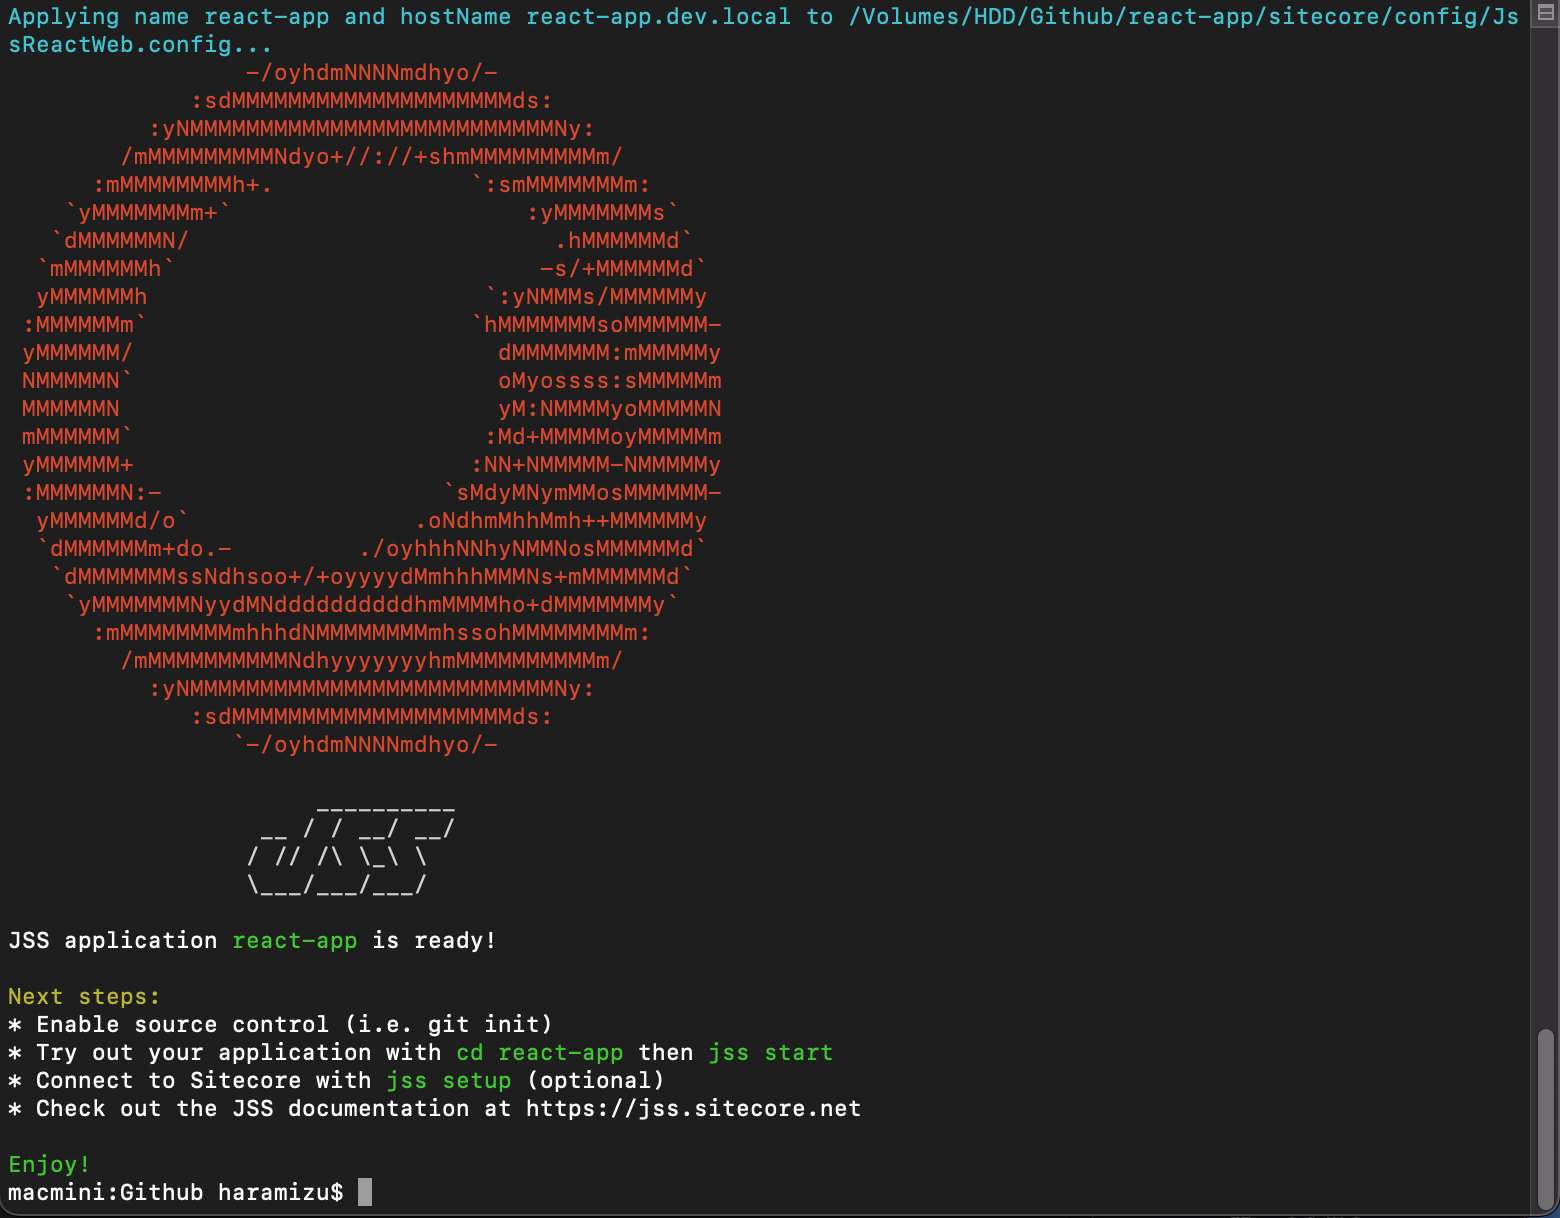
To actually start the created application, navigate to the directory and run it.
PowerShell
cd react-app
jss start
After a few moments, the browser will launch and the sample application will start.

We can now confirm that the sample application can be downloaded and run.
JSS Site Creation
It provides the ability to manage JSS apps in the same way as Sitecore's collection of modules.
In this step, we will deploy the created application to Sitecore.
Prerequisite.
The environment presented in the procedure is to set up a virtual machine on top of Microsoft Azure and deploy react-app on hand. It would be easier to work with just the virtual machine, but it is easier to understand the location of the configuration files, so we will work with a remote server.
Creating JSS Tenants
Launch the Content Editor and right-click on the Sitecore - Content item.

After selecting a JSS tenant, a dialog box will appear. In this case, since it is for a demo, enter demo to complete the tenant.

After a short time, the tenant's item is created.

JSS Site Creation
Then create a site. Right click on the above tenant and the JSS site will appear as a candidate.

A dialog box for creation will appear. For the site name, we have entered the name of the application. The language is English for now.

Open the Site Settings tab and you will see the following

The Deployment Secret can be entered later. After a few moments, a site template will be created.

Creating API Keys
Create an API key to connect to Sitecore. Please refer to our previous blog post "Preparing API Key" for the procedure.
Change of Authority
For JSS import, the import is performed using the permissions of a user named sitecore¥jssImport. This user belongs to sitecore¥JSS Import Service Users, but does not have default access privileges to the tenant created this time. Select the target role from the Role Manager and open the Access Viewer to see the following.

Launch the security editor and grant permissions to write, create, etc.

This time, we granted all of the privileges.

Preparing react-app
We will proceed to connect react-app generated from the template to the JSS site where it was created. First, go back to the relevant directory and execute the following command
PowerShell
jss setupOnce executed, the following questions will appear
- Can you access Sitecore instances via network share? Select n in this case
- Enter the server name
- The server name + URL for Import will be displayed. By default, press Enter to leave it as the default.
- You will be asked for the API key, set the GUID you created above as the key
- Finally, you will be asked for an deployment secret. If you do not enter anything, a random string will be generated automatically.

The parameters you entered are stored in the scjssconfig.json file and can be referenced at any time.
Reflect settings in Sitecore
Set deployment secret
Next, configure the deployment secret key created in jss setup for the pre-created JSS site. Open the content editor and select the /sitecore/content/demo/react-app/Settings setup item. Scroll down in the content area of this item and you will find the Deployment Secret item.

Set the key you created here to save the item.
Create config file
GraphQL is not enabled simply by applying the deployment secret key to the JSS site, so a config file must be created. Sample code is provided at
In the directory of your Sitecore instance, create a folder named zzz in the App_Config\Include and create react-app.config. As for the code for this file, copy the code in the section on page 5 above.
This code is only a sample, so you will need to change the paths to the actual GraphQL endpoints and templates you have created. Please refer to the settings section of the JSS site.
In this case, we made the following two changes
XML
<carsGraphQLEndpoint url="/api/cars" type="Sitecore.Services.GraphQL.Hosting.DatabaseAwareGraphQLEndpoint, Sitecore.Services.GraphQL.NetFxHost" resolve="true">

...

</carsGraphQLEndpoint>
GraphQL endpoints are configured as follows

The sample is set to cars, so change cars to react-app (3 changes).
XML
<react-appGraphQLEndpoint url="/api/react-app" type="Sitecore.Services.GraphQL.Hosting.DatabaseAwareGraphQLEndpoint, Sitecore.Services.GraphQL.NetFxHost" resolve="true">

...

</react-appGraphQLEndpoint>
Also, the description regarding the template is as follows on the site

For this reason, the item should be changed as follows
XML
<paths hint="list:AddIncludedPath">
    <templates>/sitecore/templates/Project/demo/JSS Site</templates>
</paths>
This completes the configuration file.
Deploying JSS Apps
From this point forward, only those who wish to perform normal verification should use this service. The procedure in the form of minimized data for the sample app is described in Sitecore JSS - Building a Sample Site with React SDK - Part.2.
In this case, to deploy in a remote environment, we will follow the steps below.
Synchronize items
First, synchronize the items. The following commands are used to do this.
PowerShell
jss deploy items -c -d
When the import is complete, a warning will be displayed, but since it is a warning this time, we will proceed without worrying about it. After the import is complete, the items will be created in the JSS tenant that was created in Sitecore.

Extract the file
Next, we need to copy the layout information used by JSS to the Sitecore instance. First, create a file with the command
PowerShell
jss buildAfter executing this command, the build folder is created and files are generated.

Then, check the file system path set at the JSS site.

Copy all files in build to the path specified above.

Confirmation of operation with Sitecore
Select the imported Home item and open the Experience Editor from the Publish tab.

If you make edits in the Experience Editor, you will see that the item information has also changed. You can now deploy your JSS app to Sitecore. In addition, we have shown you how to import it into your JSS site.
Summary
In the next issue, we will remove unnecessary data from the sample application and introduce the addition of Japanese resources.
- Building a sample site using React SDK - Part.1
- Building a sample site using React SDK - Part.2
- Building a sample site using React SDK - Part.3
- Building a sample site using React SDK - Part.4