
In the previous issue, we introduced the steps of launching the React app provided as a JSS sample app and deploying the React app in Sitecore. This time, we will show you how to delete the sample data and add Japanese data.
Sitecore JSS - Building a sample site using React SDK - Part.2
Related TechnologyPublished: 2021-04-22
Introduction.
If you have done everything in the previous article, you are in a situation where sample data has been imported. This time, in importing data to a clean JSS site, we are developing a new environment after removing unnecessary data from the sample application. The previous article is a good reference for the connection procedure.
Delete sample data
The React sample expands on the style guide for developing JSS. The following contents listed on the top page are applicable.
Deleting files

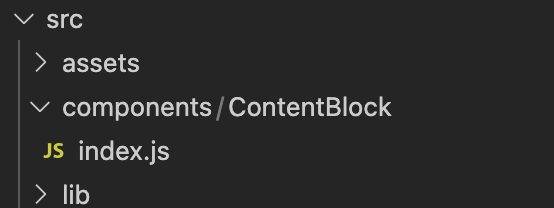
We will remove them according to the information provided. First, delete Styleguide* and GraphQL* under src/components/, leaving only ContentBlock.
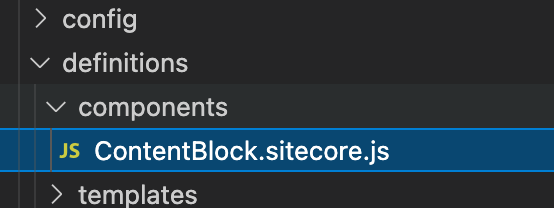
Next, delete Styleguide and GraphQL under /sitecore/definitions/components. Again, only ContentBlock.sitecore.js remains.
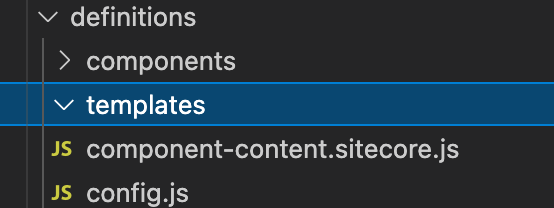
Next, delete Styleguide under /sitecore/definitions/templates/. The template folder will be empty.
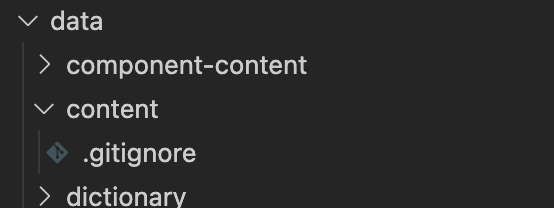
Next, delete the entire /data/component-content/Styleguide folder.
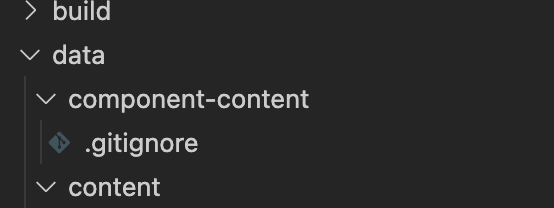
Delete /data/component-content/Styleguide, which contains the content data; the content folder will also be empty.
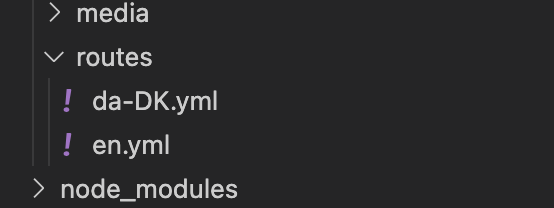
Finally, delete the styleguide and graphql directories under /data/routes/ with their contents.
Dictionaries data are also presented in the sample, but we will leave this one out.
Actual startup and confirmation
After deleting all the data, we will check again if it works with jss start. If you get an error when clicking on links such as Styleguide in the upper right corner of the actual page, it is because the data has been deleted, and we will proceed with the error this time.
Importing to Sitecore
Now that the data has been deleted, we will import the items. The commands are as follows
PowerShell
jss deploy items -c -dWhen the import is complete, the tree is simpler than before.

Importing layout data
Now that the item data has been imported, the next step is to import the data related to the layout. First, run Build of the JSS application.
PowerShell
jss buildAfter executing this command, the build folder is created and files are generated.

Then, check the file system path set at the JSS site.

Copy all files in build to the path specified above.

We were able to deploy react-app, which is now minimal data. Please make sure that you also open it in the experience editor.

Content in Japanese
The sample contains English and Danish content, so we would like to create and import Japanese content.
Confirmation of environment
Please make sure that ja-JP is added as the system language.

If you do not have a language setting, you can add one by following the steps below.
- Open the Control Panel
- Globalization - Adding Languages to Your System
- Japanese (Japan) : 日本語(日本) to add to the system.

Create a file in Japanese
This time, as a quick workaround, we will create a copy of the file that is included in the sample. The target file is data/routes/en.yml, and data/routes/ja-JP.yml is created using data/routes/en.yml (ja is lower case, JP is upper case).
For the created file, add the following two lines under id:.
YAML
name: home
displayName: ホーム
Welcome to Sitecore JSS と記載されているコンテンツを ようこそ Sitecore JSS に書き換えます。
Replace the content marked ようこそ Sitecore JSS with Welcome to Sitecore JSS.

Change the configuration file
The default language of JSS is English, so change this to Japanese.
package.json のファイルに language の項目がありますので、これを ja-JP に変更します。

Then, add a language entry to site in sitecore/config/appname.conifg.

Confirm changes
Open the current site locally to see if Japanese content can be displayed.
PowerShell
jss startOnce the contents of the created ja-JP.yaml file are displayed, the addition of Japanese data is complete.

Synchronize content with Sitecore
To upload Japanese data to Sitecore, execute the following command
PowerShell
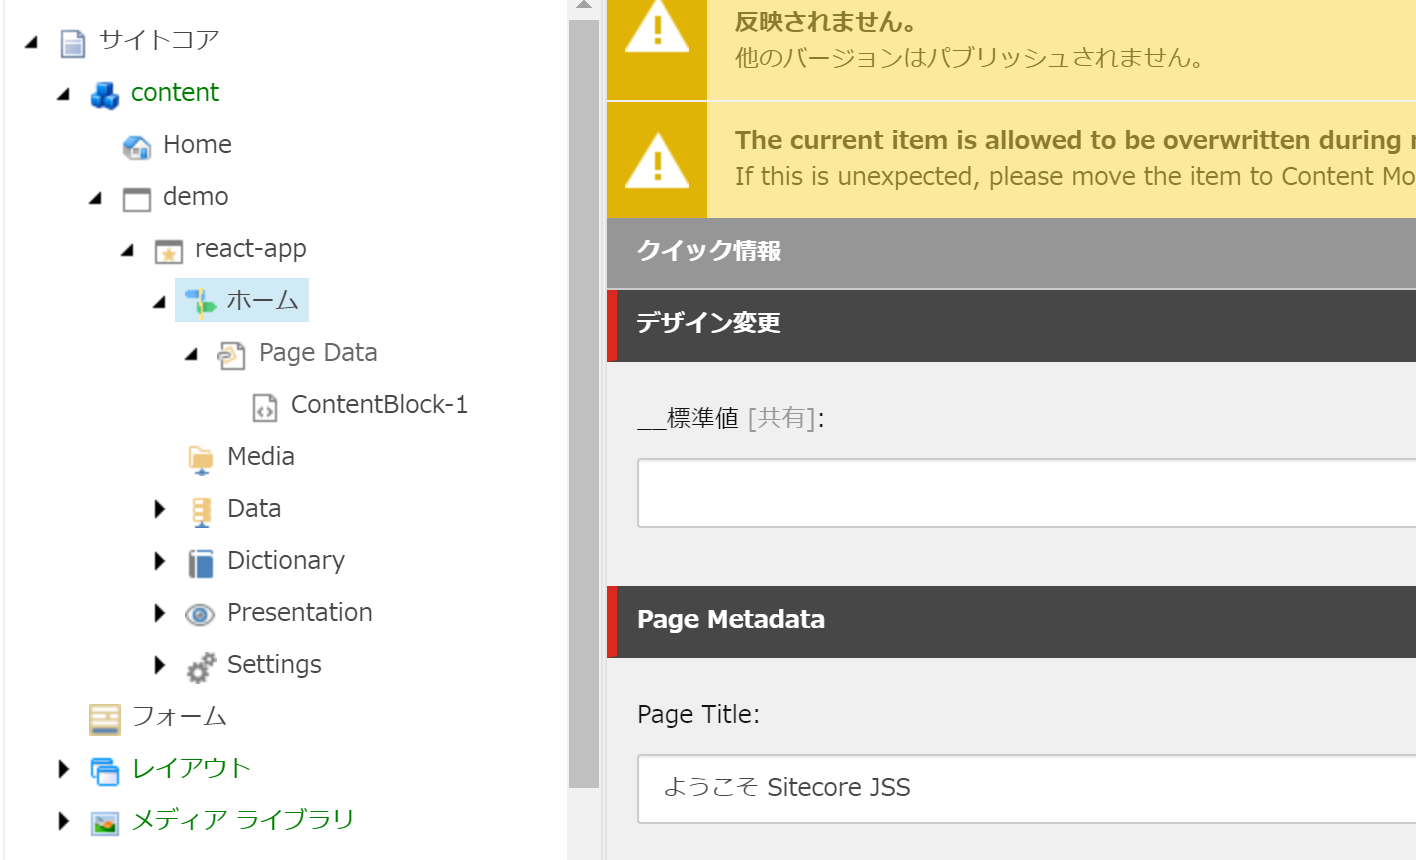
jss deploy items -c -dWe will skip the build process this time, since we have not changed the layout in particular. After the import is complete, check the items in Sitecore.
If Japanese data has been added to an item, you will see that the Home item, and the items below it, contain Japanese data.
Summary
This time, we have streamlined the sample JSS application and modified it to handle Japanese. In the next issue, we will introduce the operation mode of the JSS application that we are running casually.
- Building a sample site using React SDK - Part.1
- Building a sample site using React SDK - Part.2
- Building a sample site using React SDK - Part.3
- Building a sample site using React SDK - Part.4