
We have introduced the operation of Headless SSR. In this third article, we will show you how to create and use a Docker container so that you can use it easily at hand.
Setting up a Docker environment
To run the container, first install Docker Desktop for Windows / macOS. Since the environment at hand is macOS, we will work with Docker Desktop for Mac.

After startup, several dialogs will appear, but continue with the settings as they are required for authorization. After a while, the following screen will appear.

Run the tutorial to see how it works. You will see the command line on the right and the tutorial commands in the center.

Click on the command in the center, which will be copied to the command line on the right and executed. Click the Next Step button.

A new command will appear in the center of the screen. After a few moments, the process will be finished, and when you click the Next Step button, you will be taken to the following screen

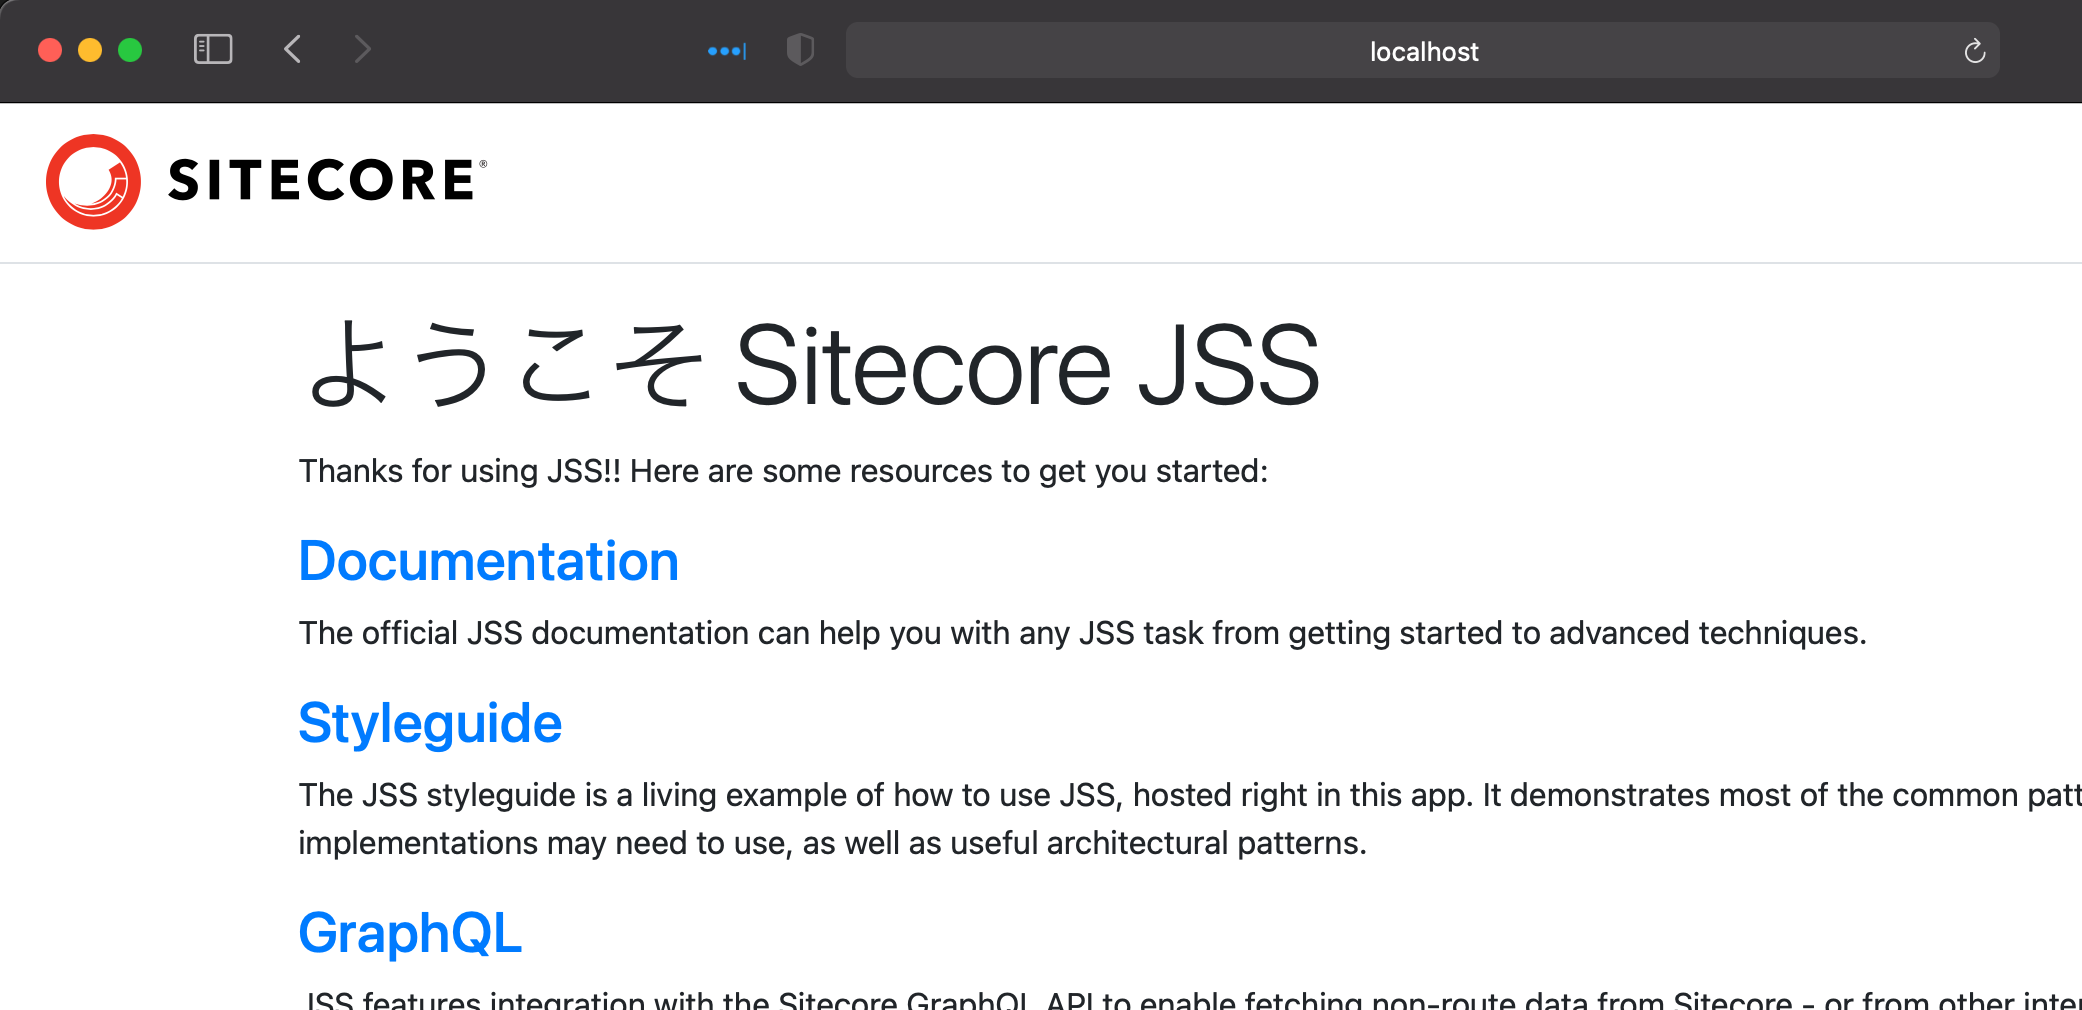
The command shows that you want to run the container. Now, click on it to run it and access http://localhost in your browser. You will see the following site

You can also click Done to see the Docker container in action.

Switching to the dashboard, you will see the following screen.

If you do not need it, you can delete the created image by clicking on the trash symbol shown on the far right. The environment is now ready.
Creating a Docker Image
Next, we want to create a Docker image. First, create a dockerfile in the root of the Headless SSR project folder. The code is as follows to use the Node.js 14 image.
Dockerfile
FROM node:14

WORKDIR /usr/src/react-app-cd

COPY package*.json ./

RUN  npm install

COPY . .

EXPOSE 3000

CMD [ "node", "index.js" ]
Then, create a .dockerignore file to specify files that should not be imported into the image to be created.
plaintext node_modules npm-debug.log
At this time, an image is created.
powershell docker build . -t reactappcd

Check the docker image.

Run the container using the created image.
PowerShell
docker run -p 3000:3000 -d reactappcd
After this, if you access http://localhost:3000 and see the page, the container is working correctly.
Create container execution environment
The container you have created already contains the data you have built. In order to test the new image, we will change the image to one that can directly refer to the files built in the project, since it would be time-consuming to copy and recreate the image each time.
.dockerignore changes
The files copied to dist/appname in react-app-cd should not be included in the image.
Plain Text
node_modules
npm-debug.log
dist
recreate an image
Create the image again in this state.
PowerShell
docker build . -t reactappcdCreating docker-compose.xml
Go to the react-app project, create a new docker-compose.xml file, and write the following code.
YAML
version: '3'
services:
  react-app-cd:
    image: reactappcd
    ports:
      - 3000:3000
    volumes:
      - type: bind
        source: ./build
        target: /usr/src/react-app-cd/dist/react-app
Specify the image created in the previous step, and link the build folder to the image folder /usr/src/react-app-cd/dist/react-app.
Once the file has been created, run
PowerShell
docker-compose up -d
If the container is running, accessing http://localhost:3000 will bring up the page.
Summary
For the Headless SSR project, the variable parts of the project directly refer to files in the react-app project, while the other parts are created as containers. This allows us to work on the react-app project and check the operation of the built data through the container using the Headless SSR mechanism.
While the jss start command is fine for working at hand, when it is necessary to check the behavior of the actual build, the container makes it possible to test it easily.
- Headless SSR - Part.1
- Headless SSR - Part.2
- Headless SSR - Part.3