
If you choose to deploy your XM Cloud site to Vercel, the CI / CD and other parts will be easier to do in conjunction with GitHub. We have already explained the procedure once before, but here are the new and updated parts of the process.
Web Site Publication
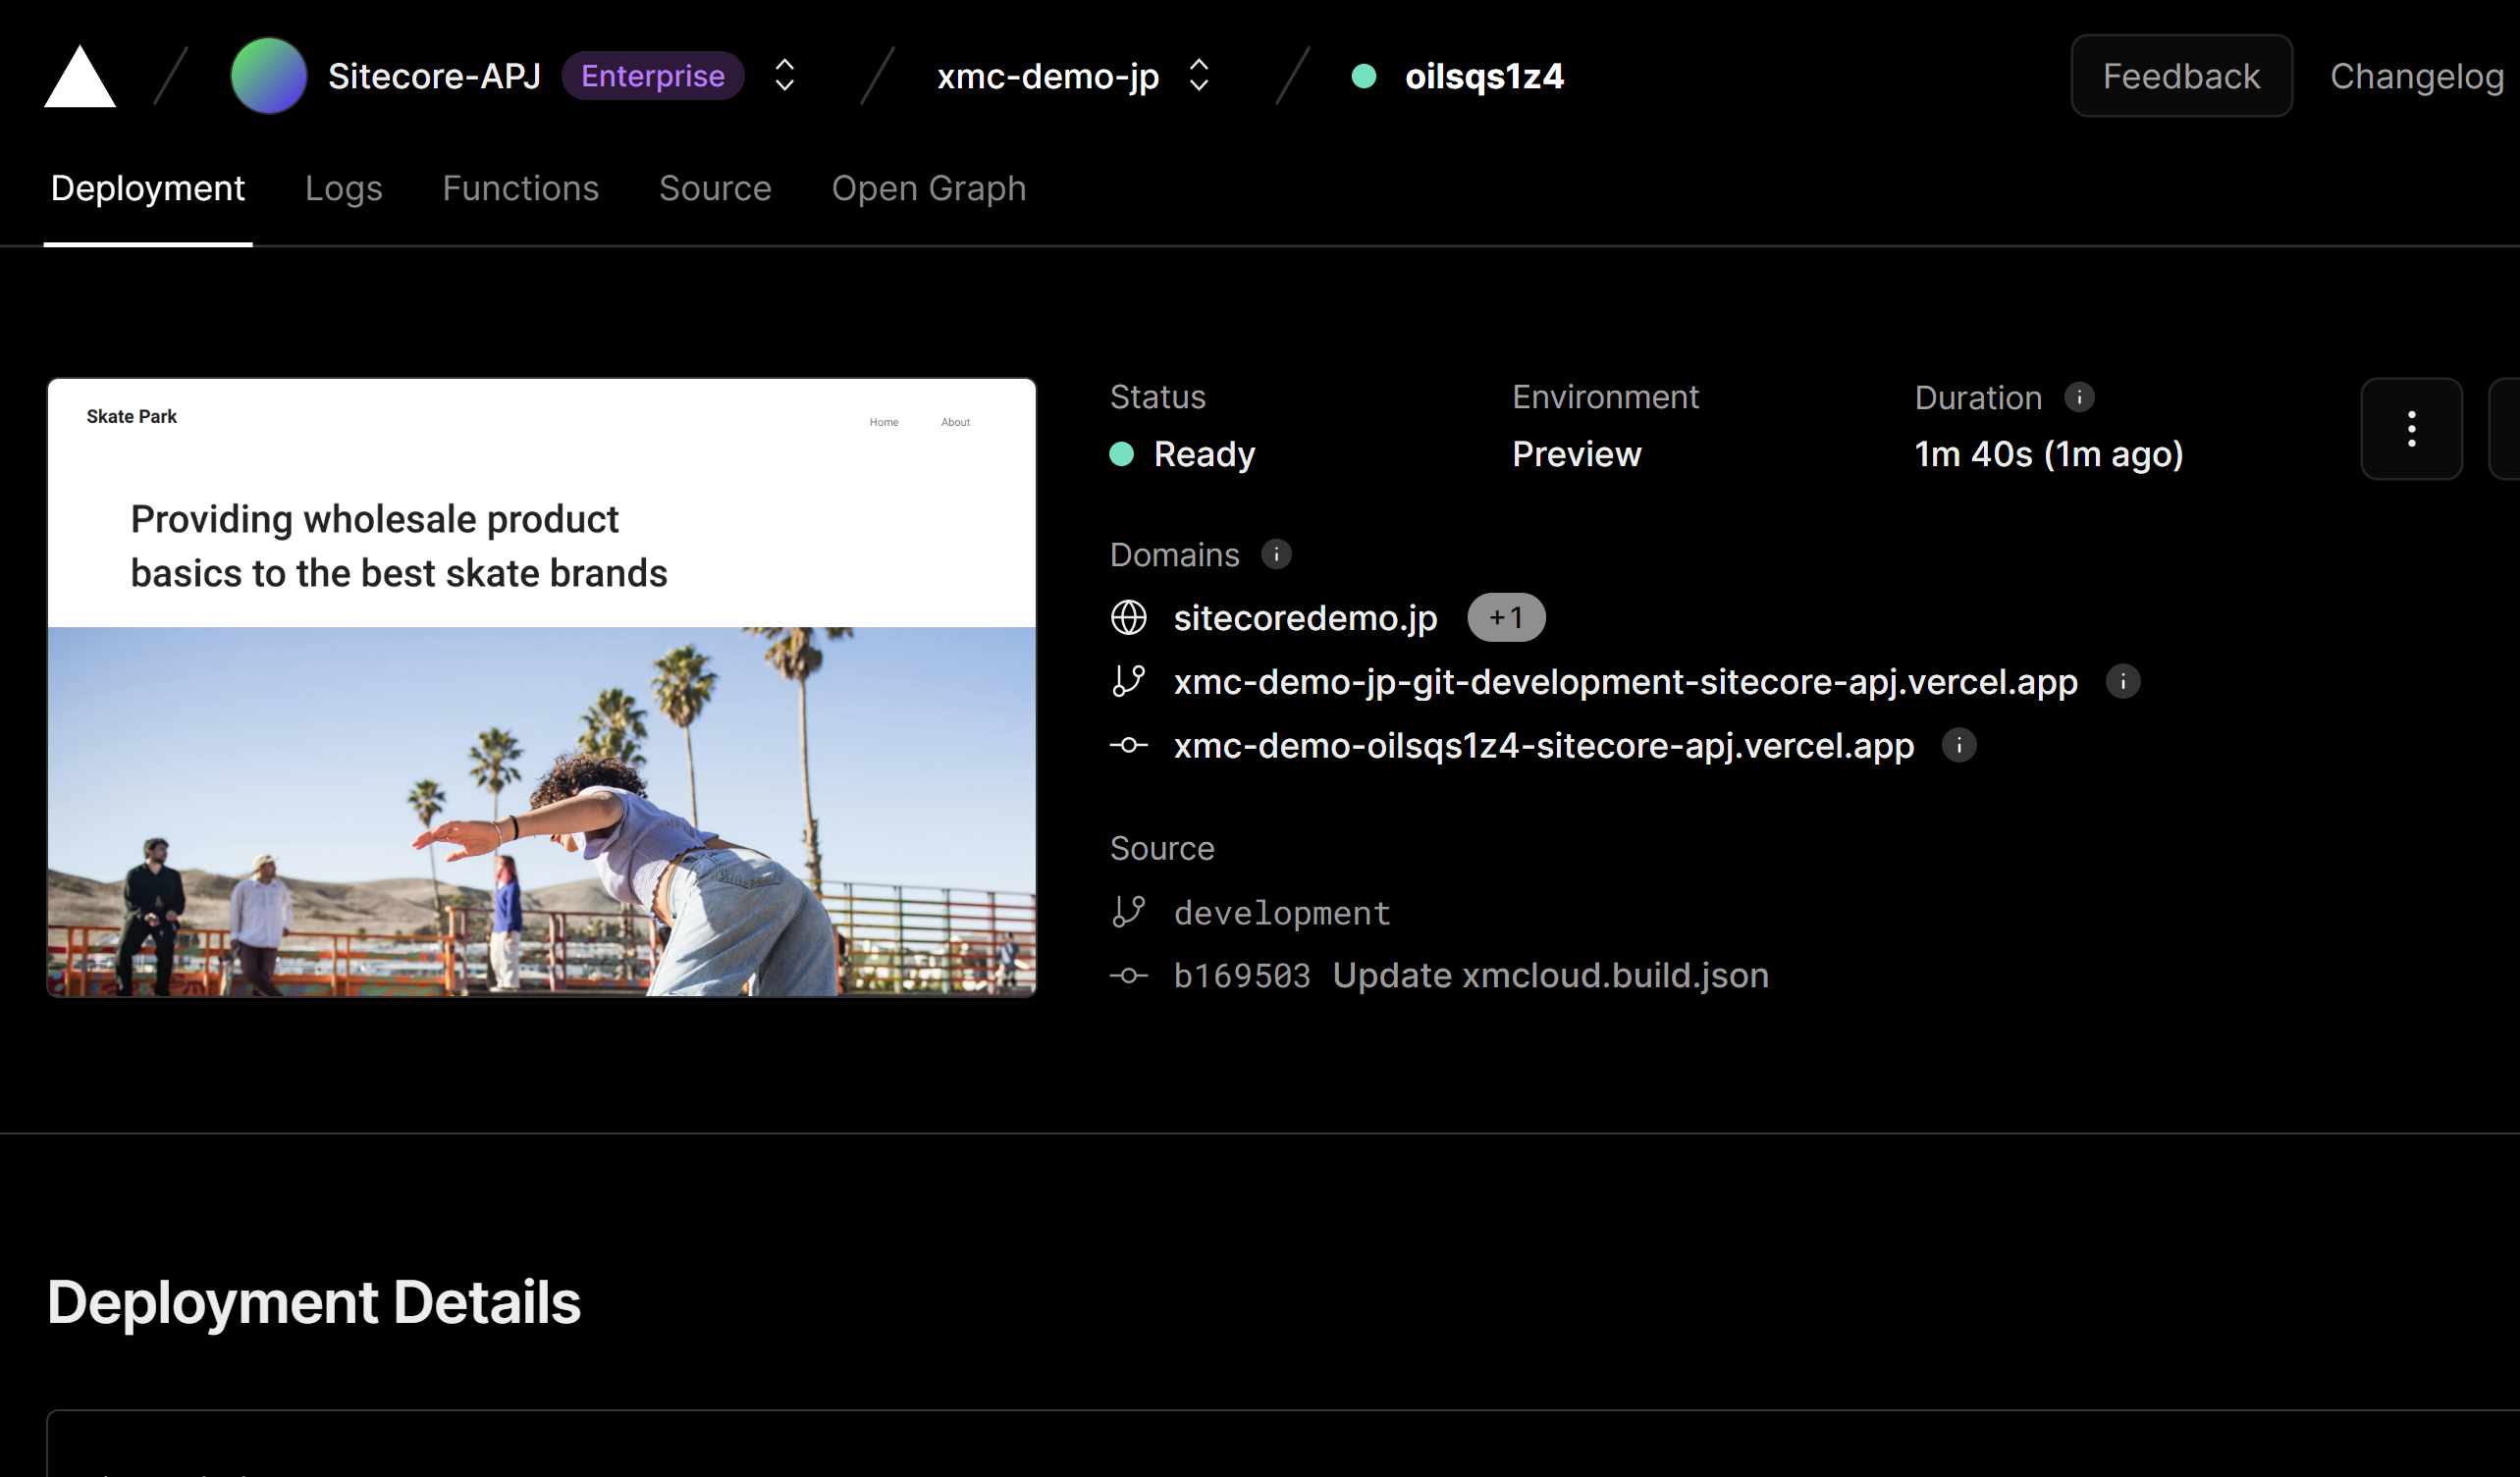
Before the collaboration can take place, the pages involved must be published once. Publishing from the Content Editor using the procedure described in the previous article will continue to work, but it is now possible to deploy from XM Cloud Deploy as well.

Getting API Keys
API keys can now also be issued from the administration screen: go to the target environment in XM Cloud Deploy, click on the Detail tab, and you will see the Edge token value button as shown below.

When actually clicked, a Token is issued and the screen changes to the one shown below. Click on the icon to display it on the screen or copy it to the clipboard.

The obtained Token should be placed in the Header of the Edge Playground ( https://edge.sitecorecloud.io/api/graphql/ide ) provided by Experience Edge with the obtained key.
JSON
{
    "sc_apikey":"YOUR-API-KEY"
}
This confirms that the Key has actually been activated.

Previously, it was necessary to obtain this information from the command line, but it can now be easily obtained from the administration screen. Please refer to the following page for details on how to use it.
Configure Next.js Add-on
As we move forward with the use of sxastarter, the analytics and personalization features are included, and we will introduce this part of the setup in this article.
If you first go to the .env file of your local environment, you will see the following items are provided. We have compiled a table with samples of the actual information that should be set.
Column | Value |
|---|---|
NEXT_PUBLIC_CDP_TARGET_URL | https://api-engage-ap.sitecorecloud.io |
NEXT_PUBLIC_CDP_CLIENT_KEY | pqsPERS3lw12v5a9rrHPW1c4hET73GxQ |
NEXT_PUBLIC_PERSONALIZE_SCOPE | {"en": "example.com", "da": "example.com/da"} |
NEXT_PUBLIC_CDP_POINTOFSALE | {"en": "sitecoredemo.jp", "da": "sitecoredemo.jp/da"} |
PERSONALIZE_MIDDLEWARE_CDP_TIMEOUT | 400 |
PERSONALIZE_MIDDLEWARE_EDGE_TIMEOUT | 400 |
The value to be set here can be obtained by the following procedure.
First, open the menu on the Site List page and select Settings.

Open Settings and switch to the Developer Settings tab to see the values for the current site.

These items should be set in Vercel's Variables. You can see the details of this setting in the following page.
For the rest of the steps, please review the previous pages again and expand on them.
Summary
We showed how to obtain API keys, which now make it possible to easily retrieve items for previous settings, and how to retrieve and deploy data from the administration screen regarding new items of data needed for integration with analytics.