It is possible to reflect locally developed items through GitHub. In this article, we will show you how to make small changes to items locally and reflect them in the SaaS environment, XM Cloud, through GitHub's repository.

Sync your local environment on GitHub
We would like to reflect this as a form that includes the data of the item at hand and other data that has been serialized so that other developers can also use it. First, to ensure that the local data is serialized, we log in locally using the Sitecore CLI.
dotnet sitecore login -n defaultAfter the login is completed, serialization will reflect the data.
dotnet sitecore ser pullThis time we see that one item is reflected.

Verify application name
Before we reflect this in the GitHub repository, we would like to change the app name for this Next.js. This description can be found in the file `src\sxastarter\package.json` and looks like this
{
  "name": "sxastarter",
  "description": "Application utilizing Sitecore JavaScript Services and Next.js",
  "version": "21.0.0",
  "private": true,
  "config": {
    "appName": "sxastarter",
In this case, the name of the website is sxastarter, so we will proceed as is, but if you are creating a website with a different name, change the two values here.
Reflect on GitHub
If you launch GitHub Desktop again, you can see the code that has been changed as follows.

The .env file contains the password and other information, so we will proceed without reflecting it. If you want to start the server after deleting the .env file, run init.ps1 to change various parameters. Make sure that the branch to be reflected is development, and that the branch linked to the environment created on the XM Cloud Deploy screen is also the same, then commit and reflect the code.
When you access XM Cloud Deploy, you will see that the deployment is running based on the new code.

Check after deployment
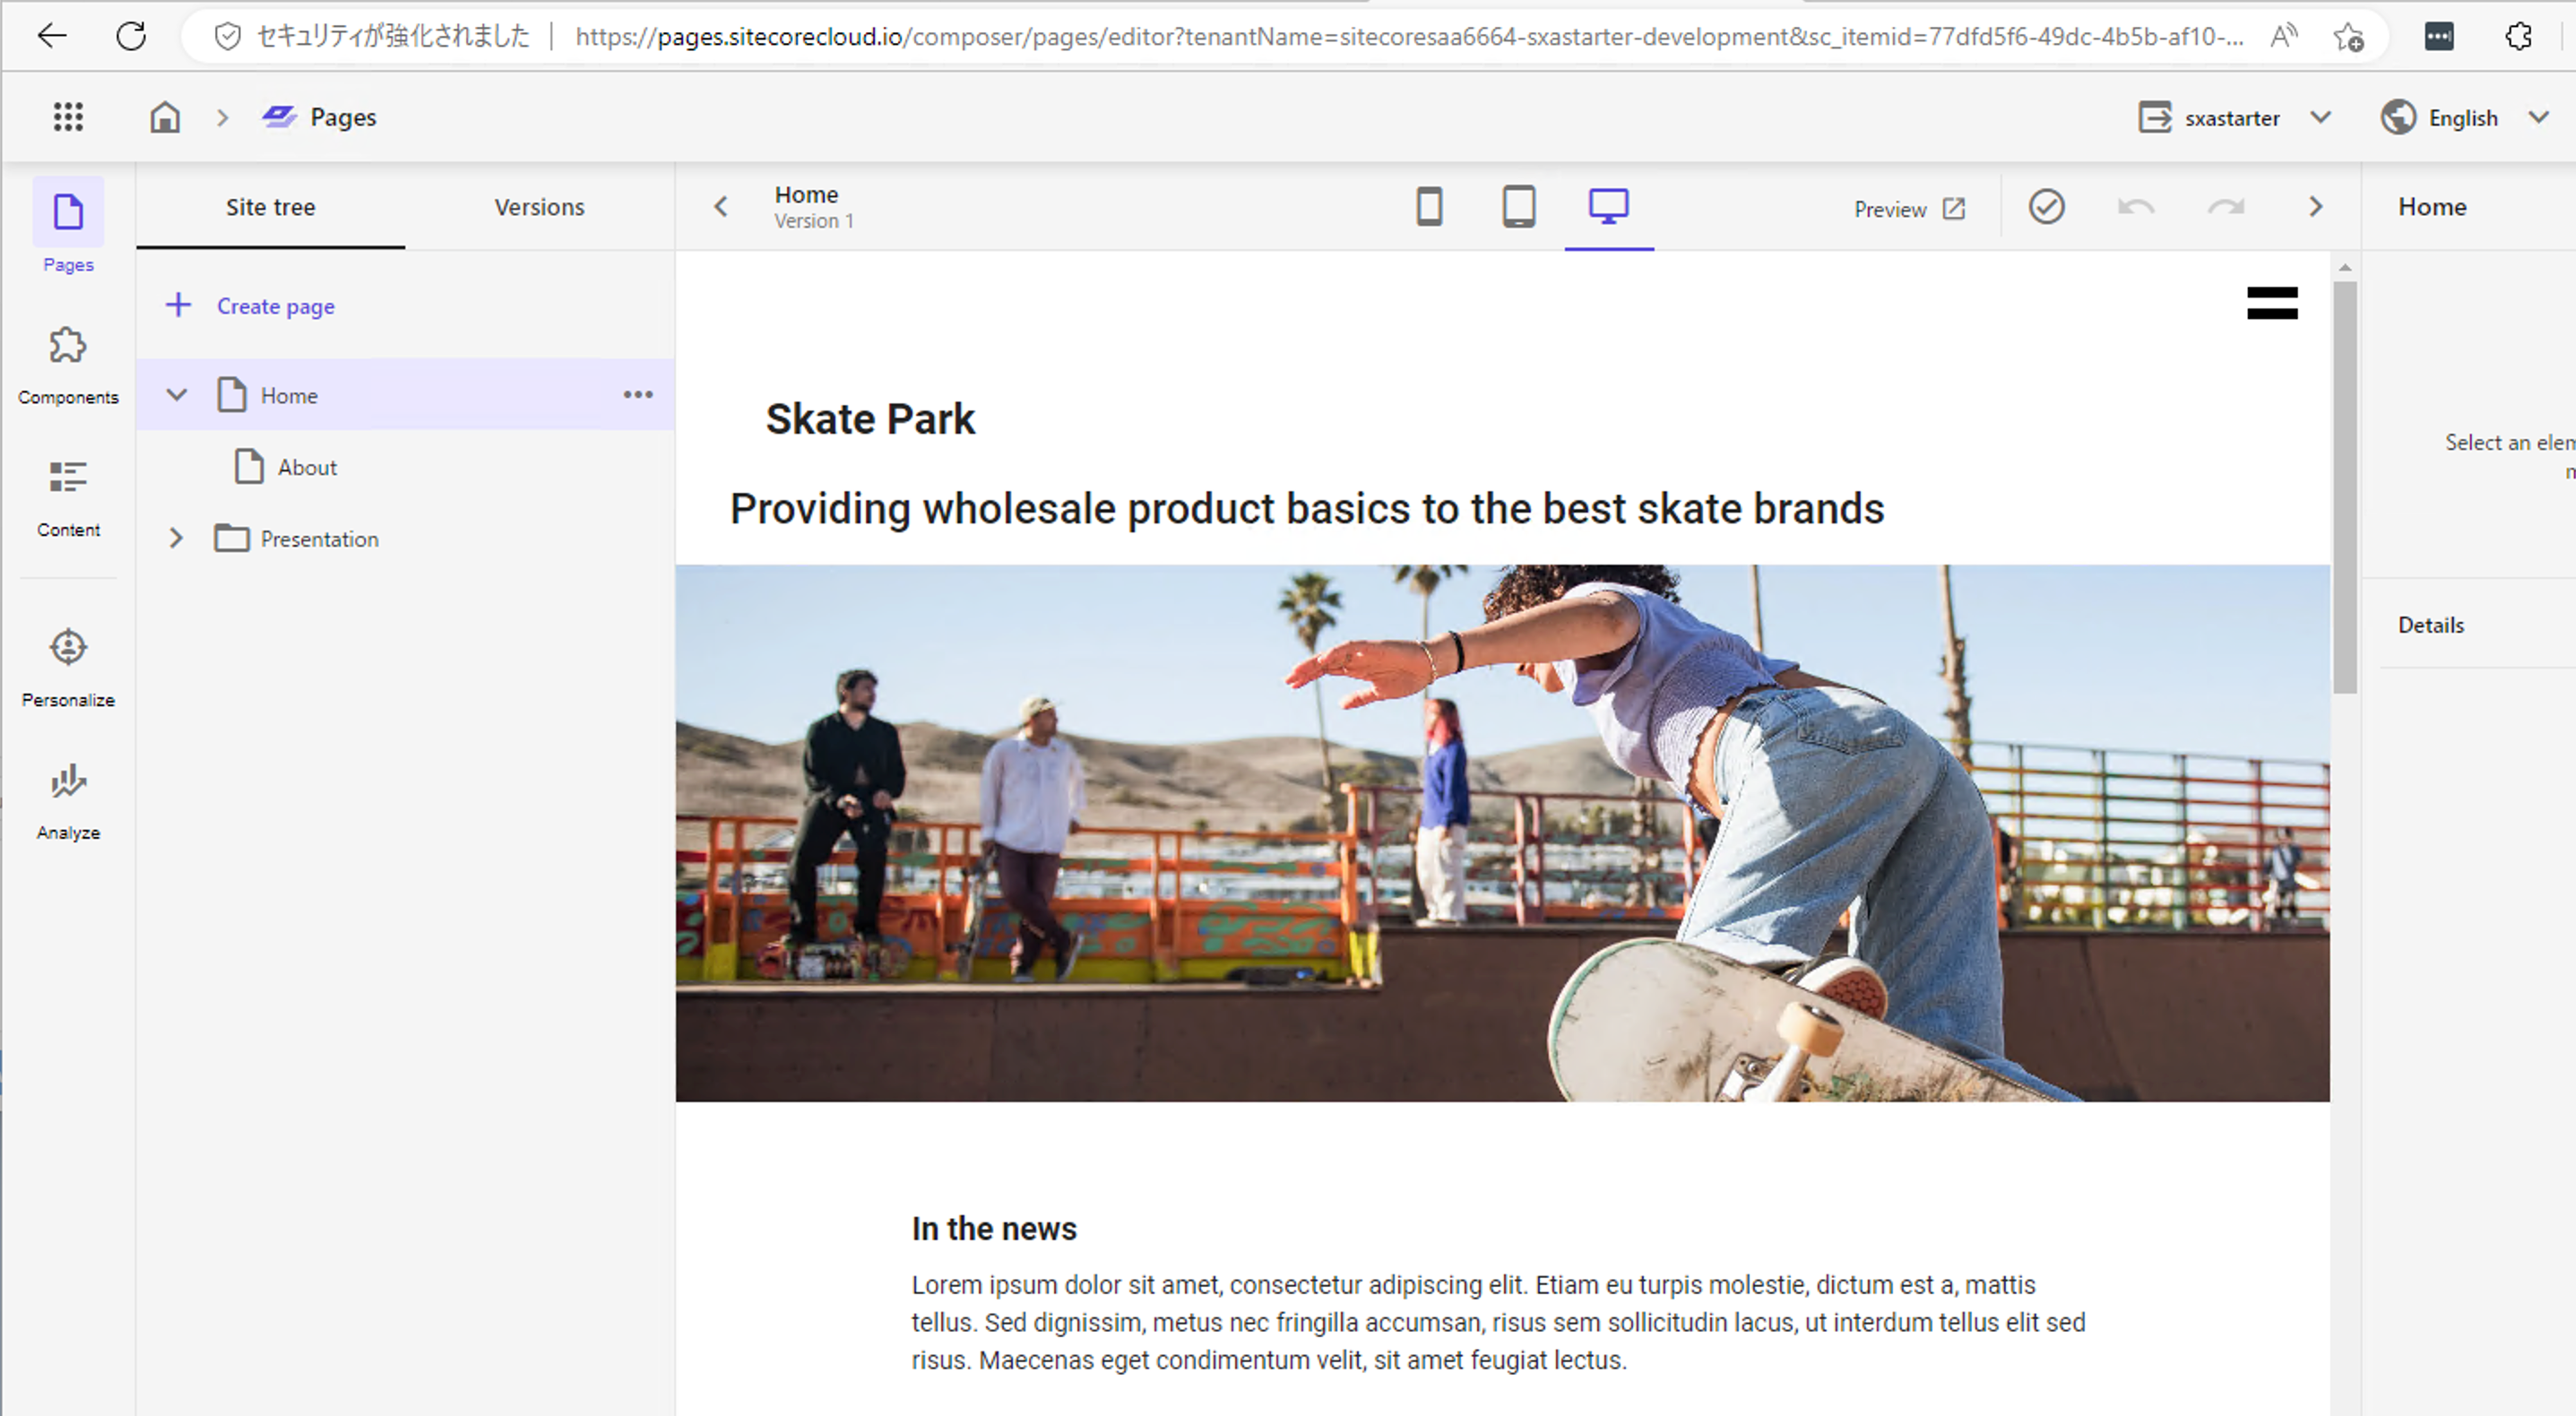
When you access the newly launched XM Cloud, you will see that the Sitecore environment based on the new code has been launched.

If you create a new component, you will need to deploy the code and make it available in the server environment.
Reset the local environment
Reset the environment at hand and confirm that the same environment is launched when it is started up again. First, drop the running container.
docker-compose downRegarding the data used by Docker, it is actually consolidated in a docker folder. Therefore, clearing the data in this folder will enable the initial startup of XM Cloud.
cd docker
clean.ps1

Now it is time to initialize (the .env file will be updated) and start up as previously described.
.\init.ps1 -InitEnv -LicenseXmlPath "C:\projects\license\license.xml" -AdminPassword "DesiredAdminPassword"
.\up.ps1
In fact, the up.ps1 script contains the initialization of the Sitecore CLI and the import of serialized data, if any.
# Rebuild indexes
Write-Host "Rebuilding indexes ..." -ForegroundColor Green
dotnet sitecore index rebuild

Write-Host "Pushing Default rendering host configuration" -ForegroundColor Green
dotnet sitecore ser push
Thus, you can see that by reflecting the serialized data in GitHub, you can easily perform development again in the new environment.

Summary
In this article, I introduced the XM Cloud environment that is now available for use in a local environment, and whether or not it can be used in other environments by reflecting it on GitHub. In addition, we have also introduced the procedure for initializing the environment, which may be useful tips when you want to return the environment to a clean state or initialize the Master database because you have obtained new serialized data.
A video digest of the above content is available on YouTube. Please refer to it.