The XM Cloud Deploy tool, which is the first tool when using Sitecore XM Cloud, is introduced in this article. This tool allows you to create a Sitecore XM Cloud project that is linked to a GitHub repository.

The following article is based on the latest environment as of June 12, 2024.
Project Creation
When you go to the XM Cloud Deploy screen, you will see a screen that allows you to create projects that have already been created, and a screen that allows you to create new projects. The number of projects you can create depends on your XM Cloud subscription.

Clicking Create new project displays a dialog box for creating a project as shown below.

The screen shows the number of templates. At the time of writing this blog, it is in the form of only one template. Select Start from a starter template and click the Next button.

When the screen switches, you will be asked to set a project name. This name will be the name used on the XM Cloud Deploy screen, so please set a name that matches your project.

On the next screen, you will see a tool to expand the source code.

The GitHub repository you are connecting to will then be displayed. If you do not see it listed, click Create a new GitHub connection to create one. Currently, GitHub is supported, so click Continue with GitHub to execute.

Next, set the name of the repository to be managed by GitHub and proceed with the creation of the project.

Finally, you can set the name of the environment in the project you are creating and whether or not the trigger will be triggered when the repository is updated. Note that since this is a new project, the trigger will be triggered when the main branch is updated.

Preparation is complete. Now click Create and Deploy to start building the environment.

Confirmation after deployment
First of all, during the process of creating the project, there were settings for GitHub Connection and code management targets. If you actually go to the GitHub repository, you will see that a new Private repository has been created.

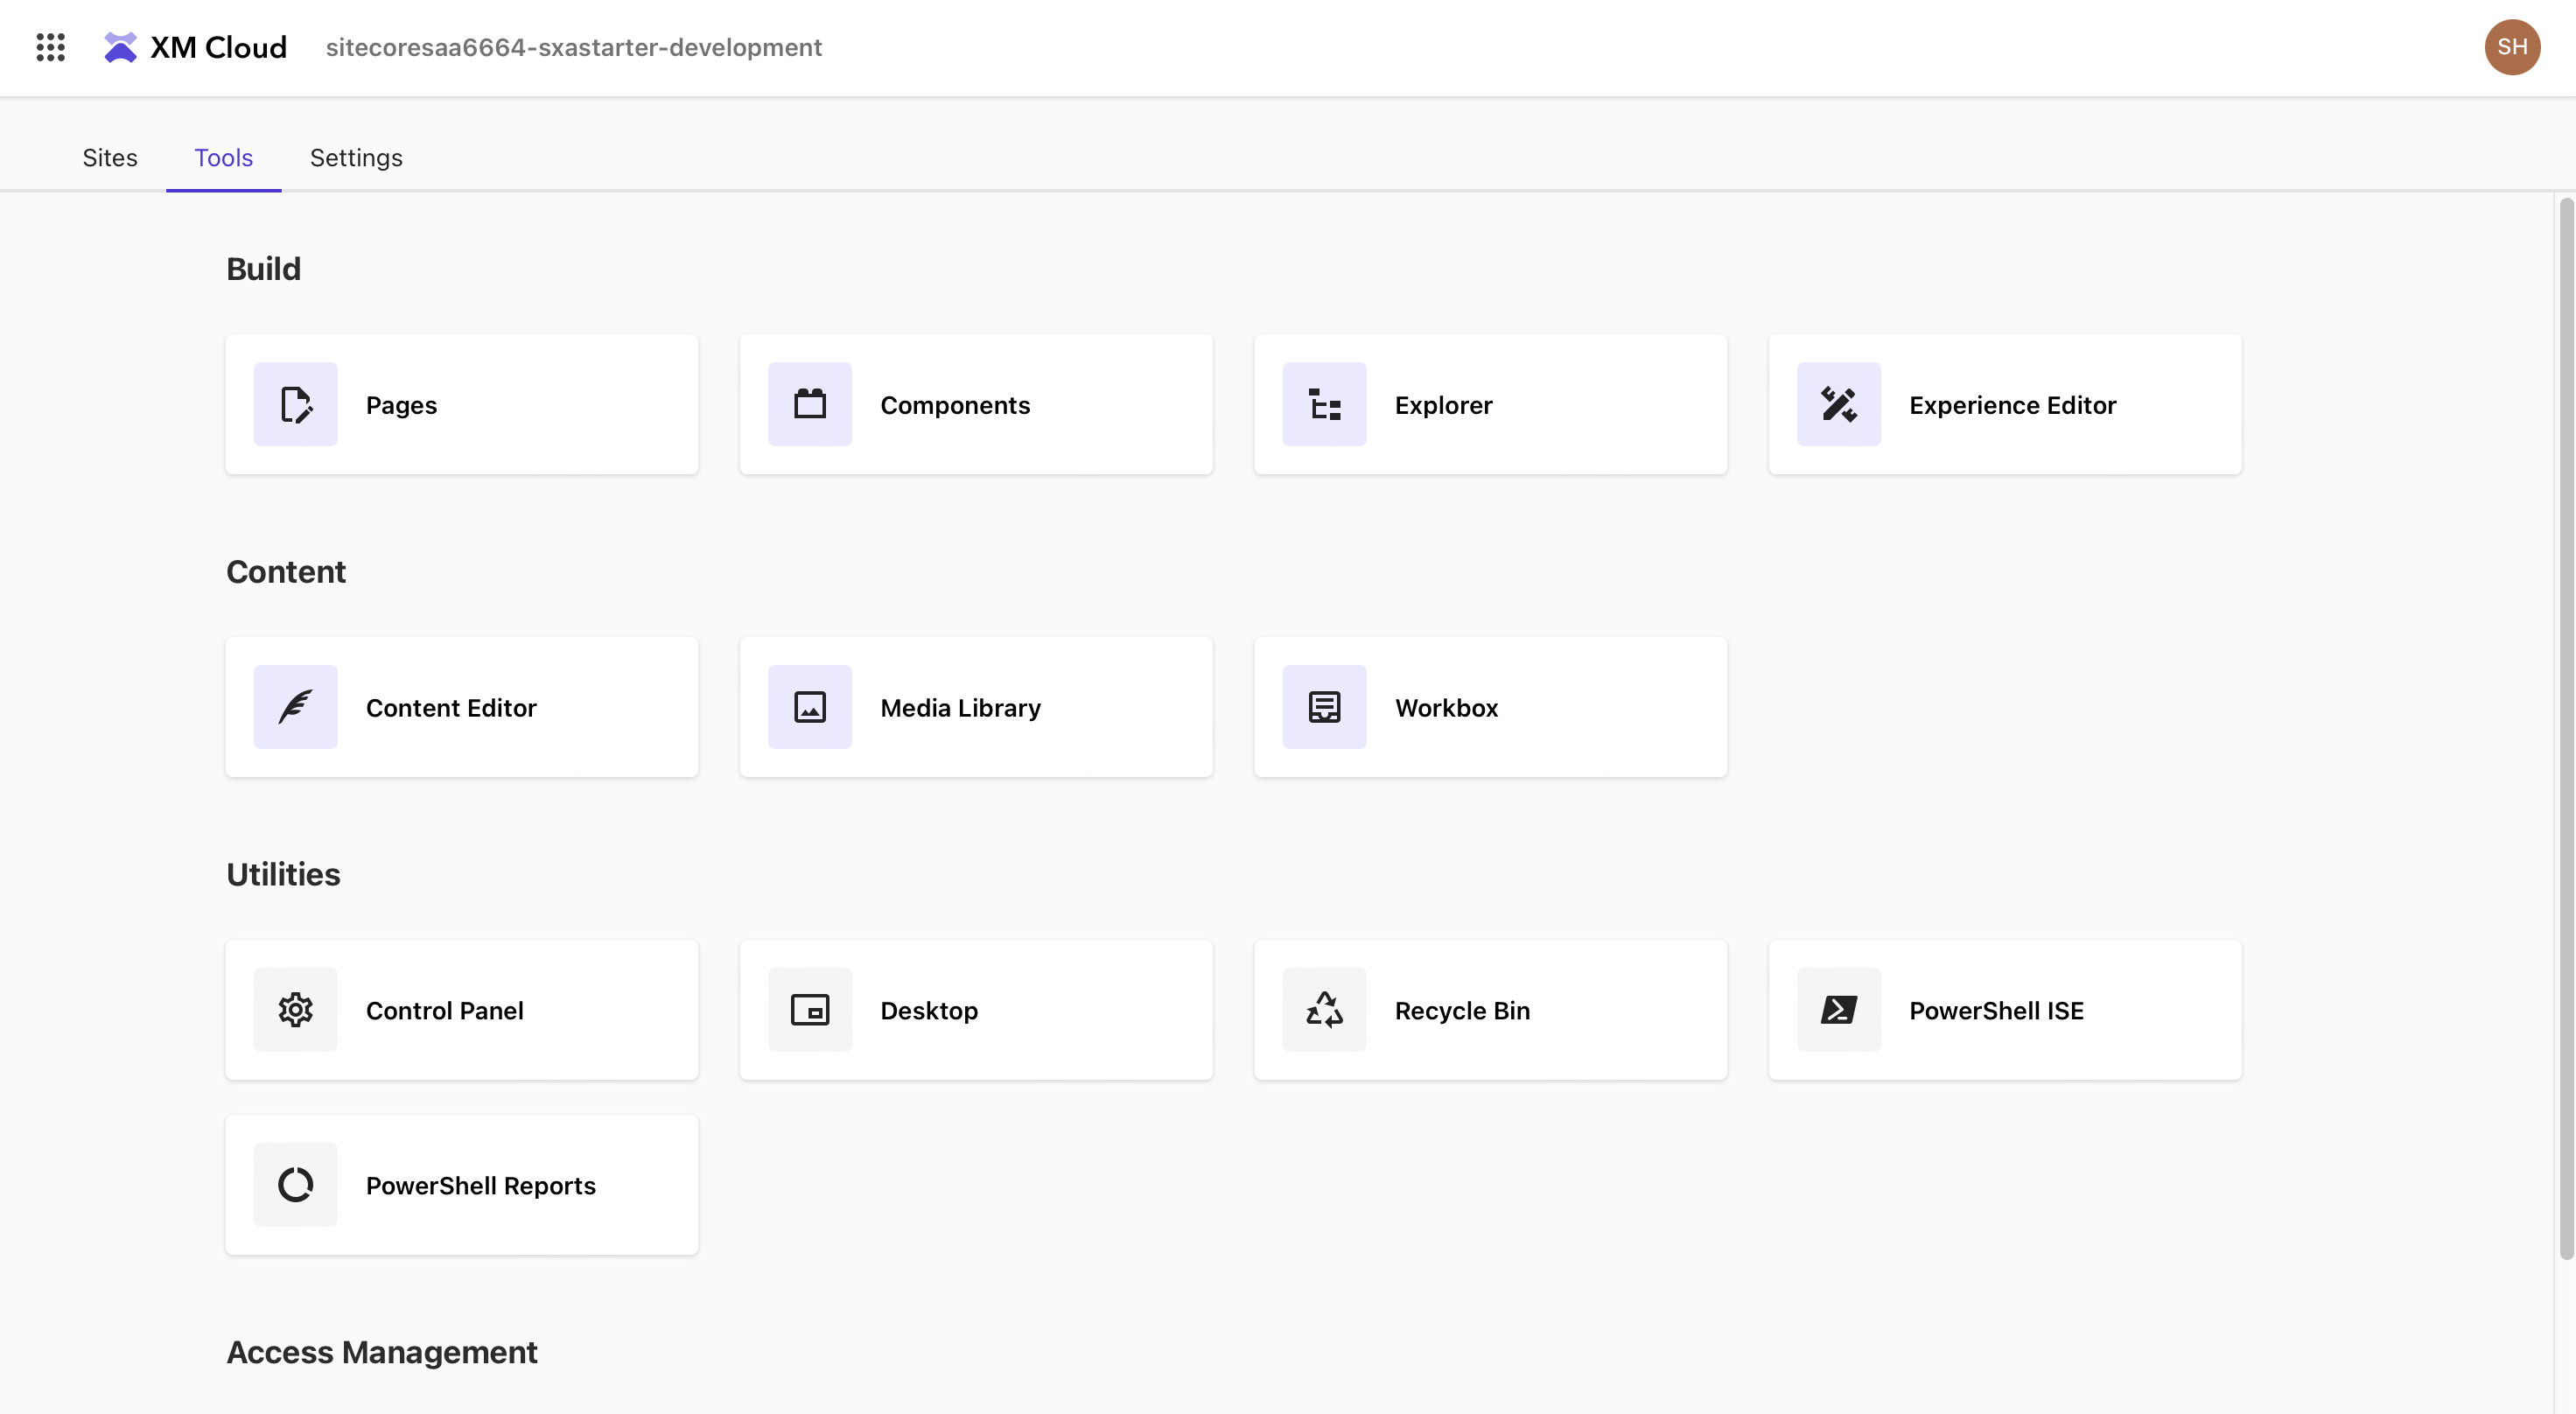
After a while, the deployment will be completed and the screen will look like the one below. Click the Launchpad button on the upper right to enter the Sitecore administration screen.

Click the Launchpad button in the upper right corner to enter the Sitecore administration screen.

Summary
In this article, we have shown how to create a new project from the XM Cloud Deploy administration screen and how to launch the first instance. This is a convenient way to deploy a SaaS solution.
A video digest of the above content is available on YouTube. Please refer to it.