
We have been able to create a custom image, but the administration screen, etc., is still in English. This section introduces the procedure for adding Japanese resources and settings so that Japanese language can be handled.
Using Sitecore Docker Custom Images - Japanese version of the administration screen
DockerPublished: 2022-05-30
File Deployment to CM Server
Copying resources against the CM server will allow you to make them Japanese. When building the image, copy the target files. First, set the path to the resource file to be localized as follows
C:\projects\sitecoredemo-jp\docker\build\cm\localization
Japanese resource files can be downloaded from the following page. In this case, we will download and deploy them from the Japanese resource page of Sitecore Experience Platform.
For these files, deploy the resources in the above folders.

Next, add the following line to C:\projects\sitecoredemo-jp\docker\build\cm\Dockerfile Dockerfile will be the definition when building the image. Since various data is copied, there is no problem to put it at the end of the Dockerfile.
Dockerfile
# Copy Localization Files
COPY .\localization \inetpub\wwwroot\App_Data
After updating the files, rebuild this image.
PowerShell
docker-compose build cmThe rest of the procedure is as follows.
- Start with docker comopse up -d
- Log in
- Open Desktop and switch to Core database
- Open Control Panel, Add Language, Add Japanese
- Return to Master database
- Set user display language to Japanese
Now you can switch to the Japanese UI.

To verify that the files have actually been copied to the container, right click on CM in the list of containers in Visual Studio Code and run `Attache Shell`.

If you go to App_Data\localization on the command line and run the dir command, you will see that the files have been copied.

Additional resource files
The above login shows that resources related to PowerShell are missing. The resource file for this icon is the powershell-report-ja-jp.xml file at https://github.com/SitecoreJapan/InstallScript/tree/master/101. C:\projects Create a folder named \sitecoredemo-jp\docker\build\cm\temp\ and copy the file. Then add the following copy to your Dockerfile
Dockerfile
# Copy temp file
COPY .\temp \inetpub\wwwroot\temp\import
改めてイメージを build しなおします。
PowerShell
docker-compose build cmWhen you start the container with the new image, you will see that the files have been placed under temp_import. The next step is to import the resources as follows.
- Open the Control Panel
- Click on Import Language Files
- Specify the file and complete the upload

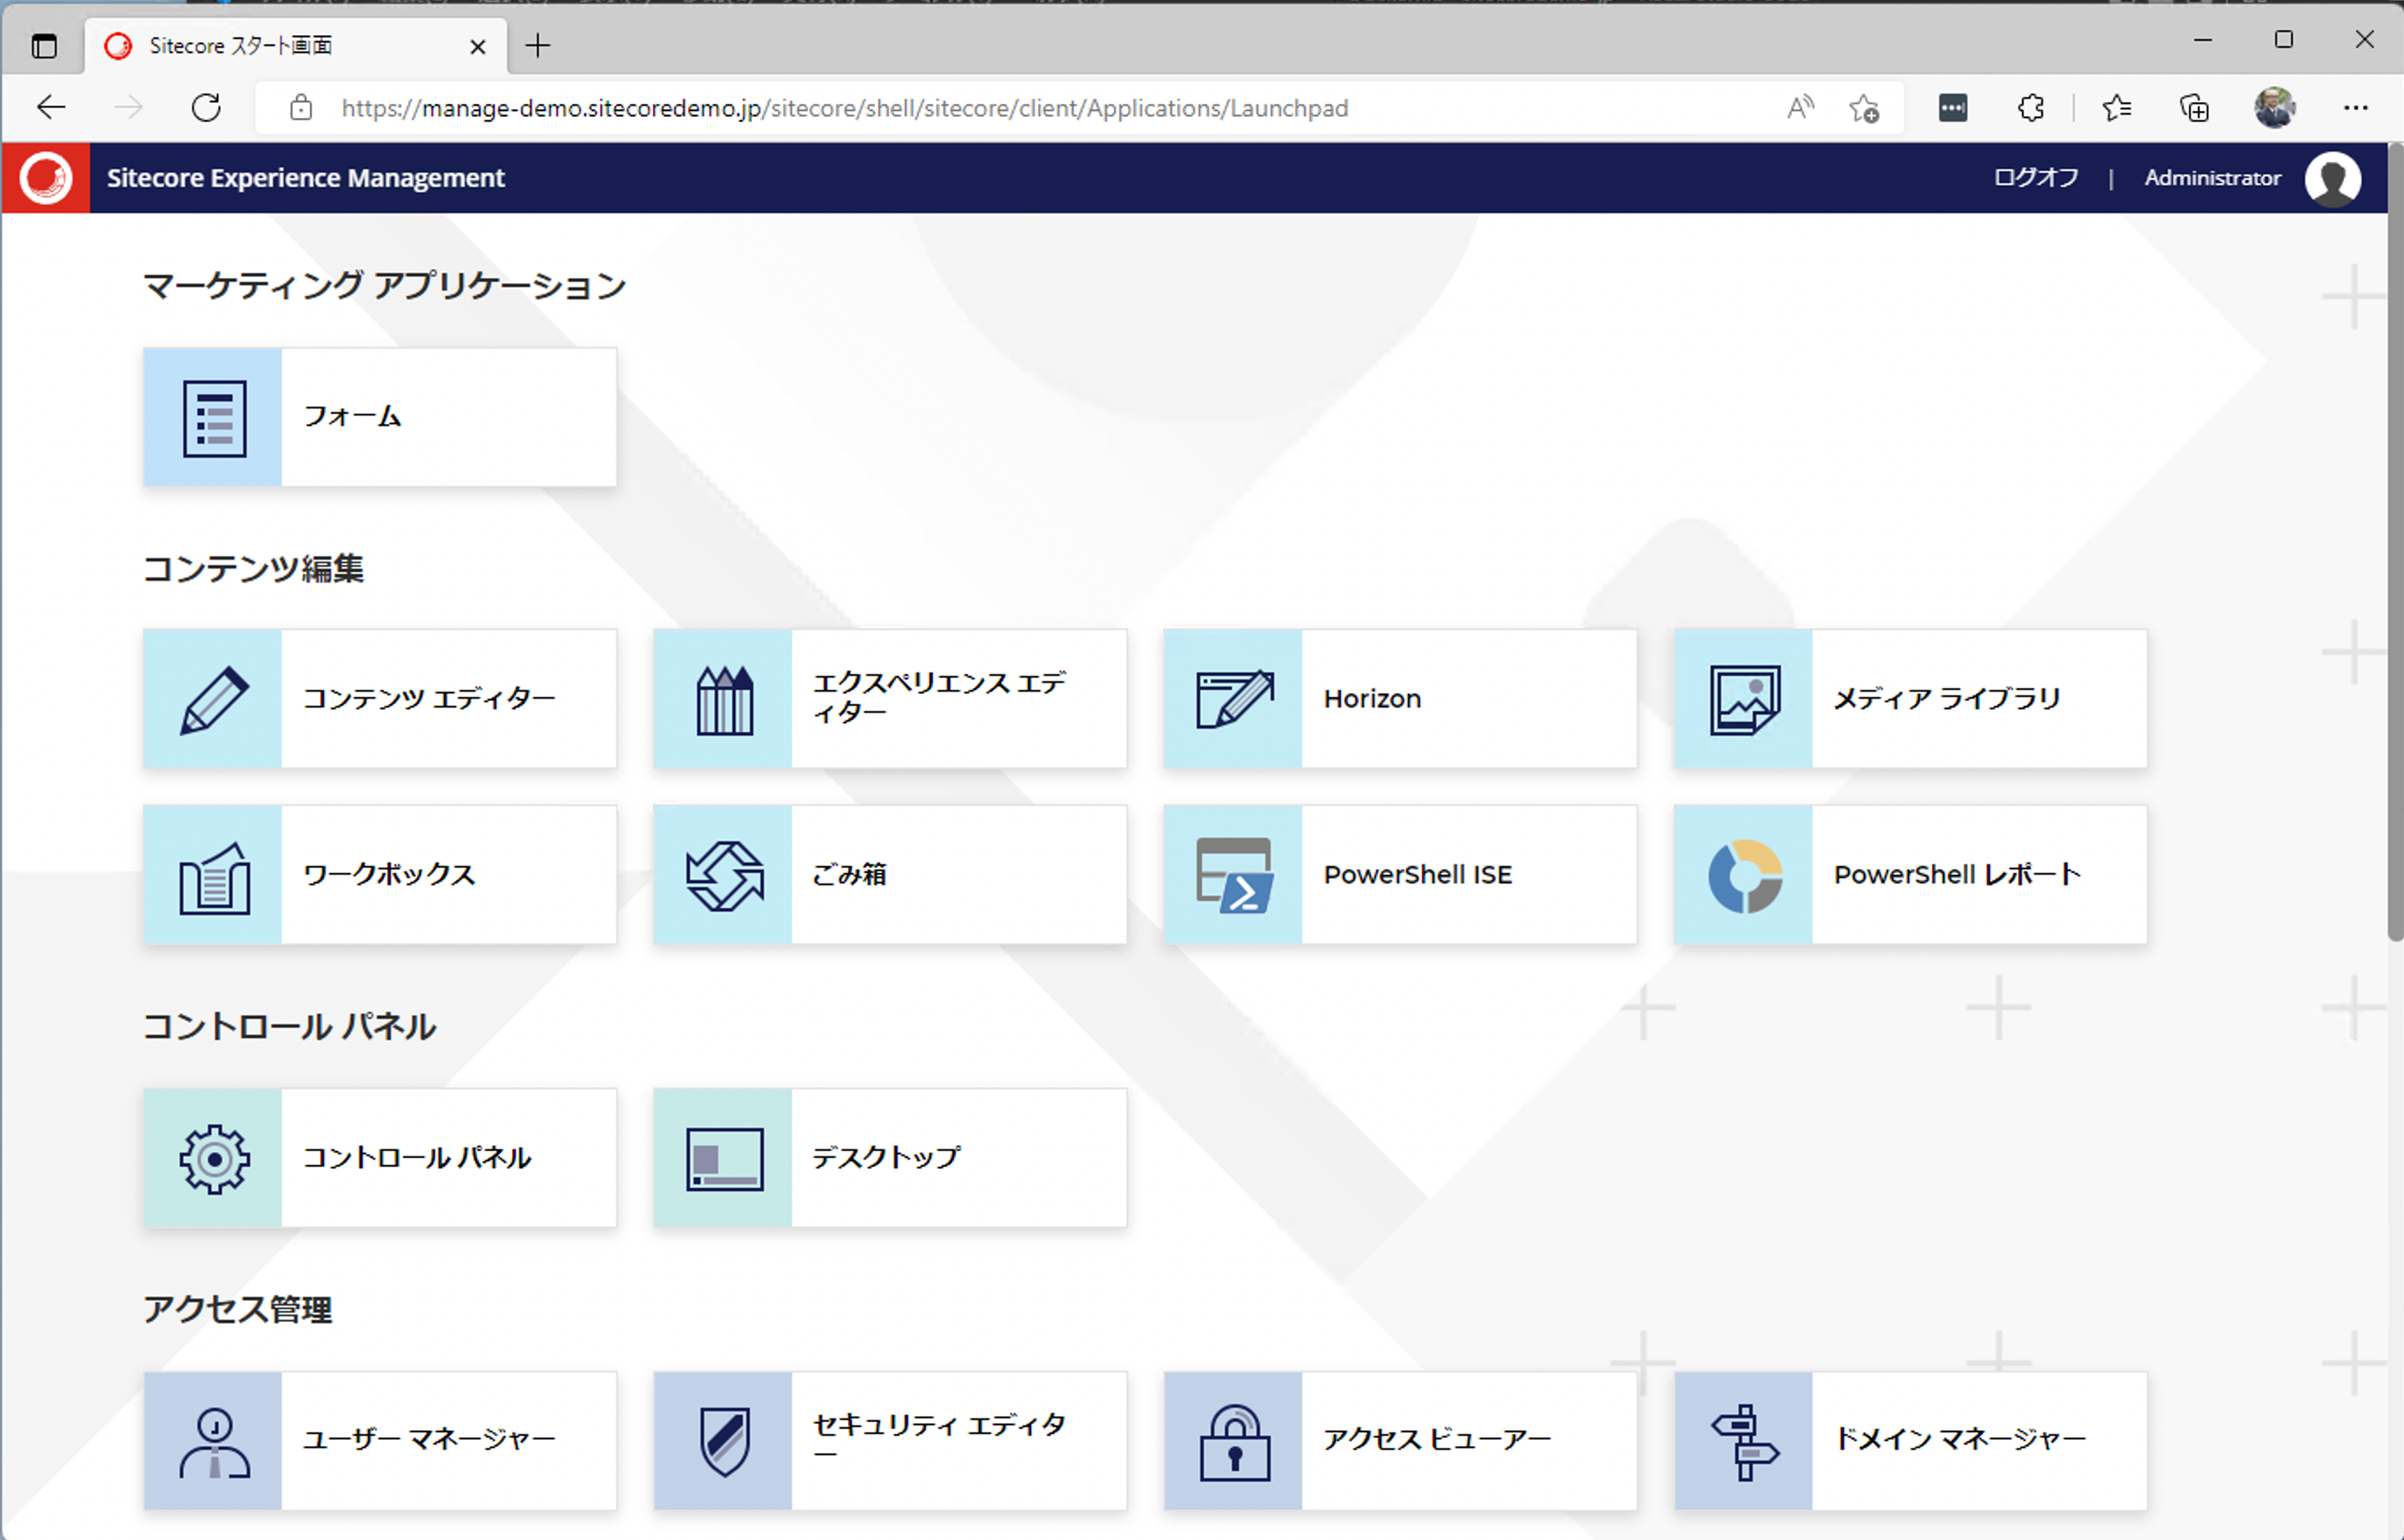
After completing the import, you will see that the PowerShell icons have also been applied to the Japanese resources.
Summary
In this article, we reviewed the procedure for copying files into an image through the Japanese-language conversion procedure. At the same time, we introduced the procedure for including resource files in the image via the temp folder and reflecting them in the Core database with the necessary data. From now on, this image file always imports Japanese resources, and the administration screen can now be Japanese-ized at any time simply by adding additional language work and missing resources.