
Since we were able to start using the sample custom image, we will now introduce some unnecessary parts and points that need to be changed for future use.
Organizing docker-compose files
Since we are assuming that we will be creating an image of a working XM1 environment, we will rename the file since it is tedious to specify the file each time when executing the docker-compose command. First, delete the following file.
Plain Text
docker-compose.override.yml
docker-compose.xp1.override.yml
docker-compose.xp1.yml
docker-compose.yml
Then delete the .xm1 portion from the following file
Plain Text
docker-compose.xm1.override.yml
docker-compose.xm1.yml
Deleting docker images
The custom image contains definitions for building the image needed to run XP. There is no particular advantage to keeping them, so we will delete the following folders.
Plain Text
docker\build\cortexprocessing
docker\build\cortexprocessingworker
docker\build\cortexreporting
docker\build\prc
docker\build\rep
docker\build\xconnect
docker\build\xdbautomation
docker\build\xdbautomationrpt
docker\build\xdbautomationworker
docker\build\xdbcollection
docker\build\xdbrefdata
docker\build\xdbsearch
docker\build\xdbsearchworker
The result was much clearer.

Delete project files
The sample code is in the following folder. xConnect-related items are never used, so delete them all.
Plain Text
src\App.XConnect.Demo
src\App.XConnect.ModelBuilder
src\DockerExamples.XConnect
src\DockerExamples.XConnect.Model
Only the following items will remain
Plain Text
src\DockerExamples.WebsiteOpen the DockerExamples.sln file in Visual Studio. Delete the deleted project as it is disabled.

Adjustment of Docker files
Since the Docker file contains the procedure to Build the above project, delete the part that does the Build. Specifically, comment out the following line
Dockerfile
RUN msbuild .\src\DockerExamples.XConnect\DockerExamples.XConnect.csproj /p:Configuration=$env:BUILD_CONFIGURATION /p:DeployOnBuild=True /p:DeployDefaultTarget=WebPublish /p:WebPublishMethod=FileSystem /p:PublishUrl=C:\out\xconnectThe following lines should also be commented out, as they are not needed for copying built data.
Dockerfile
COPY --from=builder C:\out\xconnect .\xconnect\The following folders are also unnecessary and should be deleted.
- docker\deploy\xconnect
Rename the project
If you continue to run with the default, docker-example is the project name, so the image name will be inherited as well. To be able to change this part, change COMPOSE_PROJECT_NAME in the first line of the .env file. In this case, change it as follows
Plain Text
COMPOSE_PROJECT_NAME=sitecoredemo-jpDelete an image
The situation is that many images have been created in the past because several samples have been run and so on.

This time, we want to forcefully delete all of them, so we execute the following command.
PowerShell
docker system prune -aAll images have been removed, almost 40GB of cleanup.

To delete images on a per-project basis, the following command will work.
PowerShell
docker-compose down --rmi all --volumes --remove-orphansDelete database and Solr files
Since the project name has been changed this time, the SQL Server database file will be created anew. In a Docker environment, the database files are located in a folder docker\data\mssql, assuming that the data will be retained even if the system is stopped and restarted.
Similarly, delete the files in the Solr folder docker\data\solr.
Once launched, both data are created for the previous environment and should be deleted.
Start a new project
After removing the unnecessary items, let's make sure it starts. So, execute the following command.
PowerShell
docker-compose up -dAgain, this will take some time since you will have to download the image and run it again. Have a drink and watch.

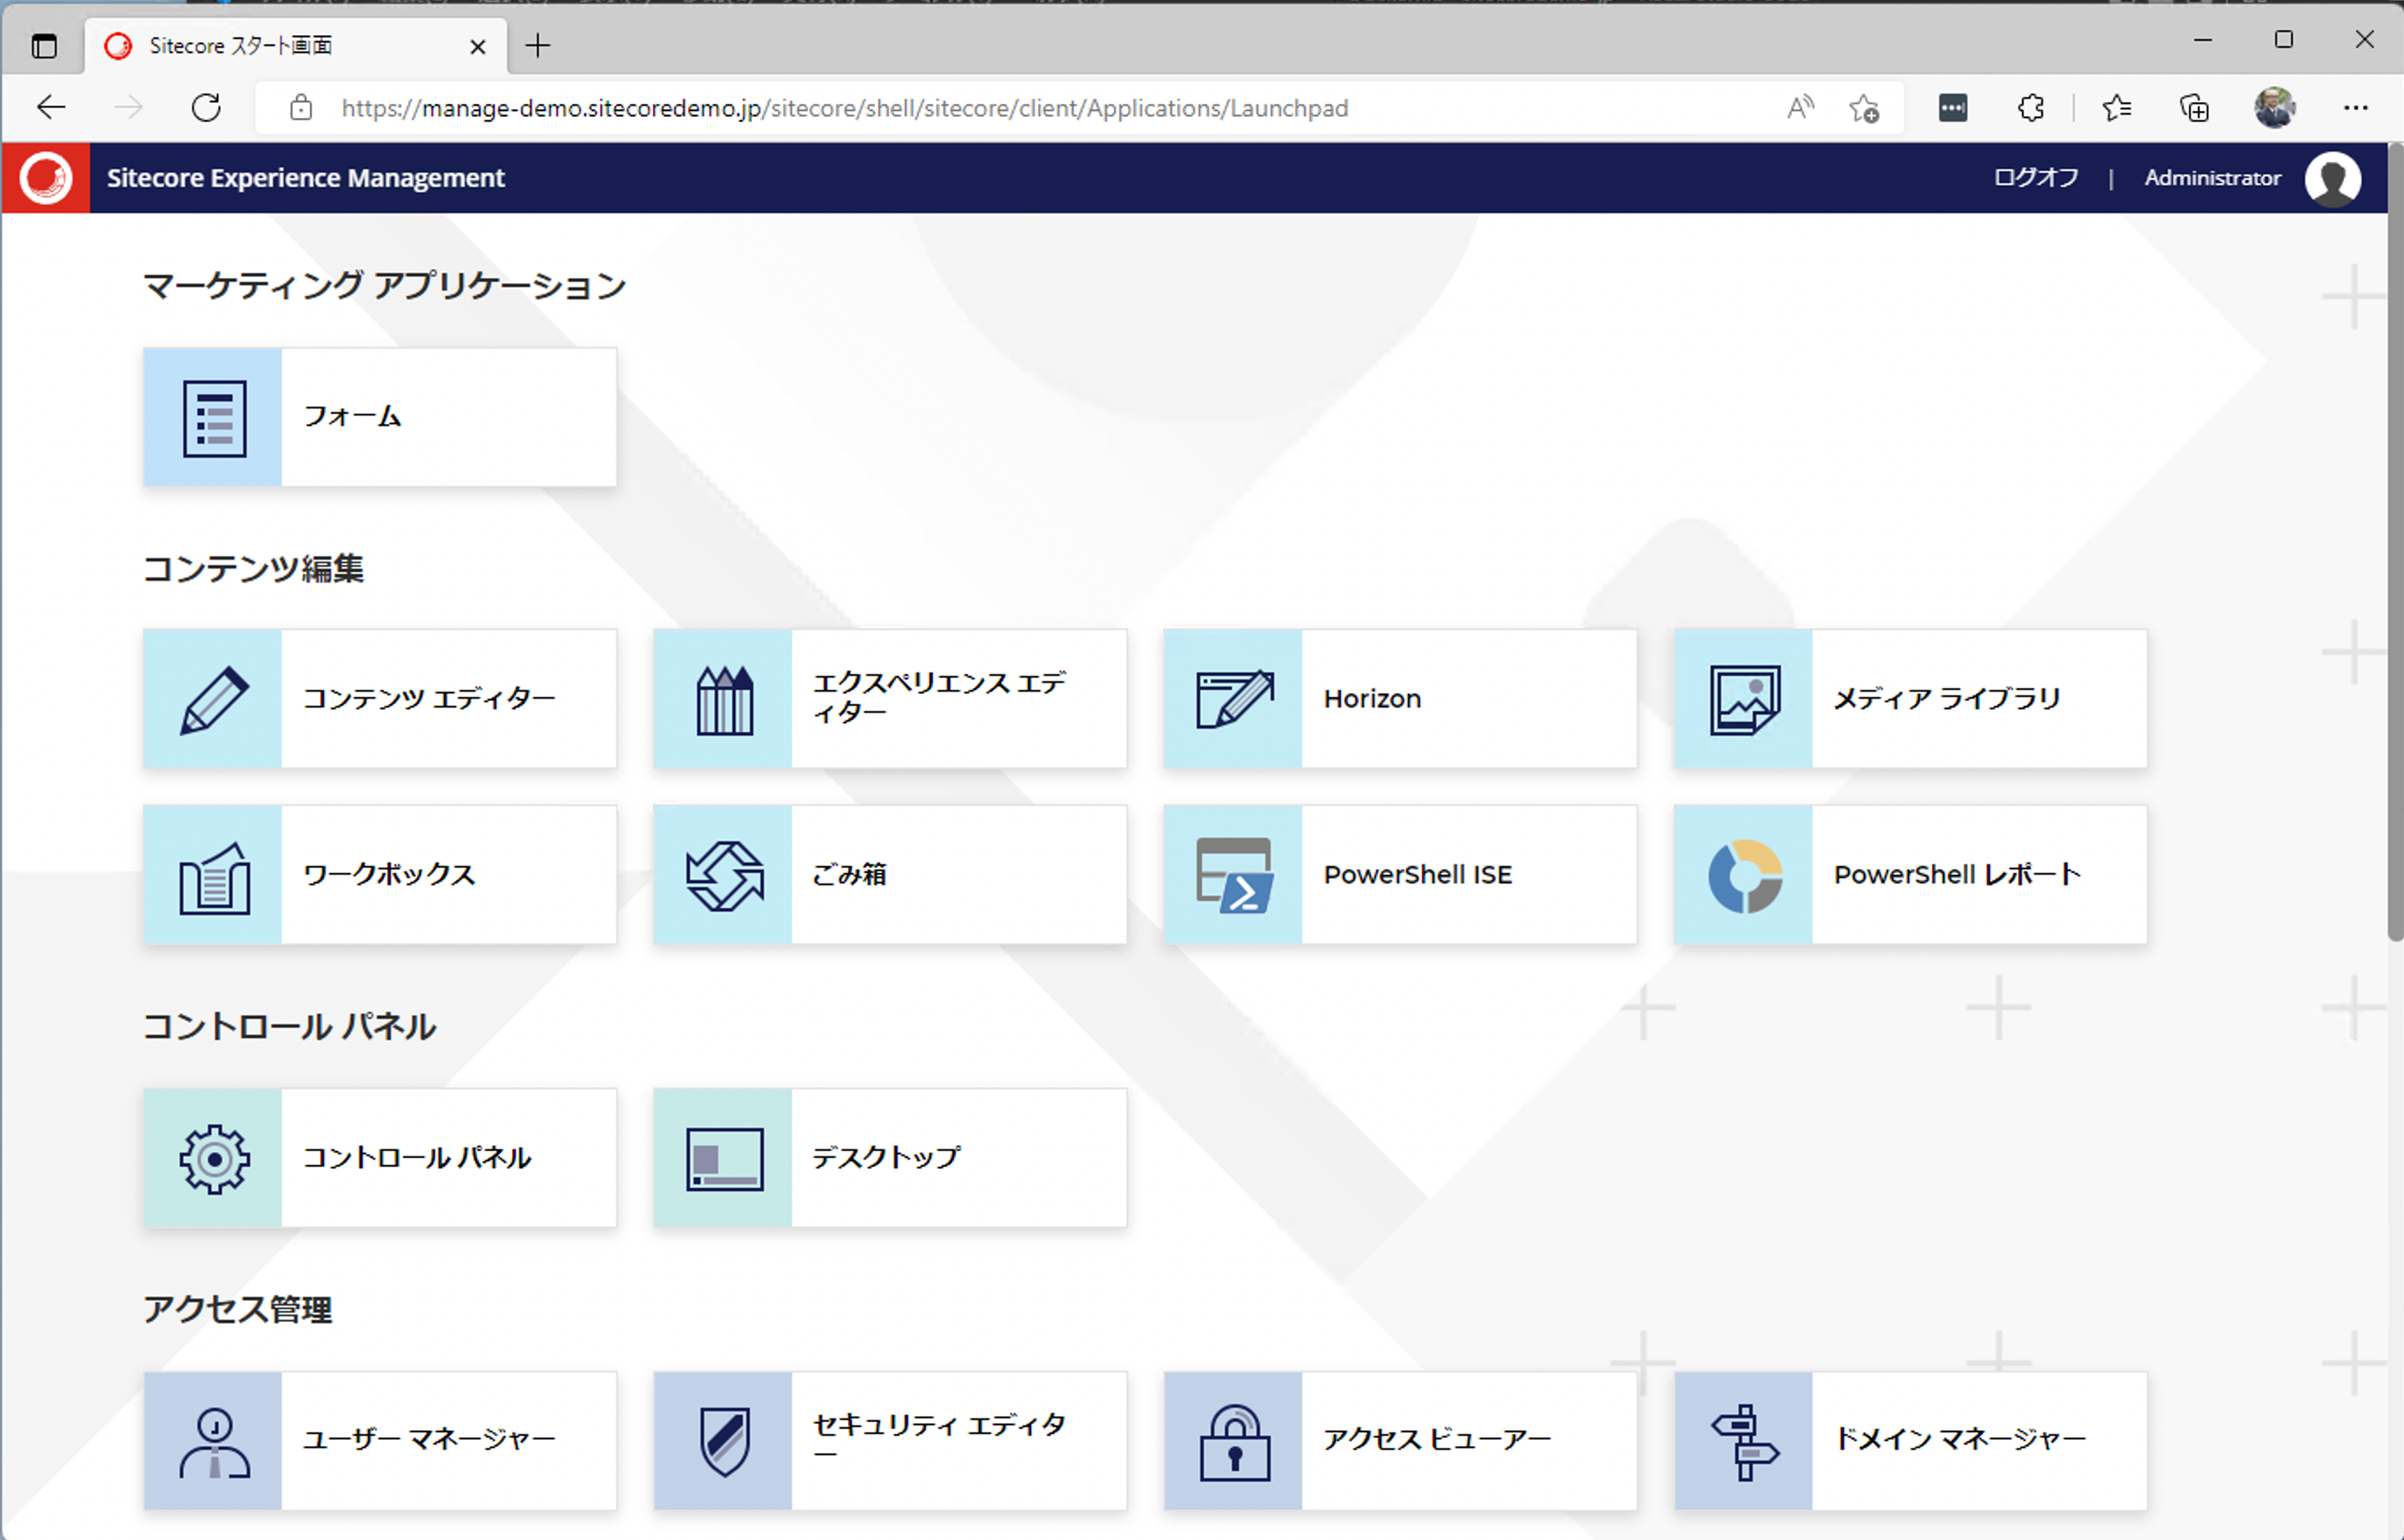
If you can log in after launching, you have created a base image.

Summary
In this article, we have proceeded to the mechanism for launching a plain XM1 with only the necessary parts of the custom image left intact. Since we have only created a clean XM1 environment, future articles on Docker will be based on the environment we have created this time.