
In the previous article, we only prepared the environment and did not start the container. This time, we will check how the container will be started by referring to the script up.ps1 to run the sample.
Download and build container images
For a quick startup, the following command will do the trick.
PowerShell
.\up.ps1But in this article, I would like to go through the contents of this script. First of all, this script performs a build of all images.
PowerShell
docker compose buildOnce this is done, the required images will begin downloading.

This command creates an image based on the definitions in docker-compose.yml and docker-compose.override.yml. build is very time consuming, so keep an eye on it over coffee.
Launching Containers
Once the build is complete, it is time to start the container. The command is as follows
PowerShell
docker compose up -d
After confirming that the container has been activated, please visit the following site
https://cm-basic-company-nextjs.sitecoredemo.jp/

The standard page is displayed. To access the administration page, add /sitecore. The login screen will then appear. After logging in with the administrator's password that was set in advance, you could enter the administration screen as shown below.

The file up.ps1 is still being processed. We will continue to check.
Data Import
Since the Sitecore instance is already up and running, we will now import the content for the demo. This is where the Sitecore CLI comes into play.
First, run the following command so that you can use the command line tool.
PowerShell
dotnet tool restoreIn this environment, Sitecore CLI 4.0.0 is restored.

Then perform a login so that you can access Sitecore from the command line. First, run the following command in PowerShell
PowerShell
dotnet sitecore login --cm https://cm-basic-company-nextjs.sitecoredemo.jp/ --auth https://id-basic-company-nextjs.sitecoredemo.jp/ --allow-write true
The browser will launch and a confirmation screen will appear regarding login and API access.

The screen switches when you approve.

The command line was able to log in.

The following processes are then executed. First is the processing related to Schema, which is linked with Solr.
PowerShell
dotnet sitecore index schema-populateThen perform a rebuild of the index.
PowerShell
dotnet sitecore index rebuild
Restart the CD server
PowerShell
docker compose restart cdAt this stage, when accessed in the content editor of the administration page, the default settings are still in place with nothing in them, as shown below.

To perform an import, execute the following command
PowerShell
dotnet sitecore ser push --publish
After the import is complete, go to the content editor and you will see that the items have been generated.

Since publish has also been completed, the items have been deployed to the web database as well. There is one point that is missing from the execution regarding the server that is being set up for rendering. This is not mentioned in up.ps1, so it is an additional step. First, navigate to the path C:\projects\helix-basic-nextjs\src\Project\BasicCompany\nextjs After moving, run npm install.

This process is missing with respect to the rendering host and will result in an error if this work is not done. After executing the command, it will work correctly.
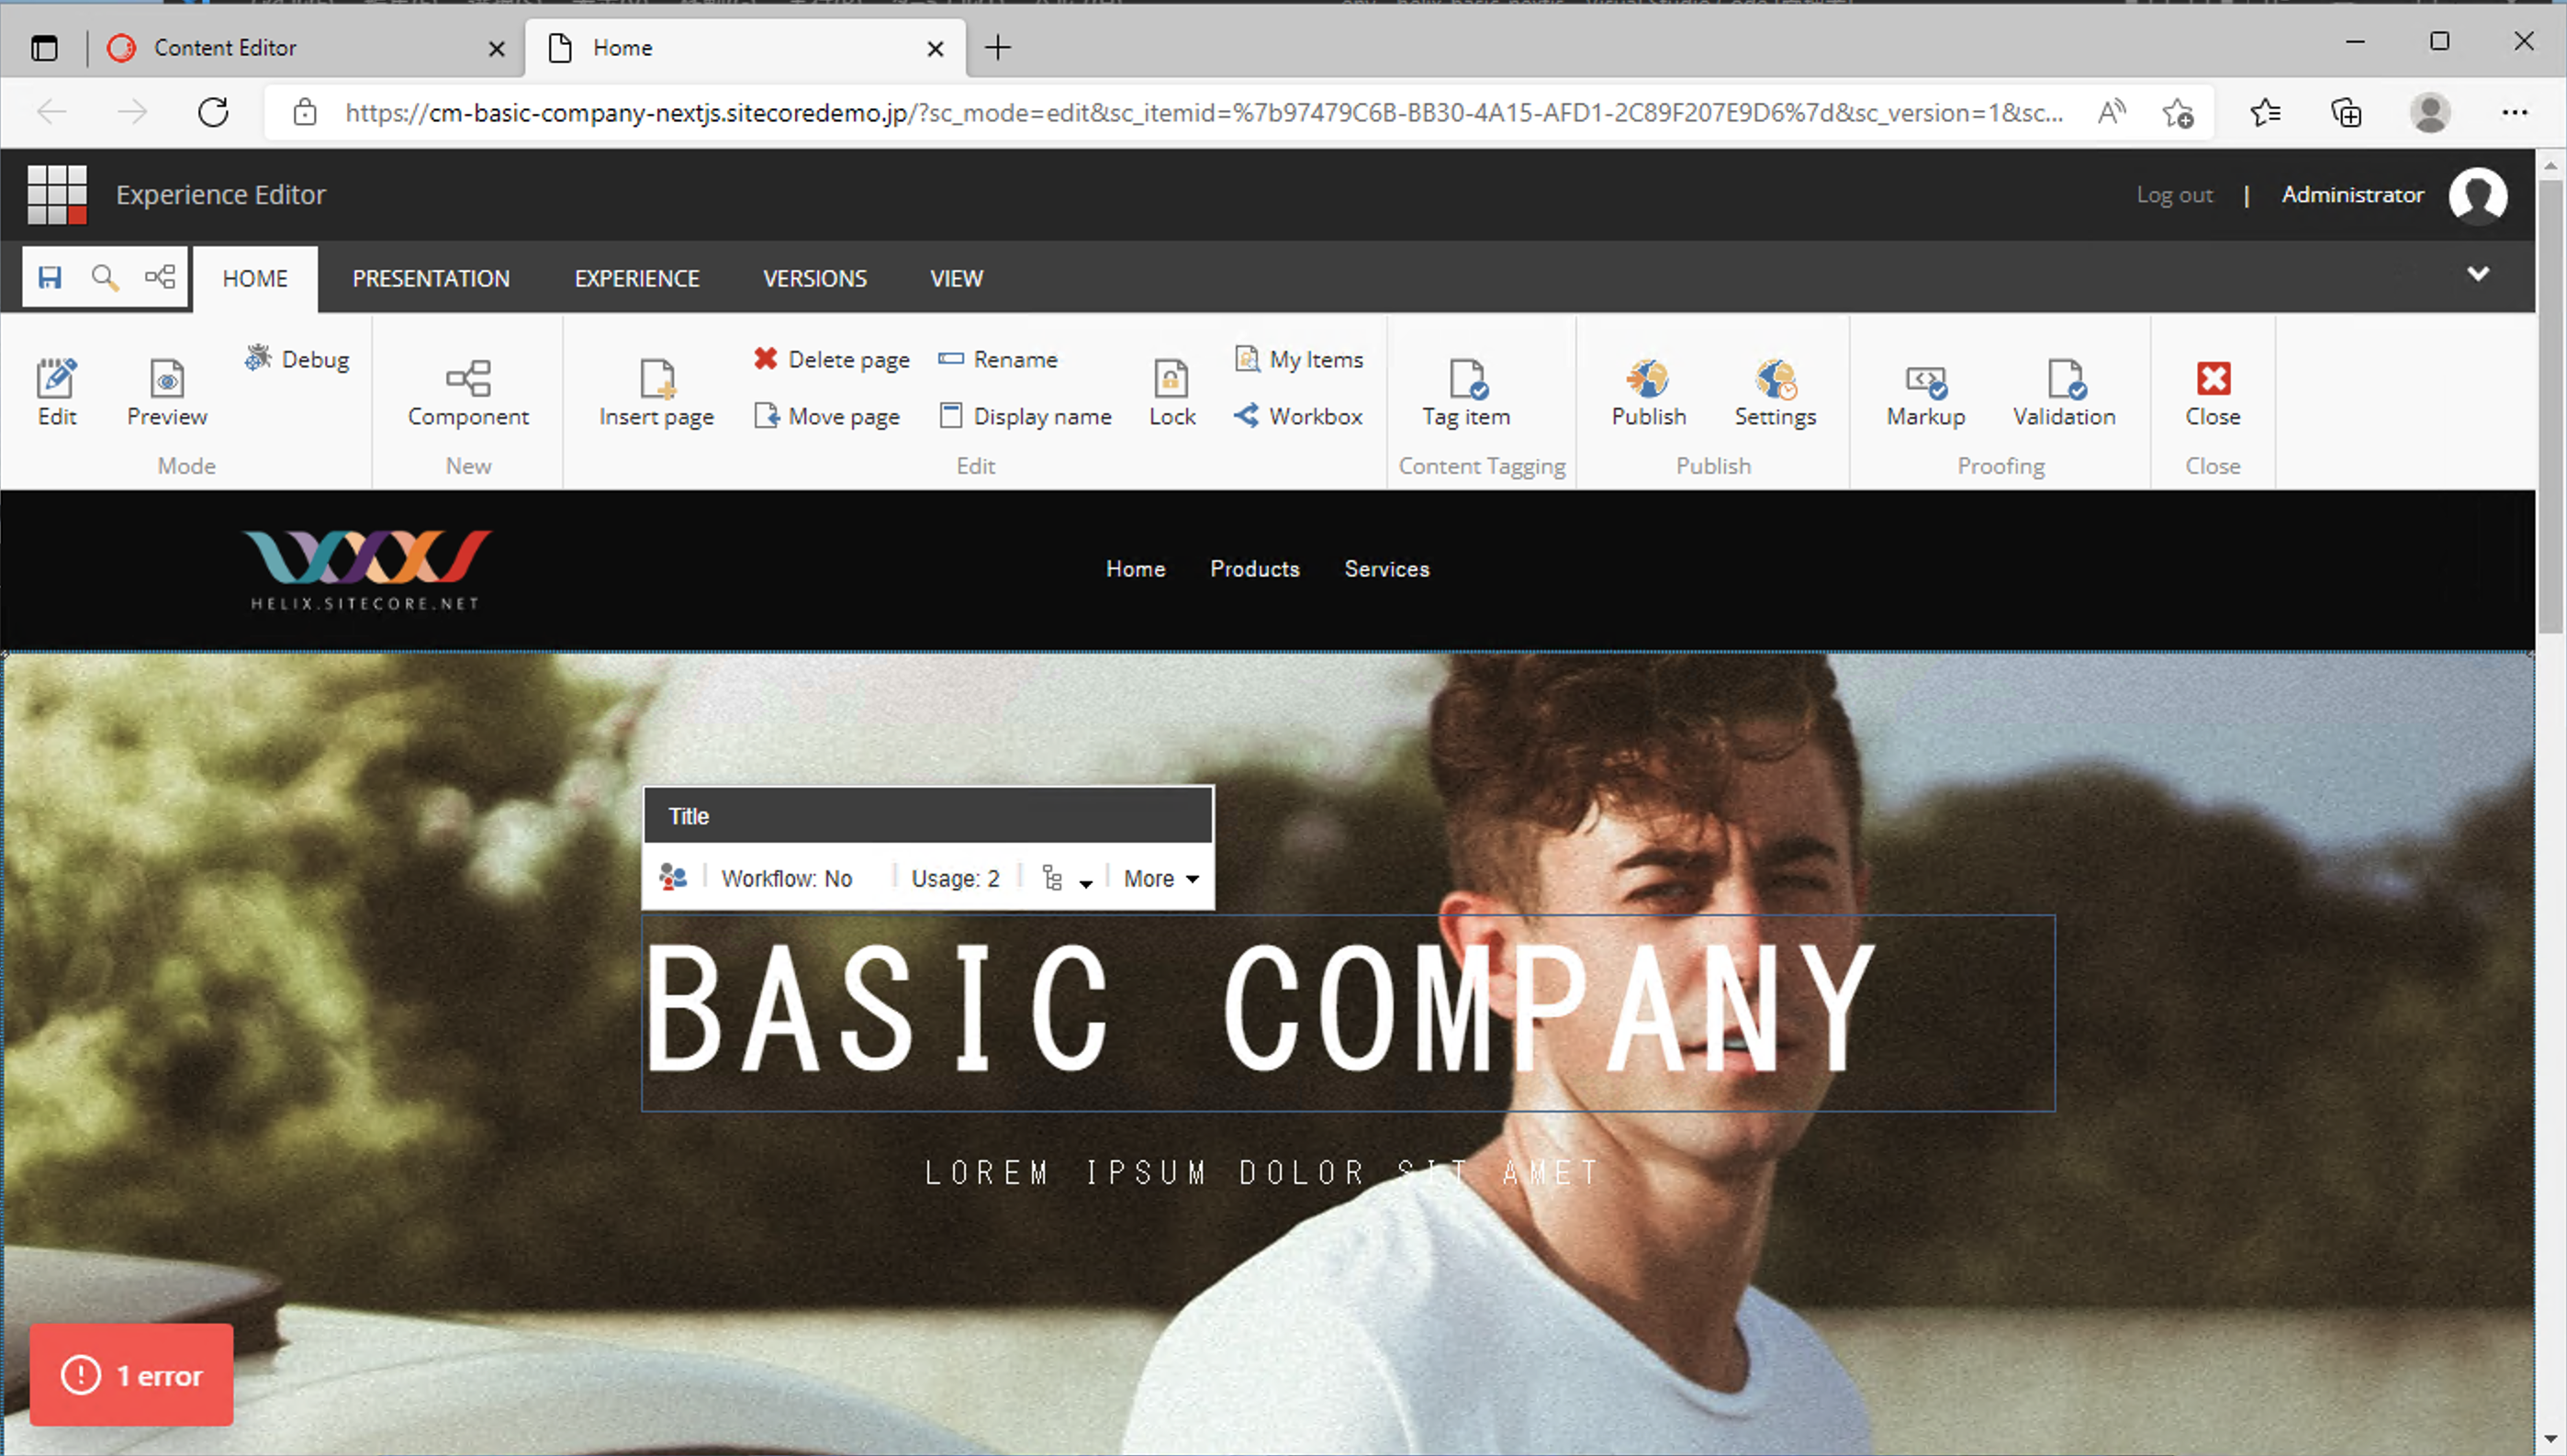
Once the Experience Editor is activated, you can make changes to the items defined in the fields.
You can also access the rendering host to see the page being displayed.

Summary
In the previous article, we discussed setting up the environment, and in this article, we will discuss the actual startup of Sitecore. I was able to confirm how the demo site was set up by following the steps and executing them individually. Once the import is finished, you can understand that you can stop docker compose by docker compose stop and start docker compose up -d once you have followed the steps.