
In this article, we will take you through the installation process of Sitecore Experience Commerce, one of the Commerce products offered by Sitecore.
Prerequisite.
The introduction assumes that Sitecore Experience Platform 10.1 is running on a virtual machine. For this reason, we will use the same environment that was installed in the previous article.
Installing Additional Modules
Sitecore Experience Commerce requires the following additional modules
Redis
Redis is used as a cache, so please download and install it from the following site -Redis

.Net Core 3.1.6
NET Core runtime, you will need to install the 3.1.6 or later modules. The Hosting Bundle is the one to install.
In this case, we installed 3.1.15.

.Net Core 2.1.28
When you install Sitecore Experience Platform 10.1, .Net Core 2.1.23 is installed, but it is a bit older version, so replace it with 2.1.28 as the runtime for .NET Core 2.x. The older version can be deleted. The Hosting Bundle is to be installed.
NET Core replacement, etc. Please reset IIS or restart the server.
Preparation for Installation
Download the Sitecore Experience Commerce 10.1 module.
From Download Options for On Premises Deployments, click on Packages for On Premises WDP 2021.02-7.0.162 to download.
- Sitecore.Commerce.WDP.2021.02-7.0.162.zip
Extract the downloaded file to c:\projects\xc101

Extract the file SIF.Sitecore.Commerce.6.0.18.zip.

After the expansion is done, it is unnecessary and should be deleted.
Copy Sitecore.PowerShell.Extensions-6.2.zip and Sitecore Experience Accelerator 10.1.0.3751.zip, which are components of SXA, to c:\projects\xc101
To use MSBuild Microsoft Visual Studio Web targets, download the files from
When you access the site, you will see the screen below.

Click on the Download Package shown on the right to download the module. Browse the properties of the downloaded file and you will see that the file has been blocked just in case.

Click Allow to make it available locally. Also change the extension of the download file from nupkg to zip. Once the file extension is changed, it can be answered directly in Explorer, so extract it to c:\projects\xc101


Make sure that the folder structure is as follows
PowerShell
PS C:\projects\xc101> dir

    ディレクトリ: C:\projects\xc101

Mode                LastWriteTime         Length Name
----                -------------         ------ ----
d-----       2021/06/04      8:47                msbuild.microsoft.visualstudio.web.targets.14.0.0.3
d-----       2021/06/04      8:38                SIF.Sitecore.Commerce.6.0.18
------       2019/03/29     15:35      278539353 Adventure Works Images.OnPrem.scwdp.zip
------       2021/02/18     16:42         556351 Sitecore Commerce Connect Core OnPrem 16.0.16.scwdp.zip
------       2021/02/18     16:42           8143 Sitecore Commerce Connect Schema Definitions for IndexWorker OnPrem 16
                                                 .0.16.scwdp.zip
------       2021/02/18     16:42          59235 Sitecore Commerce Connect Schema Definitions for xConnect OnPrem 16.0.
                                                 16.scwdp.zip
------       2021/02/22     12:43        1355220 Sitecore Commerce Engine Connect OnPrem 7.0.37.scwdp.zip
------       2021/02/22     12:43        2055735 Sitecore Commerce Experience Accelerator 6.0.17.scwdp.zip
------       2021/02/22     12:43           6409 Sitecore Commerce Experience Accelerator Habitat Catalog 6.0.17.scwdp.
                                                 zip
------       2021/02/22     12:43        5445159 Sitecore Commerce Experience Accelerator Storefront 6.0.17.scwdp.zip
------       2021/02/22     12:43        1403717 Sitecore Commerce Experience Accelerator Storefront Themes 6.0.17.scwd
                                                 p.zip
------       2021/02/18     16:42         337089 Sitecore Commerce ExperienceAnalytics Core OnPrem 16.0.16.scwdp.zip
------       2021/02/18     16:42         126798 Sitecore Commerce ExperienceProfile Core OnPrem 16.0.16.scwdp.zip
------       2021/02/18     16:42         104632 Sitecore Commerce Marketing Automation Core OnPrem 16.0.16.scwdp.zip
------       2021/02/18     16:41         107643 Sitecore Commerce Marketing Automation for AutomationEngine 16.0.16.zi
                                                 p
------       2021/02/18     16:42          85733 Sitecore Commerce Marketing Automation Scaled 16.0.16.scwdp.zip
-a----       2021/03/03     10:48       34016143 Sitecore Experience Accelerator 10.1.0.3751.zip
------       2021/02/16     19:53        3646879 Sitecore.BizFx.OnPrem.6.0.6.scwdp.zip
------       2021/02/16     19:44          71220 Sitecore.BizFX.SDK.6.0.6.zip
------       2021/02/22     12:44       16734047 Sitecore.Commerce.Engine.OnPrem.Solr.7.0.162.scwdp.zip
------       2021/02/22     12:43       29028232 Sitecore.Commerce.Engine.SDK.7.0.55.zip
------       2019/03/29     15:37      295313591 Sitecore.Commerce.Habitat.Images.OnPrem.scwdp.zip
------       2021/02/18     18:56           4085 Sitecore.Identity.Config.Commerce.6.0.18.scwdp.zip
-a----       2021/03/03     10:48        5178534 Sitecore.PowerShell.Extensions-6.2.zip
------       2021/02/18     18:56         123942 SolrSchemas.Sitecore.Commerce.6.0.18.zip
------       2021/02/22     12:43        3993490 speak-icon-fonts-1.1.0.tgz
------       2021/02/22     12:43         103085 speak-ng-bcl-2.0.0-r00116.tgz
------       2021/02/22     12:43         549593 speak-styling-1.0.0-r00110.tgz
Adjustment of installation scripts
The installation script is the file Deploy-Sitecore-Commerce.ps1 in the extracted folder C:\projects\xc101\SIF.Sitecore.Commerce.6.0.18. The items to be configured are as follows
Parameters | Value |
|---|---|
$SkipInstallDefaultStorefront | StoreFront (demo site) Flag for skip installation |
$SiteNamePrefix | Set Prefixes used in Sitecore installation |
$SiteName | Set site name |
$IdentityServerSiteName | Instance name of Sitecore Identity Server |
$SitecoreIdentityServerUrl | URL above |
$SiteHostHeaderName | Storefront Site URL |
$XConnectInstallDir | xConnect installation directory |
$SqlUser | SQL Server login ID |
$SqlPass | SQL Server Password |
$SolrRoot | Directory where Solr is installed |
$SolrService | Solr Service Name |
$CommerceServicesHostPostfix | Commerce Service host name |
Don't forget to set the port number of your XP installation, as the default port for Solr is different for XP and XC.
Also, register with Braintree to obtain a Sandbox key for payment validation.
Parameters | Value |
|---|---|
$BraintreeMerchantId | MerchantId |
$BraintreePublicKey | Public Key |
$BraintreePrivateKey | Private Key |
$BraintreeEnvironment | sandbox |
The CommerceEngineConnectClientSecret parameter must be set to Client Secret. To obtain the ClientSecret value, execute the following script.
PowerShell
$bytes = New-Object Byte[] 32
$rand = [System.Security.Cryptography.RandomNumberGenerator]::Create()
$rand.GetBytes($bytes)
$rand.Dispose()
$newClientSecret = [System.Convert]::ToBase64String($bytes)

Write-Host $newClientSecret
Sample files are extracted at https://github.com/SitecoreJapan/InstallScript/blob/master/XC100/GenerateClientSecret.ps1.
The script is now ready to be used.
Perform installation
Before the installation, we had to reboot the system once, as we had already installed the modules and so on. After rebooting, simply run the installation script.
PowerShell
cd C:\projects\xc101\SIF.Sitecore.Commerce.6.0.18
.\XC100-Sitecore-Commerce.ps1
When the installation is complete, the installation time is displayed and the installation is complete.

Importing Japanese resources
The bottom area for downloading Sitecore Experience Commerce 10.1 files is under Translations. From here you can download Business Tools translations, SXA Storefront Translations and Commerce Connect translations.
- Extract the above file to the temp folder where the Sitecore instance is installed.
- Open the Sitecore control panel
- Select Globalization - Import Language Files
- Import the resource files under temp in the following order
- SXAtranslations/ja-JP.xml
- SXAStorefront.translations/translations/ja-JP.xml
- CommerceConnect.translations/translations/ja-JP.xml
- BusinessTools.translations/translations/ja-JP.xml
- Download the PowerShell Reports resource on GitHub
- Import the downloaded resources in the same way as the language import procedure above

- Download and import the SXA update resource SXA-ja-JP-update.xml from
- https://github.com/SitecoreJapan/InstallScript/tree/master/101
- Download and import Commerce update resources, BusinessTools-ja-JP-update.xml and Storefront-ja-JP-update.xml.
- https://github.com/SitecoreJapan/InstallScript/tree/master/XC101
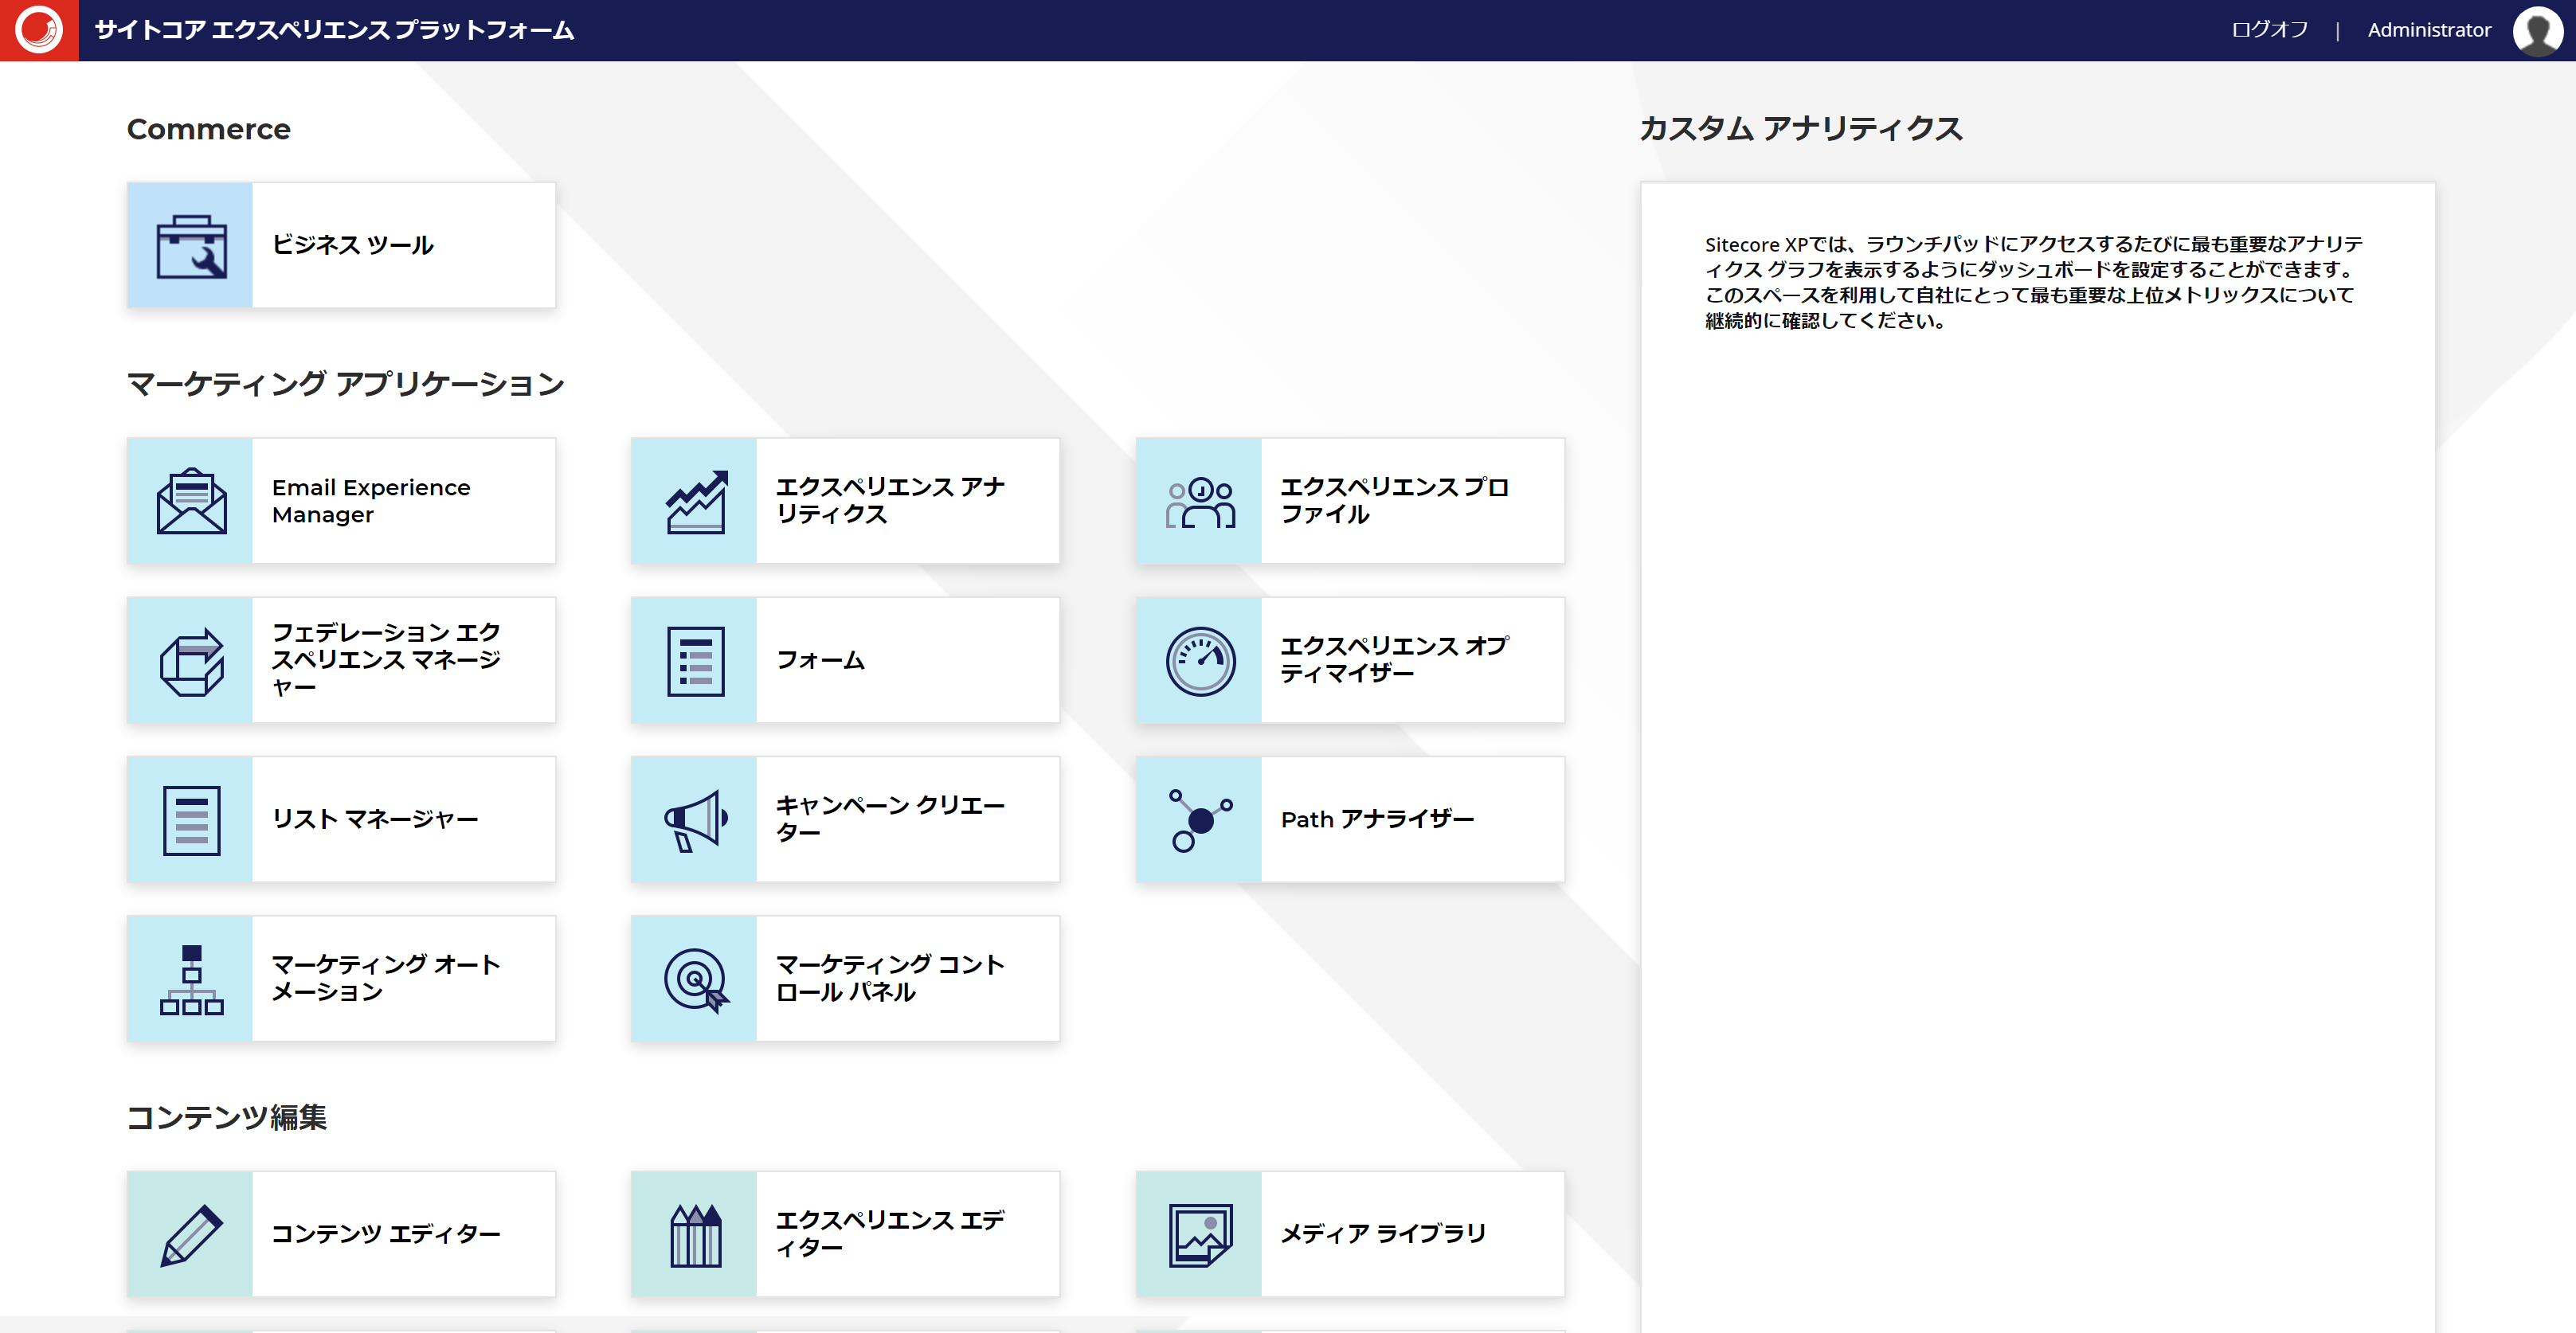
Once all of the above resources have been installed, the screen is now in Japanese.
Summary
In this article, we have introduced the process of installing Sitecore Experience Commerce 10.1 on a Sitecore Experience Platform 10.1 environment. Now you can run Sitecore Experience Commerce on your virtual machine. In the next article, we will take a look at the installed environment.