
Since 10.1, it has been possible to use the Docker environment for Sitecore development. However, it is possible to easily set up Sitecore on a virtual machine, so we will introduce the procedure for this in this article.
Running Sitecore Experience Platform in a virtual machine
Experience Platform (XP)Published: 2021-06-09
Prerequisite.
This time, we will be working on a VM, and we assume that the following tools have already been installed.
- Windows Server 2019
- SQL Server 2019
- SQL Server Management Studio
- Google Chrome
- Git for Windows
- GitHub Desktop
- Visual Studio Code
Installation of Sitecore Experience Platform 10.1
The latest version of Sitecore at the time of this writing is 10.1, so we will download the Developer Workstation package for this version.
- Sitecore 10.1.0 rev. 005207 (Setup XP0 Developer Workstation rev. 1.2.2-r1).zip
Extract this file to the folder c:\projects\sif Copy the license.xml file to the same directory.

Installation of related components
In the above folder, you will find a file called Prerequisites.json that defines the list of files for the components to be installed. Look for the item that is the download URL below,
- https://download.microsoft.com/download/C/F/F/CFF3A0B8-99D4-41A2-AE1A-496C08BEB904/WebPlatformInstaller_amd64_en-US.msi
Please change to the following URL
- https://go.microsoft.com/fwlink/?LinkId=287166
After making the changes, run setup.exe and the following screen will appear.

Click the button to switch to the screen for downloading the required components.

Click the Install button to download the necessary components and proceed with the installation.

Reboot once all components have been downloaded.
Solr Installation
After restarting, proceed with the Solr installation. Although the installation assistant used above can be used to install Solr, we will use the Sitecore command to install Solr since it can be installed from the command line.
Start with PowerShell with administrative privileges and execute the following command
PowerShell
Install-SitecoreConfiguration .\Solr-SingleDeveloper.json
The installation script automatically installs Java, modules to make it a service, etc., and Solr starts as a service.
Sitecore Installation
To define the installation, make the necessary changes to the XP0-SingleDeveloper.ps1 file. Be sure to check the following items
Parameters | Value | Description |
|---|---|---|
$SitecoreAdminPassword | b | Admin password |
$SCInstallRoot | C:\projects\sif | install path |
$SitecoreSiteName | Optional Site Name | |
$SqlAdminPassword | Optional | SQL Server password |
$SolrRoot | Optional | by default |
$SolrService | Optional | by default |
After making the changes, run the script.
PowerShell
.¥XP0-SingleDeveloper.ps1A password will be displayed and installation will be completed.

Importing Japanese resource
The procedure for importing data to make the environment Japanese has changed since 10.1. The process can be completed in a very short time. First, add the definition of the Japanese resource on the Administration page.
To log in to the administrator screen, enter /sitecore on the server where you installed the software. After logging in with administrator privileges, open Desktop in the Control Panel group.

Switch the database display from master to core in the lower right corner.

Select Localization - Add a new language and choose Japanese - Japan since we are adding a Japanese resource.

After the addition is complete, download the following resource files from the site
- Sitecore 10.1.0 rev. 005207 (ja-JP).zip
After expanding this file, you will see the following two folders

Copy this folder into the App_Data folder of the Sitecore installation. After the copy is complete, restart Sitecore by simply using iisreset on the command line.
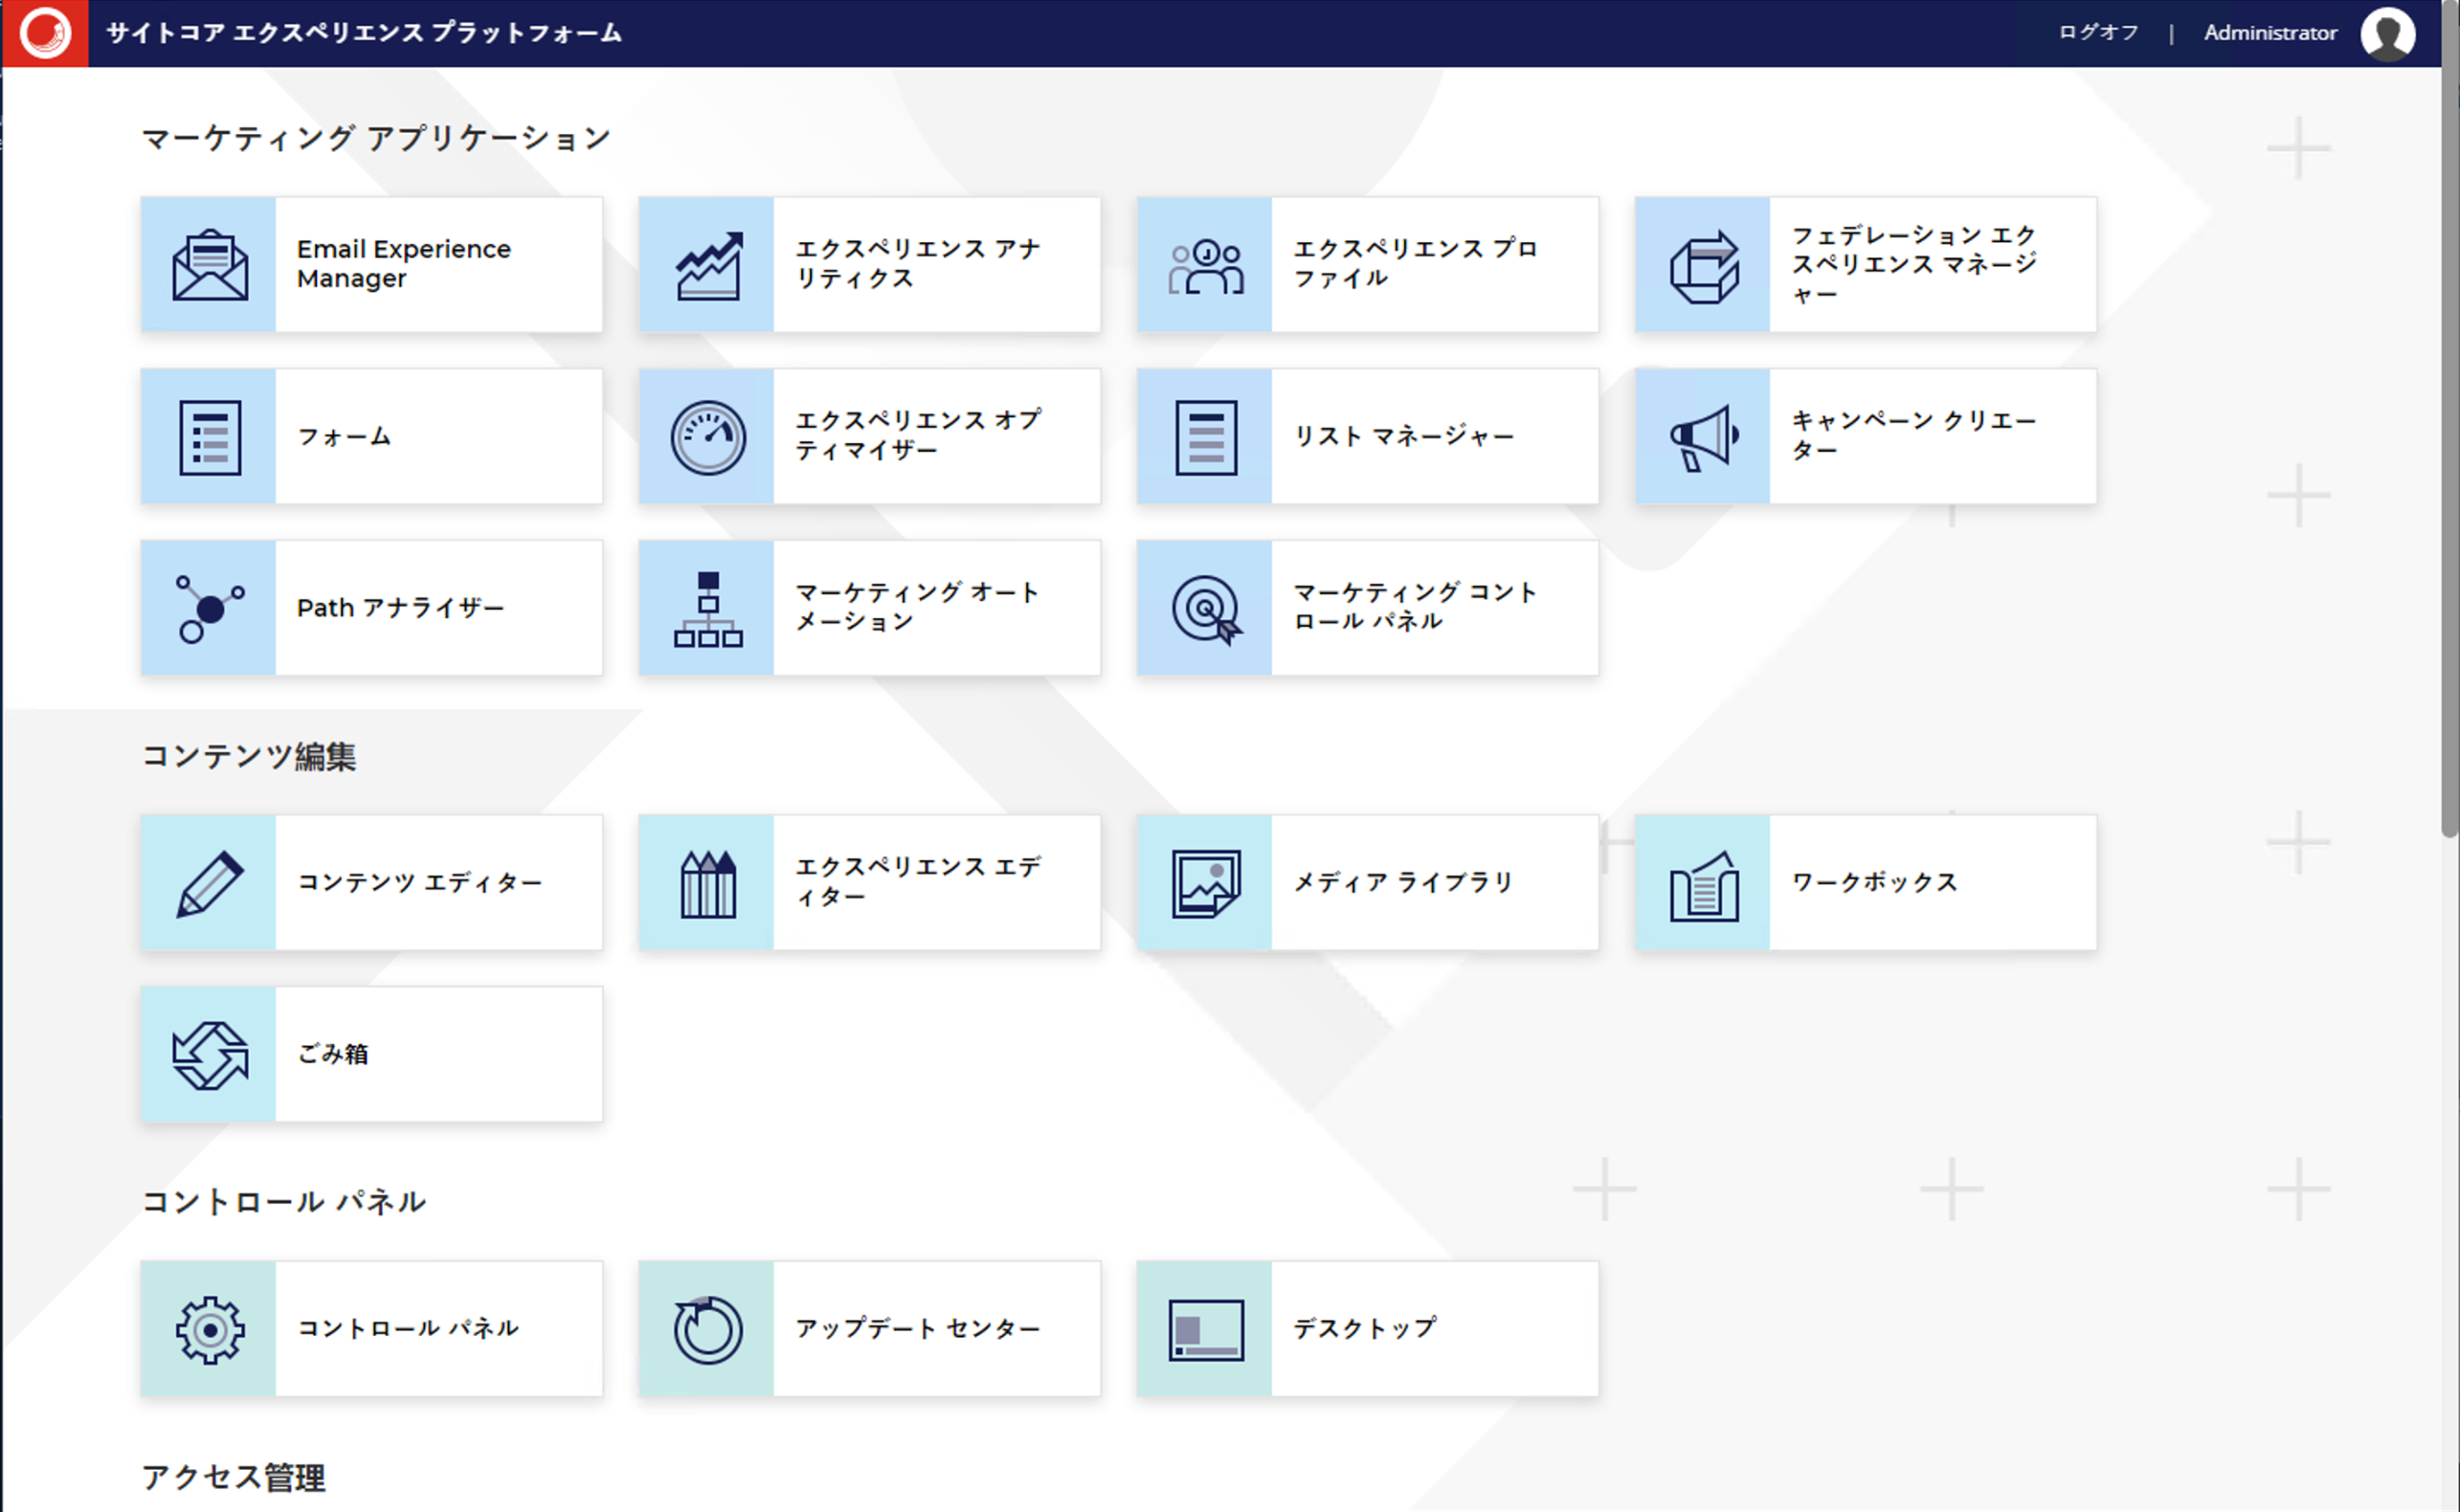
After completing the above steps and switching the user language to Japanese, the administration screen is now in Japanese.
Summary
By creating an environment on a virtual machine using Hyper-V, you will have an environment that allows you to use snapshots if you want to verify procedures. In this article, we have introduced the installation of Sitecore Experience Platform, and the installation is automated with almost only a waiting period. You can automate most of the installation by using the installation assistant, but considering that you also need to understand the environment in which you are installing, I use this procedure to set up the installation every time.