
We have gone through two steps in regards to building a Sitecore demo. In both cases, the .env file was used as the Docker environment file, and the values were set to work. In this article, we will show you how to change this section regarding the domain.
Host Name Change
As for the hostname assigned to the container, the following values are used for the settings.
Plain Text
CD_HOST=cd.lighthouse.localhost
CM_HOST=cm.lighthouse.localhost
ID_HOST=id.lighthouse.localhost
TS_HOST=ts.lighthouse.localhost
SH_HOST=sh.lighthouse.localhost
This time, change it to lighthouse.localhost as the domain name.
Plain Text
CD_HOST=cd.cmsdemo.jp
CM_HOST=cm.cmsdemo.jp
ID_HOST=id.cmsdemo.jp
TS_HOST=ts.cmsdemo.jp
SH_HOST=sh.cmsdemo.jp
Please also update the file C:\windows\system32\drivers\etc\hosts so that it can be accessed with this value.
Plain Text
127.0.0.1	cd.cmsdemo.jp
127.0.0.1	sh.cmsdemo.jp
127.0.0.1	ts.cmsdemo.jp
127.0.0.1	cm.cmsdemo.jp
127.0.0.1	id.cmsdemo.jp
The domain name has now been changed as the operating environment.
Certificate Assignment
Docker requires that certificate files be of the pem type, not the pfx type, and for certificates automatically generated by init.ps1, the Configure TLS/HTTPS certificates section indicates that they are generated by a script.
In this case, we will use a wildcard certificate that is created by Let's Encrypt. If you have no problem with a self certificate, refer to the script in init.ps1 and change the domain name drink to create it.
First, copy the pfx-type files to the following folder
- C:\projects\Sitecore.Demo.Platform\data\traefik\certs
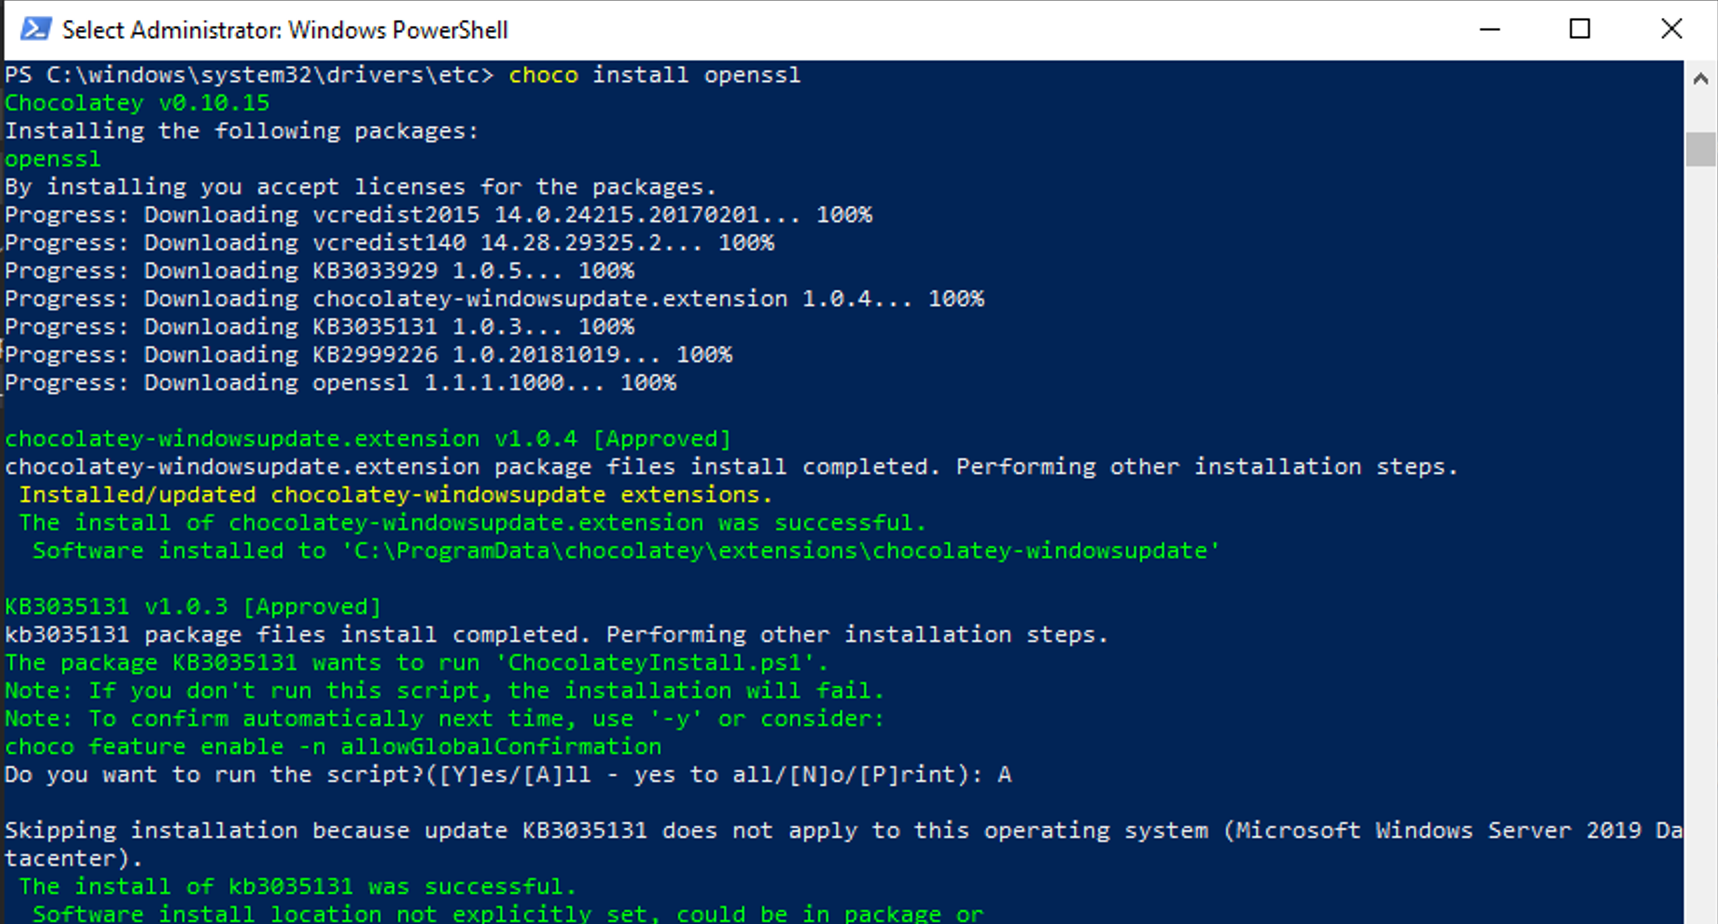
Install openssl to change from pfx type to pem type.
PowerShell
choco install openssl
The path to the openssl command will be listed in the environment variable, so log in once again. Create the folder C:\projects\certs and copy the wildcard certificates there, then follow these steps
PowerShell
PS C:\projects\certs> openssl pkcs12 -in cmsdemo20210302.pfx -clcerts -nokeys -out _wildcard.cmsdemo.jp.pem
Enter Import Password:
PS C:\projects\certs> openssl pkcs12 -in cmsdemo20210302.pfx -nocerts -nodes -out _wildcard.cmsdemo.jp-key.pem
Enter Import Password:
When it asks for Import Password, enter the password for the pfx-type file. After the above file is created,
- C:\projects\sitecore.demo.platform\data\traefik\certs
Copy the file to Also, to activate the certificate,
- C:\projects\sitecore.demo.platform\data\traefik\config\dynamic\certs_config.yaml
Change the file name specified in the
Reflect the changes
If it is already running, stop the container and delete the data with the script provided in the sample. Since the data for the environment in which it is actually running is located in the data folder, this data will be deleted.
PowerShell
docker-compose down
.\CleanDockerData.ps1
Then copy the previously prepared certificate files to C:\projects\Sitecore.Demo.Platform\data\traefik\certs Now that the preparations are complete, start the container again and wait for the data to initialize.
PowerShell
docker-compose up -d
docker-compose logs -f init
Confirmation.
Please access the two sites to confirm that the environment you are running is actually working.
- https://cd.cmsdemo.jp
- https://cm.cmsdemo.jp/sitecore
If the above URL can be accessed and referenced, and the certificate has been applied, the configuration is complete.
Summary
In this article, we introduced the procedure for changing the domain name and launching an instance, a form that is easy to do if you are using a Wildcard-compatible certificate and setting up with the same domain name.