
To evaluate Sitecore's Headless environment, running an actual demo is the quickest way. We'll execute a demo provided on GitHub. Ensure you have a Docker-compatible environment set up. If not, refer to the following article to build it.
Docker-related articles are summarized in the Docker Series.
Clone Repository
The first step is to clone the repository. The target repositories are as follows
Create a quick clone on GitHub Desktop. This time, create a clone under c:\projects

Apart from this, the following repositories should also be cloned at the same time.
As a result, two repository clones are created at c:\projects

Prepare license file
Create a directory named c:\license and copy the license file.

As for the license file, a development evaluation license can be obtained from the Sitecore website.
Note: Offer was closed (confirmed in May 2024).Install Node.js and JSS commands
To use Sitecore JSS, you must install Node.js components and JSS commands.
First, download and install the Node.js modules from the official Node.js website.
Download the file, launch the installer, and proceed with the default settings.

Next, install the JSS commands. To install the commands, simply execute the following one-line command with administrative privileges.
PowerShell
npm install -g @sitecore-jss/sitecore-jss-cli
Preparing for Setup
Scripts to prepare for setup are in the repository clone folder. Navigate to the directory and execute the following command
PowerShell
.\init.ps1 -InitEnv -LicenseXmlPath C:\license\license.xml -AdminPassword b
If the path to the license file is different, rewrite it. You can also change the administrator's password at this time if you want to specify a password other than b. A confirmation dialog regarding the certificate will be displayed on the way. The initial configuration information will be described in the .env file.
Start the container
Now that the configuration is complete, the next step is to download the image.
PowerShell
docker compose pull
Then start the container with the following command
PowerShell
docker compose up -d
After all containers have been started, content import will run for the first time. The initial startup status can be checked in the following environment.
PowerShell
docker compose up -dAfter a while, the logging will stop, and the instance will be started there.
Check the demo environment
The site is working as follows
Role | URL |
|---|---|
CM Server | https://cm.lighthouse.localhost/sitecore/ |
Fitness | https://app.lighthouse.localhost/ |
Fitness Kiosk | https://kiosk.lighthouse.localhost/ |
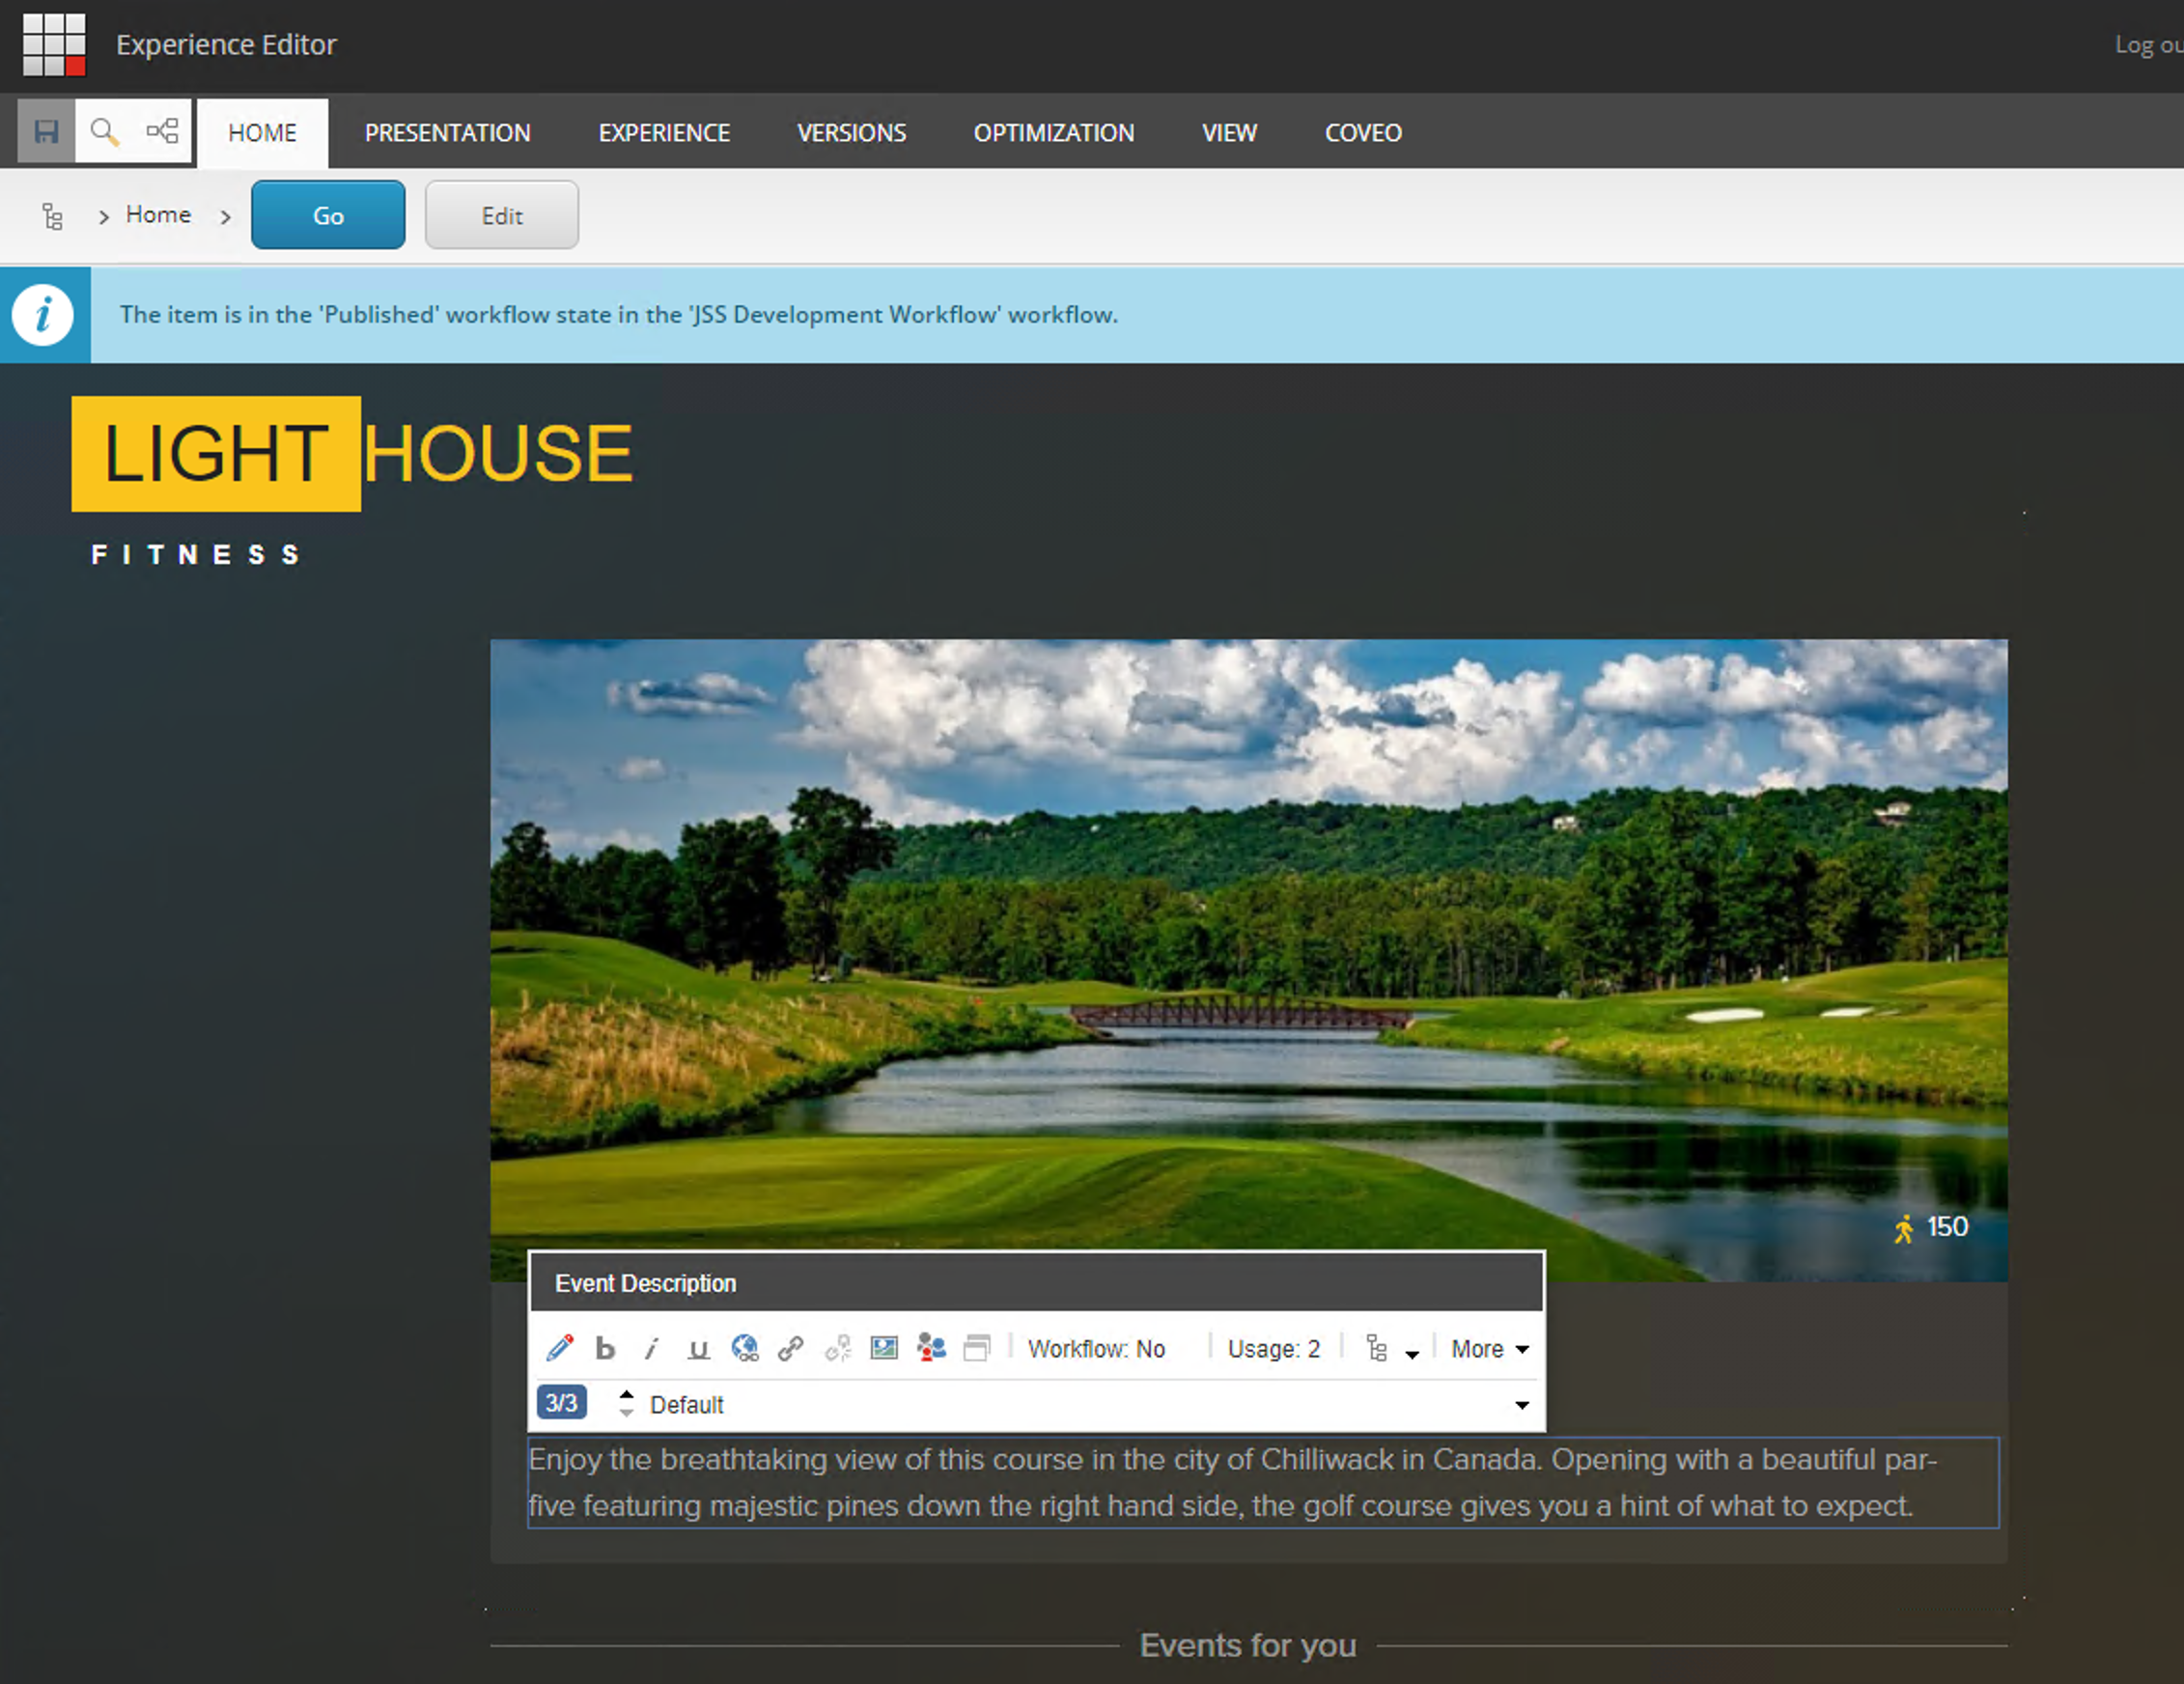
After logging into the CM server, you will see an item for Lighthouse Fitness home.

Selecting this item and launching the Experience Editor will result in the following screen.
Where is this sample code actually stored? This code is stored in C:\projects\sitecore.demo.headless\fitness\app To run this code in Disconnected Mode, please proceed as follows (npm install is only for the first time).
PowerShell
cd C:\projects\sitecore.demo.headless\fitness\app
npm install
jss start
After executing the last command, the sample site will be activated.

Thus, we were able to run the sample site and check the code. The other site has code at C:\projects\sitecore.demo.headless\fitness\fitness\kiosk, so we can use that to check the same.
Summary
Using the repository on GitHub, I was able to get a working environment of Sitecore JavaScript Services running on my hand. It would be good to see how it is implemented in the sample code.