
ミドルウェアが起動して初期データの設定ができました。続いて、EC サイトのストアフロントとなる buyer およびEC サイトの管理画面となる seller のサイトをローカルで起動していきます。
連携前の作業として
azure-pipelines.yml のファイルの zipAfterPublish を true に変更します。
      - task: DotNetCoreCLI@2
        displayName: Publish Middleware
        inputs:
          command: publish
          publishWebProjects: false
          projects: "**/Headstart.API.csproj"
          arguments: --configuration Release --output middleware
          zipAfterPublish: true
version.yml にある middlewaer の URL を Azure の middleware、test スロットの URL に変更します。
steps:
  - task: PowerShell@2
    displayName: Get Build Number
    inputs:
      targetType: inline
      script: >-
        try {
            # call out to hosted endpoint to get the current version and add one for this build
            [Net.ServicePointManager]::SecurityProtocol = [Net.SecurityProtocolType]::Tls12
            $response = Invoke-RestMethod -Uri "https://headstartdemo-middleware.azurewebsites.net/env"
            $newversion = [int]$response.BuildNumber.Split(".")[2] + 1
            Write-Host "##vso[build.updatebuildnumber]1.0.$newversion.$(Build.BuildId)"

        } catch {
            $newversion = 1
            Write-Host "##vso[build.updatebuildnumber]1.0.$newversion.$(Build.BuildId)"
        }
また App Configurations の設定のうち、MiddlewareBaseUrl の項目を Azure のインスタンスに変更して、改めてインポートをします( buildnumber もついでに 104 にします)。
"EnvironmentSettings:MiddlewareBaseUrl": "https://headstartdemo-middleware.azurewebsites.net",プロジェクトの作成
Azure DevOps にログインをします。
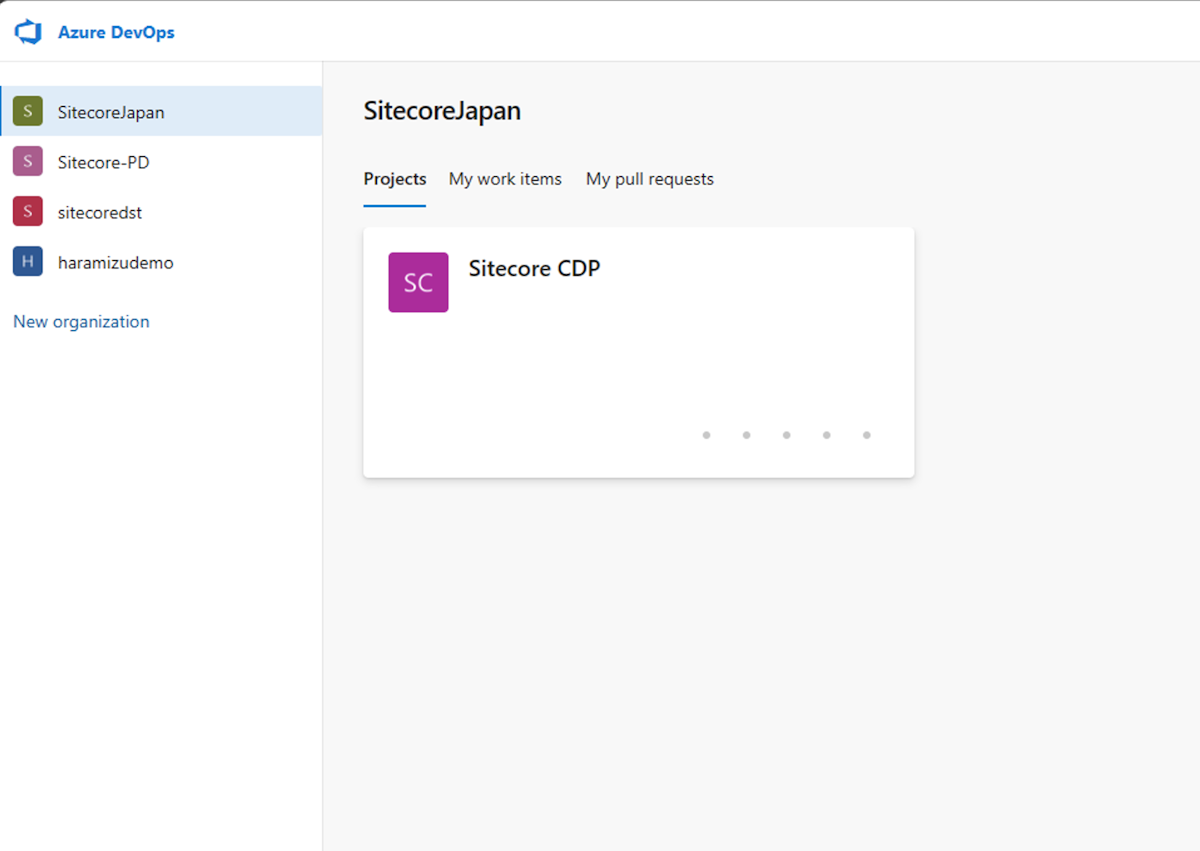
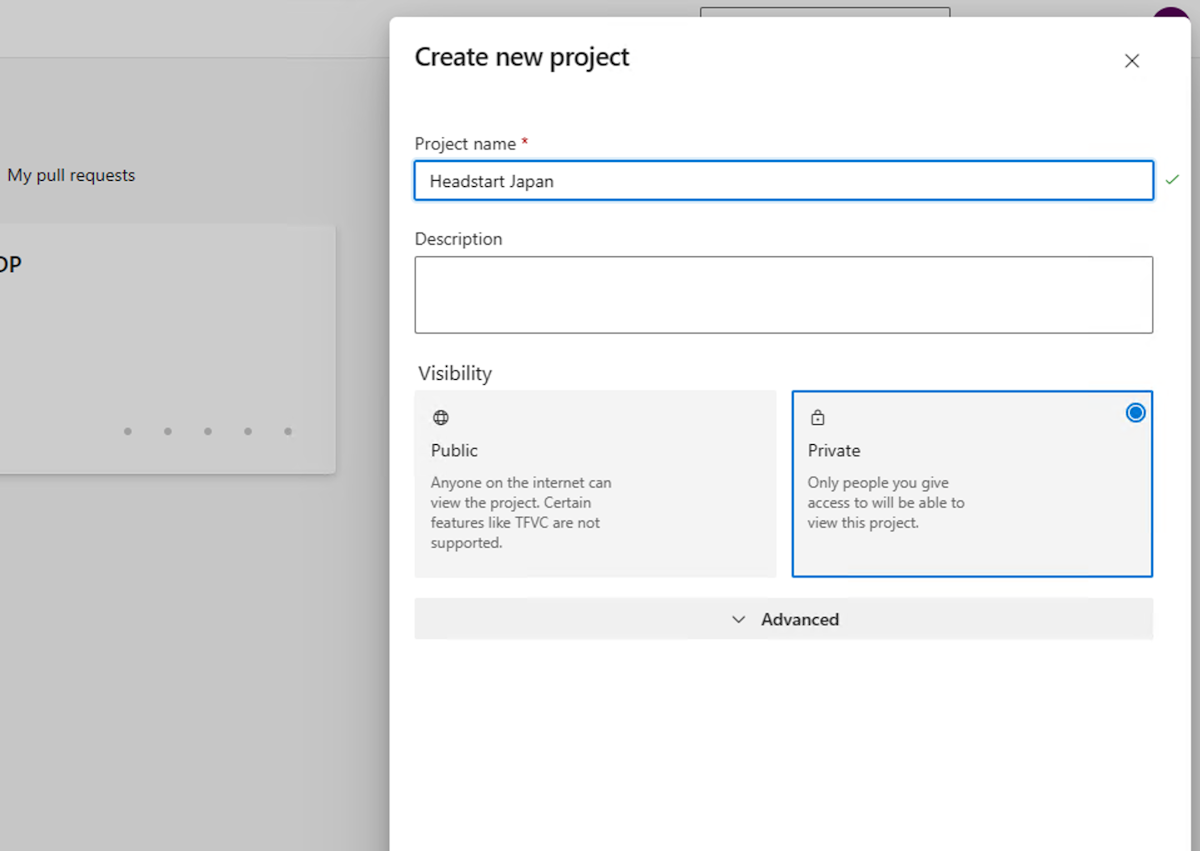
実際に作業をするためのプロジェクトを追加するべく、New Project を作成( Headstart Japan ) を今回は作成しました。
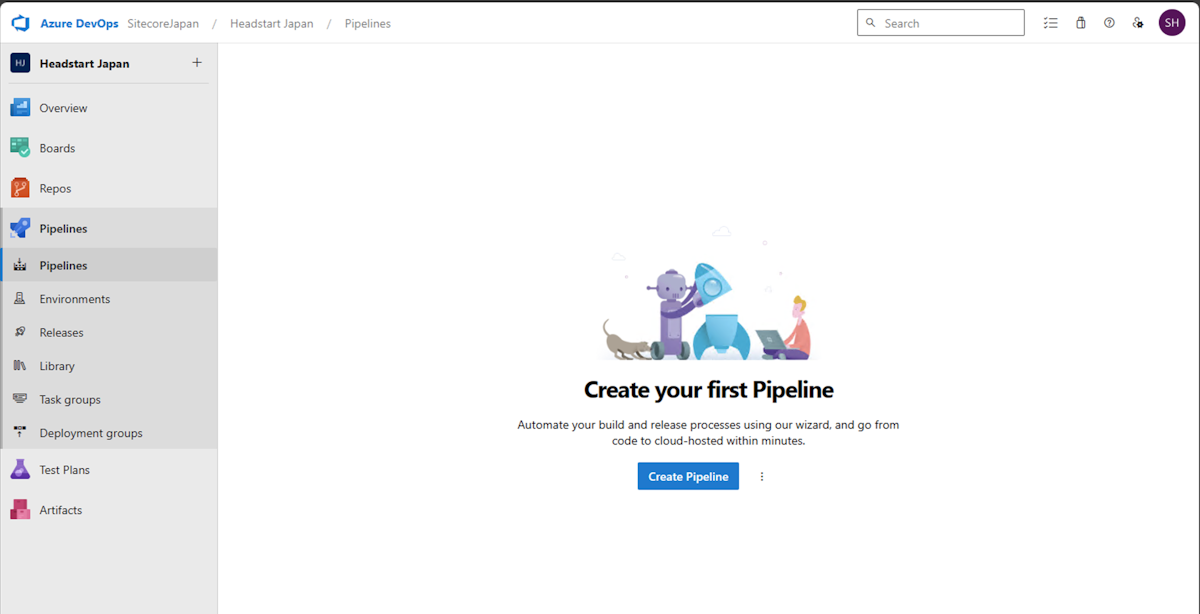
パイプラインの作成
左側のメニューで Pipelines - Pipelines を選択、右側に出てくる Create pipeline のボタンをクリックします。
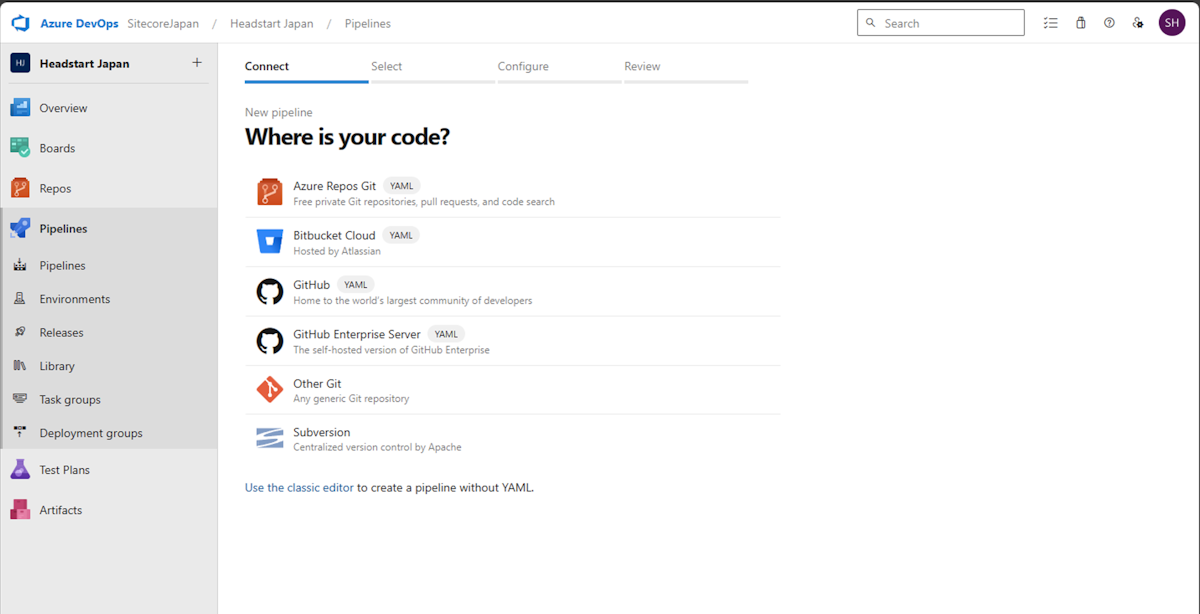
連携するコードは今回は GitHub になるため、GitHub を選択します。
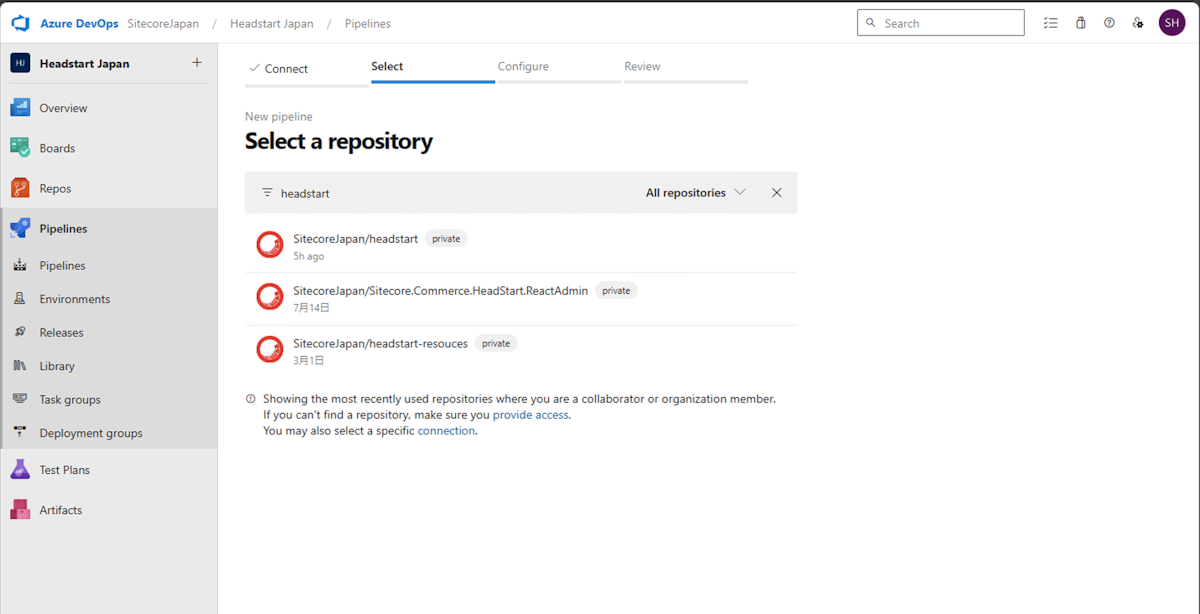
今回はリポジトリの名前として設定している SitecoreJapan/headstart を選択します。
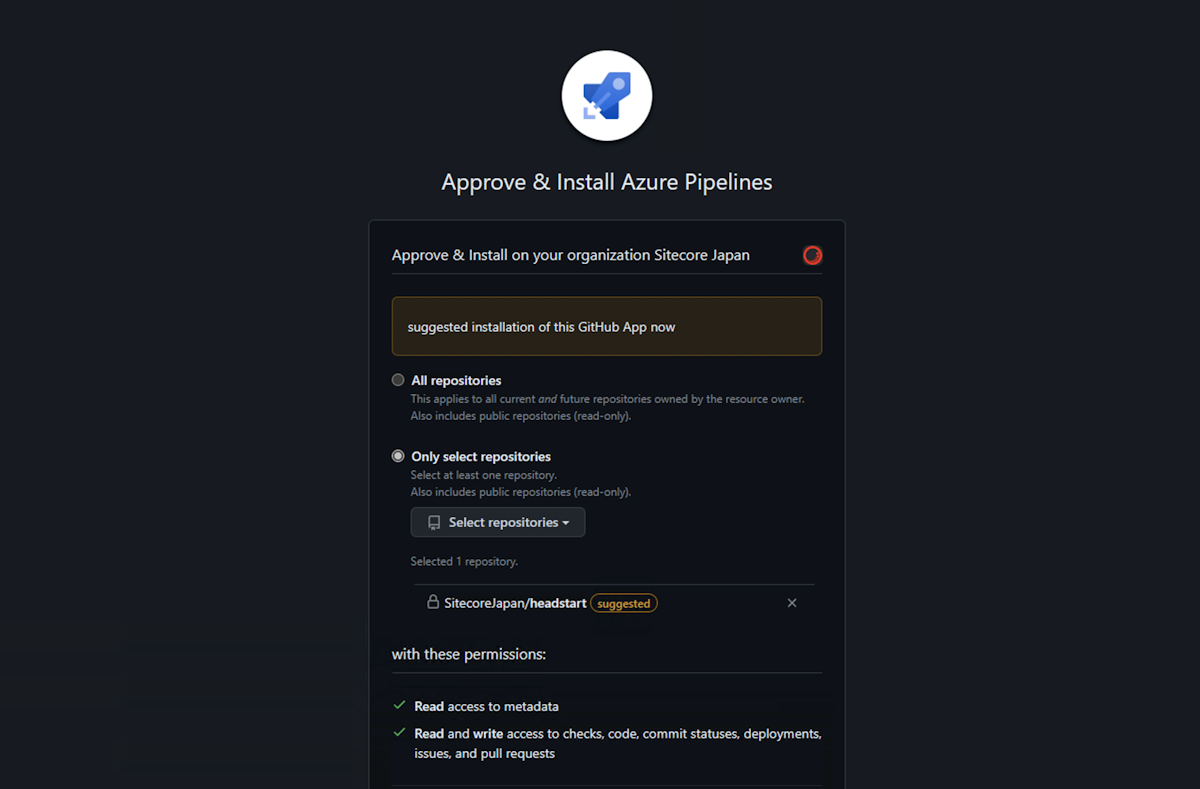
リポジトリの設定の際には、権限設定の画面で権限を許可する必要があります。対象のリポジトリを選択して、Approve and Install をクリックしてください。
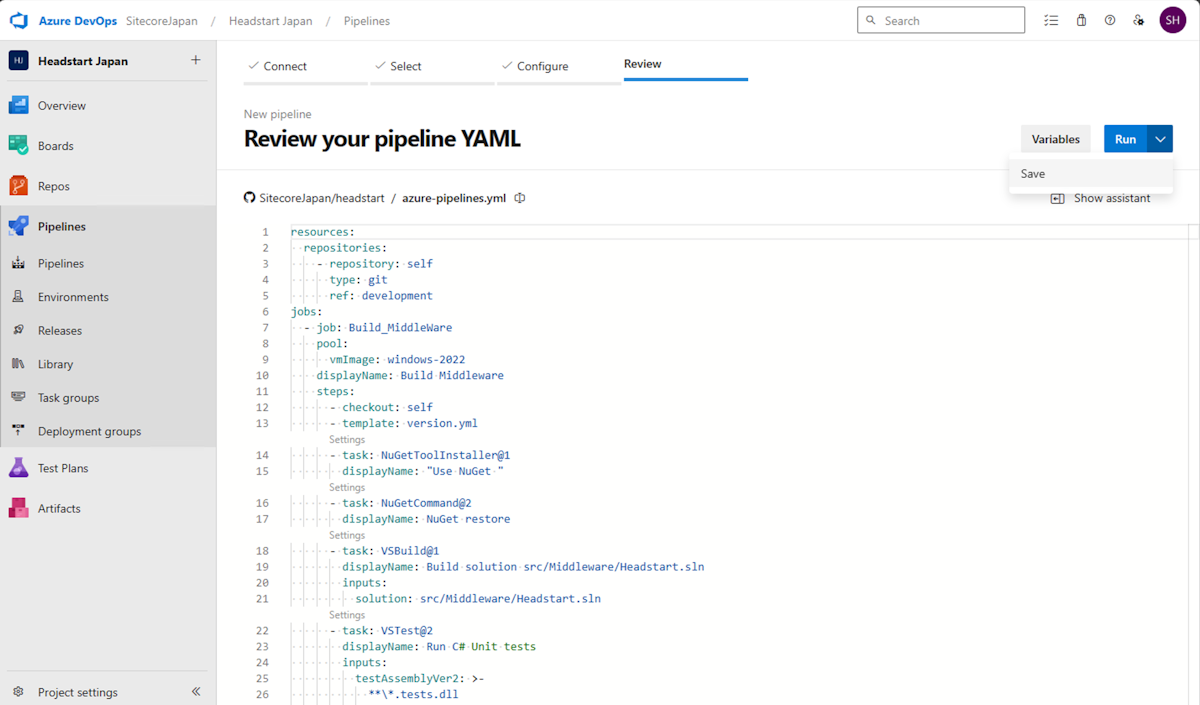
azure-pipelines.yml が読み込まれているのを確認して、右上にある Run ボタンの右側の下矢印を利用して保存する。
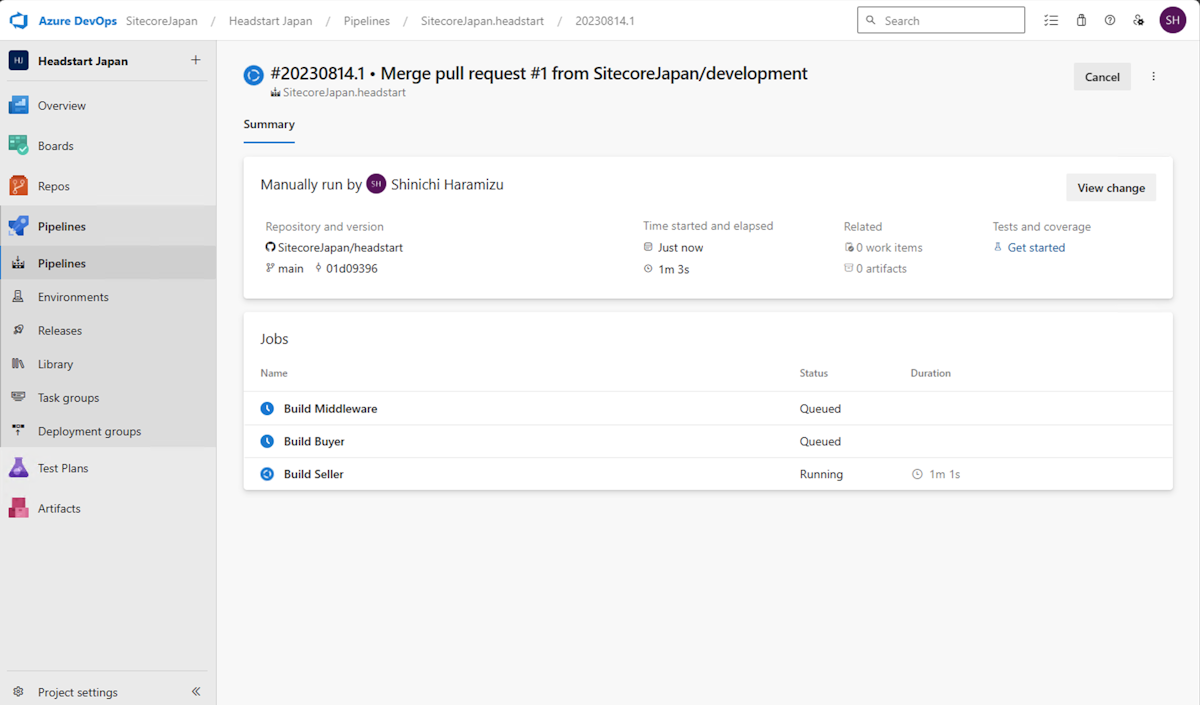
完了すると以下の画面になります。

画面の中央に表示されている Run Pipeline をクリックします。
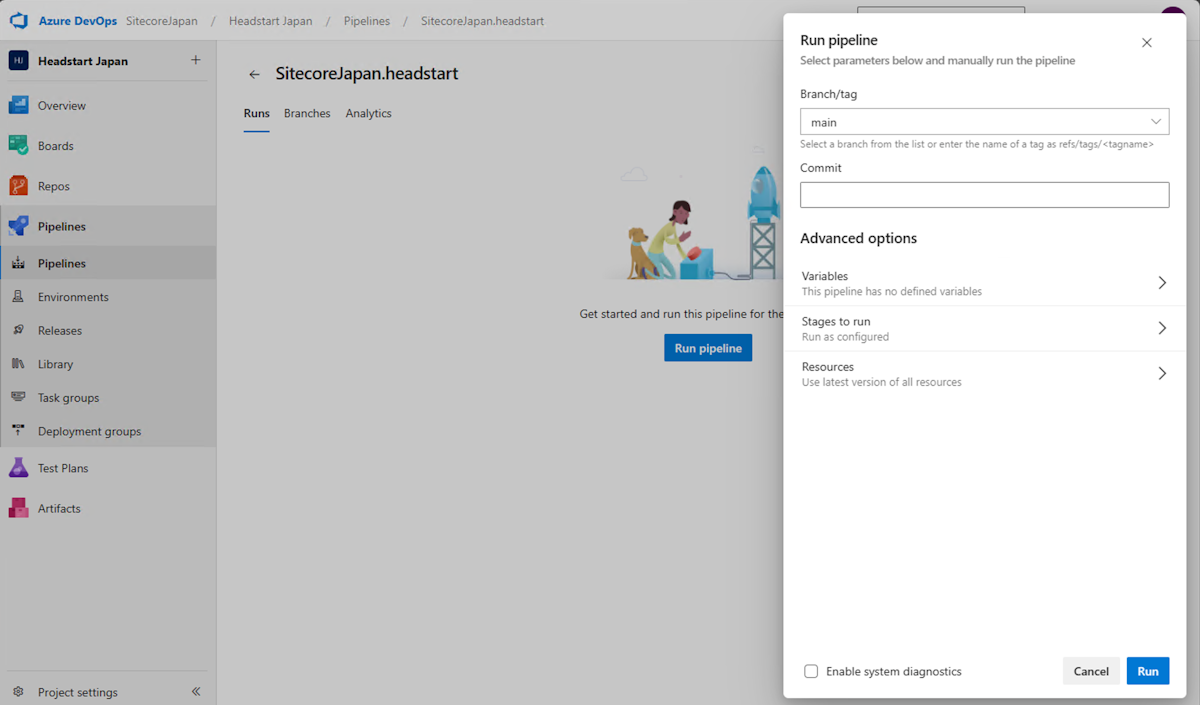
今回は main のブランチを対象としてビルドを実行するので、表示された画面のまま進めます。問題なく動作するようになった場合、パイプラインの実行に関しては 10 分ちょっとで完了します。
注意: ここで、以下のようなエラーが表示される場合があります。
No hosted parallelism has been purchased or granted. To request a free parallelism grant, please fill out the following form https://aka.ms/azpipelines-parallelism-request
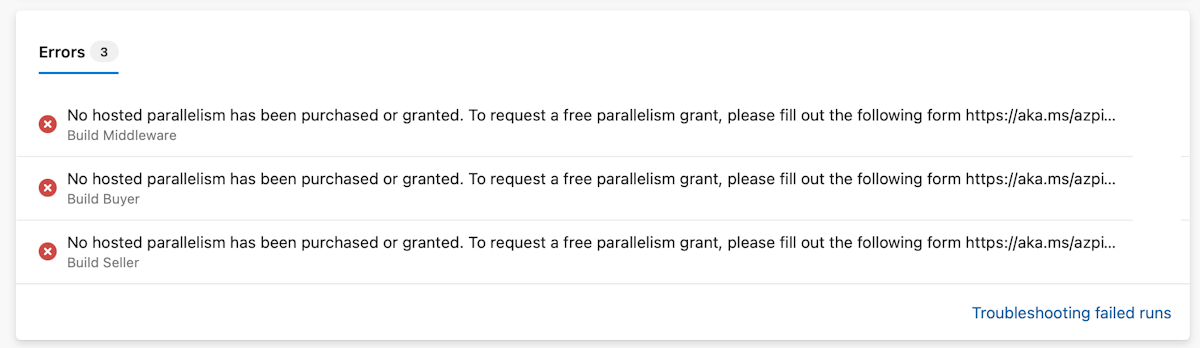
これは Azure DevOps の設定が不足しているためです。指定された URL をクリックするとフォームが表示されて、リクエストをすると、私の場合は 3 日で設定が完了して利用できるようになりました。
まとめ
今回のパイプラインに関しての処理ですが、全てを動画として YouTube にアップロードしてみました。
次回はビルドが成功した次のステップとしてリリースを作成して、Azure のインスタンスに対して展開していく手順を紹介します。
更新履歴
2023年8月に最新情報に合わせて更新しました。