
To manage items hierarchically and facilitate targeted item selection, you can specify a source in the template's field settings. This improves efficiency by narrowing down choices. This time, we'll introduce how to use the source option in field settings.
Specify a tree list
As a sample here, assume an item that allows keywords to be specified in a Meta tag. The keywords are managed as Sitecore items, and when editing a page, the user can select from the items specified.
First, create a template for the keywords in the Meta tag. In this case, we will keep it simple and use only Keyword, with `$name` as the standard value of Keyword.

Then create a folder called Keyword under the `Components` folder. In the insert option of the created folder, specify the template you have created.

This will make it easy to create a list of items for a keyword. In this case, we will create items for keywords such as Sitecore.

The list of items is now complete. Next, create a new field called pageKeyword in the \_Metadata template that was previously created. The data format is Treelist. In this case, specify the folder that manages the previously created keyword list as the source.

This will add the item's keyword to the Home template item. It works as follows

By specifying the source in this way, the screen can be made easy to select items of the specified data format. Searching from the top of the tree every time will induce mistakes, and managing data such as keywords by item, as in this case, will reduce blurring and make it easier to manage within the site.
Specify the image path
Similar to the above, there is a source usage that can be used if you want to specify the images you want to display for different items. First of all, I created the following folder in the media library

Next, let's assume that we want to specify an image to be used in the `og:image` field of the Meta data. In this case, we will create a field named `pageImage`, specify an image, and set the source to the path of the media library we have prepared in advance.

Now we would like to specify an image with this. When you select an item, the image field has been added and is empty data.

If you specify a media selection in the field that specifies images, you will see that you cannot browse any folders other than the target folder, as shown below.

By using the source in this way, you can specify the target media type without making a mistake when selecting images.
Specify rich text format
As for the use of the last source, we will show you how to select the mode you want to use for the target Rich Text field. This is the mechanism in effect for Rich Text fields and works a little differently than the others.
First of all, the list of Rich Text field icons in the standard implementation will look like the following screen.

To switch modes, the HTML editor profile must be changed. This item is defined in the Core database under the folder /sitecore/system/Settings/Html Editor Profiles/. The default profile is also specified in the Sitecore.config file.
XML
<setting name="HtmlEditor.DefaultProfile" value="/sitecore/system/Settings/Html Editor Profiles/Rich Text Default" />The standard profiles are as follows
- /sitecore/system/Settings/Html Editor Profiles/Rich Text Default
- /sitecore/system/Settings/Html Editor Profiles/Rich Text Full
- /sitecore/system/Settings/Html Editor Profiles/Rich Text IDE
- /sitecore/system/Settings/Html Editor Profiles/Rich Text Medium
In this case, Rich Text Default is specified in the settings, so the standard list of buttons is displayed.

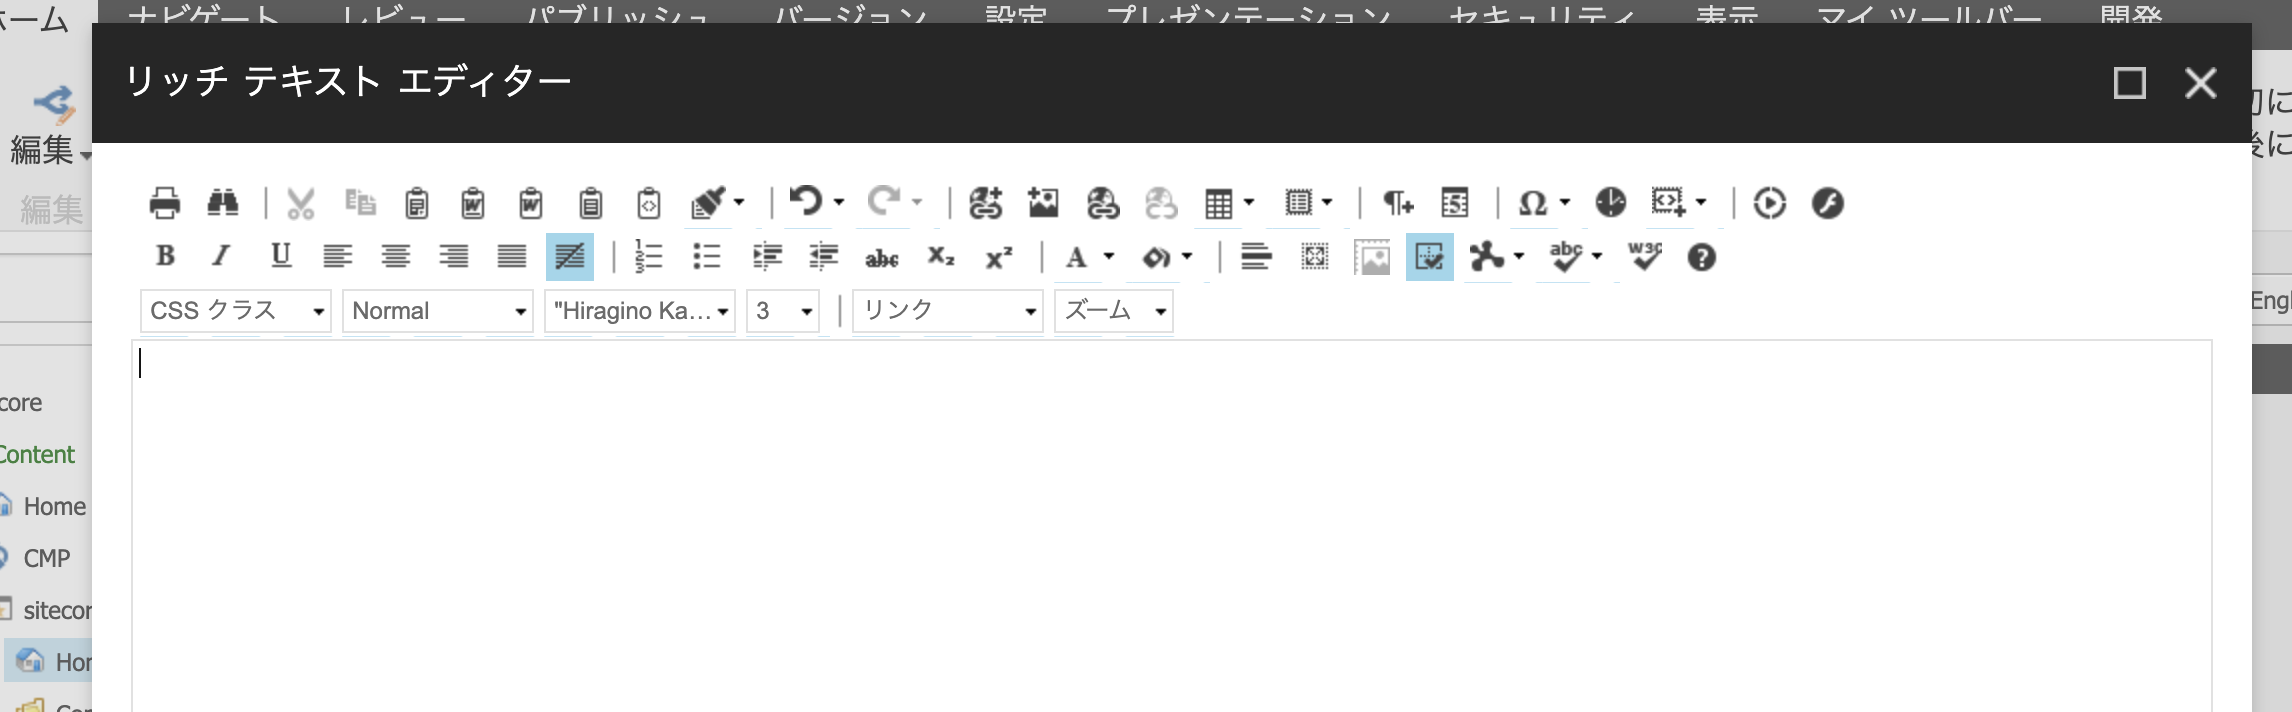
The following images show the changes to the Rich Text Editor when the changes are made. First, Rich Text Full is as follows
The Rich Text IDE is then as follows

Finally, Rich Text Medium is also expanded as follows

Now that you have control over which icons are displayed for rich text fields, you can also use profiles in the Core database to create a list of buttons that implement your own icons.
Summary
In this article, we introduced how to use the source items provided in the template. This feature allows the user to make selections from a specified location when selecting items. For rich text fields, it is possible to control the available control items. By setting up such items, you can improve the efficiency of data entry.