
Previously, we created a custom root item. Creating a template is not enough to display a page; a layout must be assigned. This time, we will create a layout and work on it so that we can actually edit and preview it.
Create a layout
In this project, one layout is provided under /sitecore/layout/Layouts/Project/sitecoredemo-jp.

To review the steps for creating a new layout, create a new one. Create a new Base Layout by clicking the JSS Layout button on the screen above. Set placeholders for the created layout. This time, as before, we will set three items.

We will now proceed to test the layout using the sample items created in the previous step. Select the item and click on Details in the Presentation section.

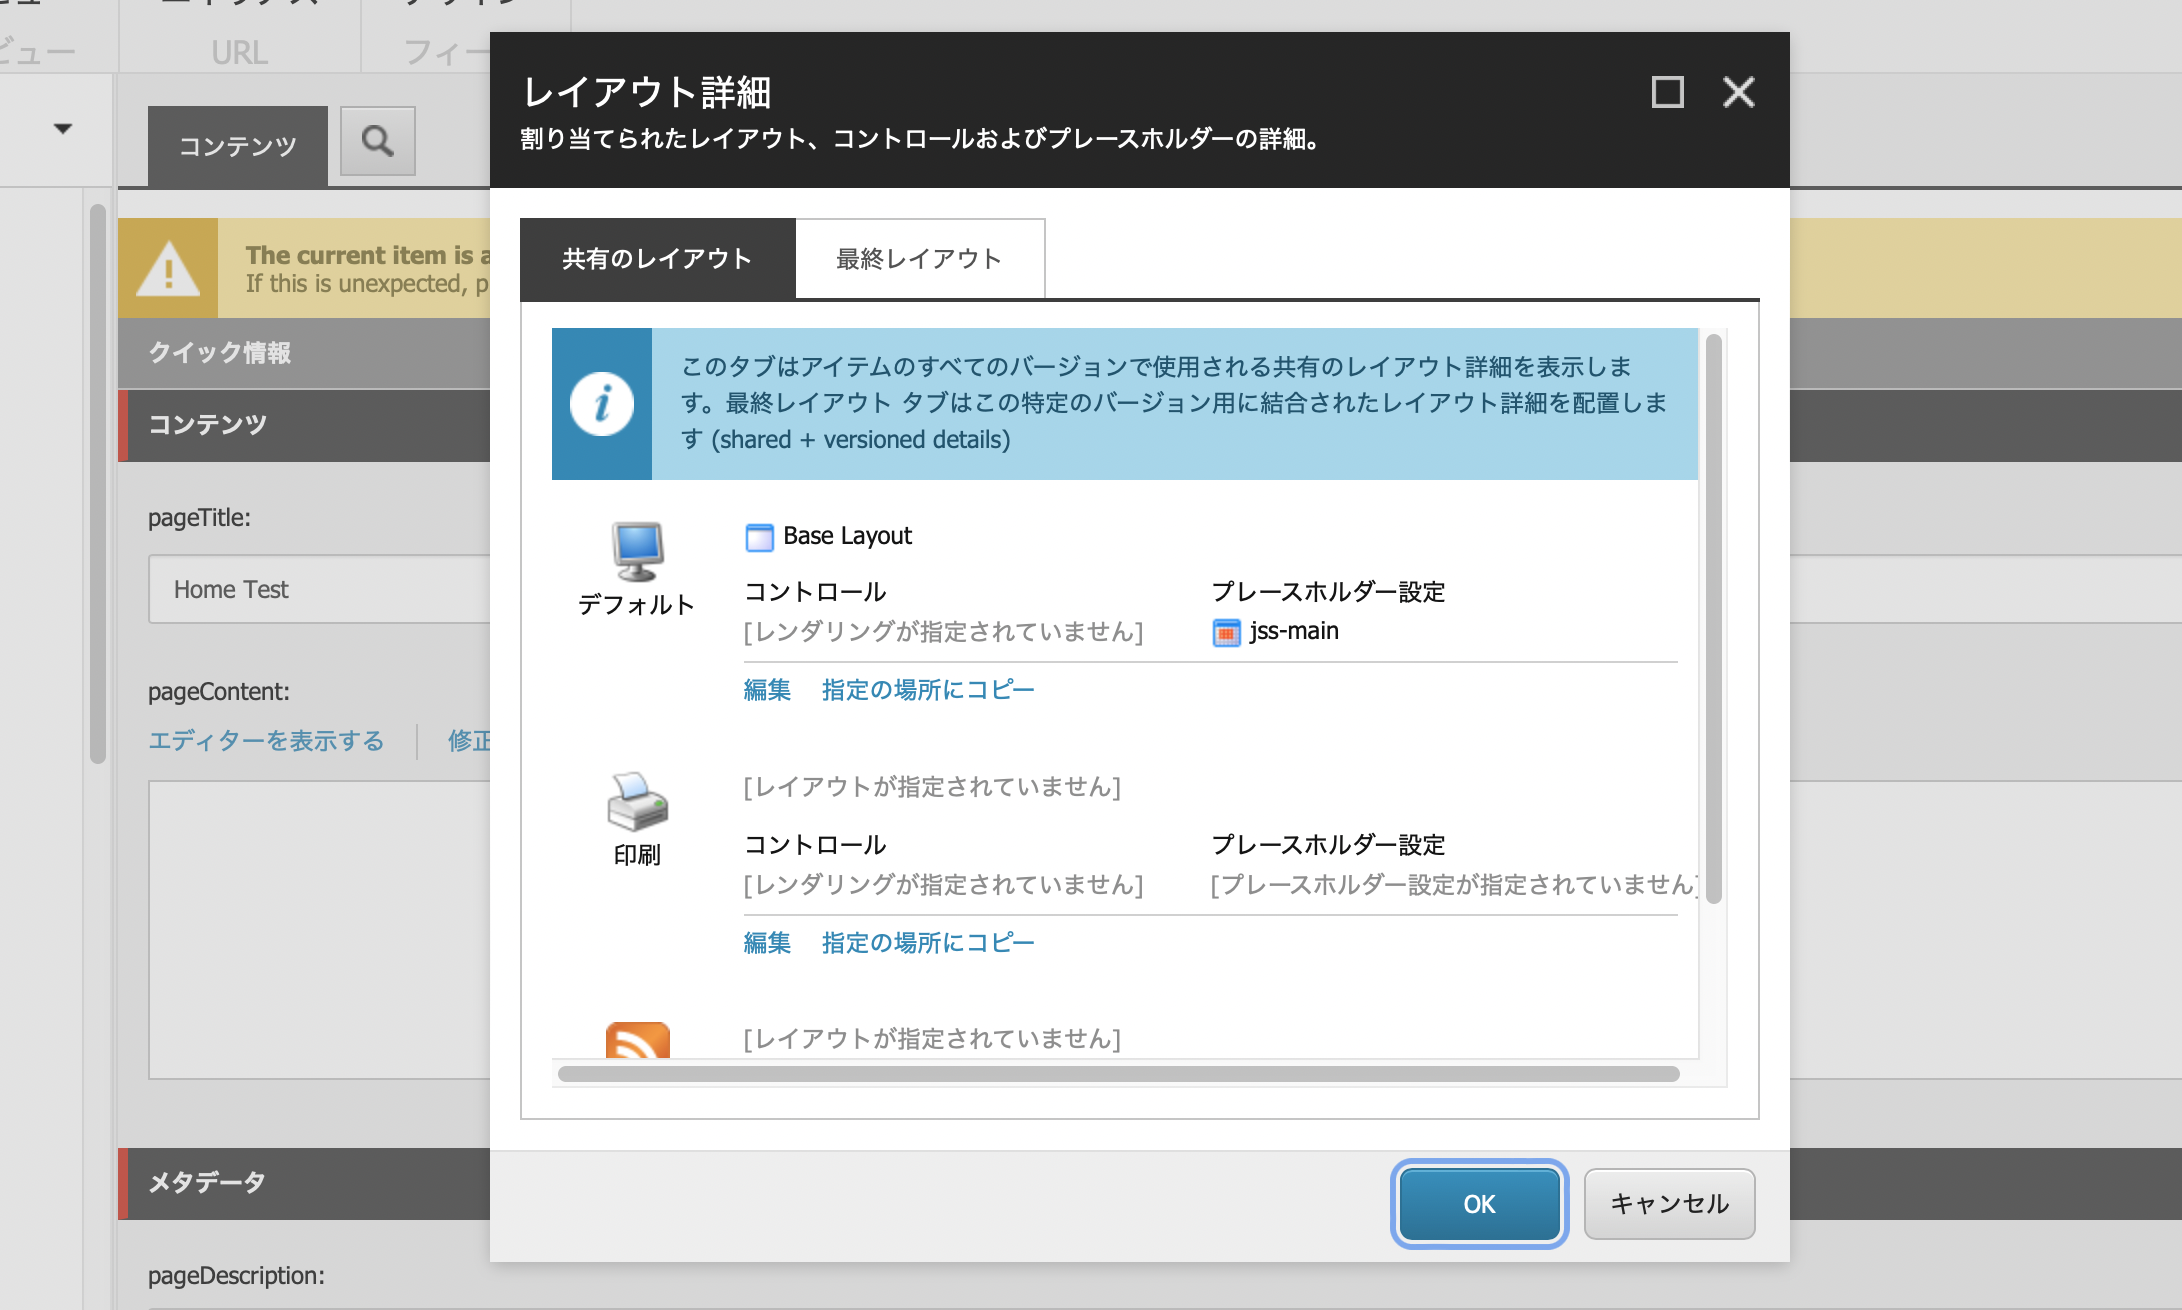
The Layout dialog box opens.

Click the Edit Default Device button to switch to the following dialog. For the layout, specify the layout you have just created.

Then switch to Placeholder Settings. Clicking the Add button here will display the following dialog, which allows you to enter placeholder keys and settings. Here we add jss-main.

The finished product for this project will be as follows.
This completes the layout setup. If you specify a sample item and open it in the Experience Editor, you will see the following

The layout assignments are ready. It is hard to do this process every time we create an item. So we will set it to Standard Value.
Set to Standard Value
The template created in the previous step is located at the following path.
- /sitecore/templates/Project/sitecoredemo-jp/Pages/Home
Select this item and choose Standard Value in the Builder Options. With the Standard Value item selected, set up the layout in the same way you set up the layout above.

Next, we want to set up a Hero control for every home item this time. Open the Standard Value item Presentation - Details.

With the Shared Layouts tab open, click Edit Default Device. When the dialog appears, switch to the Control tab.

Click on the Add button to select the rendering, and below you will find an item that allows you to specify a placeholder. Here we specify the Hero control and the placeholder for jss-main. Also, check the Open Properties dialog box after selection and click the Select button.

The dialog switches to allow you to specify a data source. In this case, we specified a data source that is already available.

Create a new item as a test. Follow the same procedure as before to create a new item called Home Test 2. If you open the Experience Editor and the page appears, you have assigned a layout.

Summary
Using the template you created last time, you can now edit it in the Experience Editor by assigning a layout. If you only have data as an item, you do not need this setting, but to manage it as a page, you will need to set up a layout.