
Sitecore has a feature called Sitecore Experience Explorer that you can use to test your Sitecore marketing setup in advance. In this article, we will show you how to use this feature.
Scenarios for using the campaign
When setting up campaign personalization, the Sitecore Experience Platform has a variety of rules. Among them, personalization by campaign inflow is an important feature that can be effective.
Campaign creation and deployment
The first step is to create a campaign. In creating a campaign, you will launch the Campaign Creator to create a new campaign. In this case, we have created the following campaign

The campaign link will be a URL that is automatically created when you create a campaign. By adding the campaign link to the URL, you can track where your campaigns are coming from. For example, you can use three campaign codes, one for ads, one for newsletters, and one for social, and specify the channel for each to determine which channel they are coming from.
To deploy the created campaign, open Analytics - Deploy Marketing Definition in the Control Panel.

In the dialog, check the campaign and expand the marketing definition.

This completes the deployment. Just to be sure, it is a good idea to open the desktop and switch to the web database to check that the items have been deployed.

When you are done, switch from the Web database to the Master database and go to the top of the administration page.
Set personalization rules for your pages
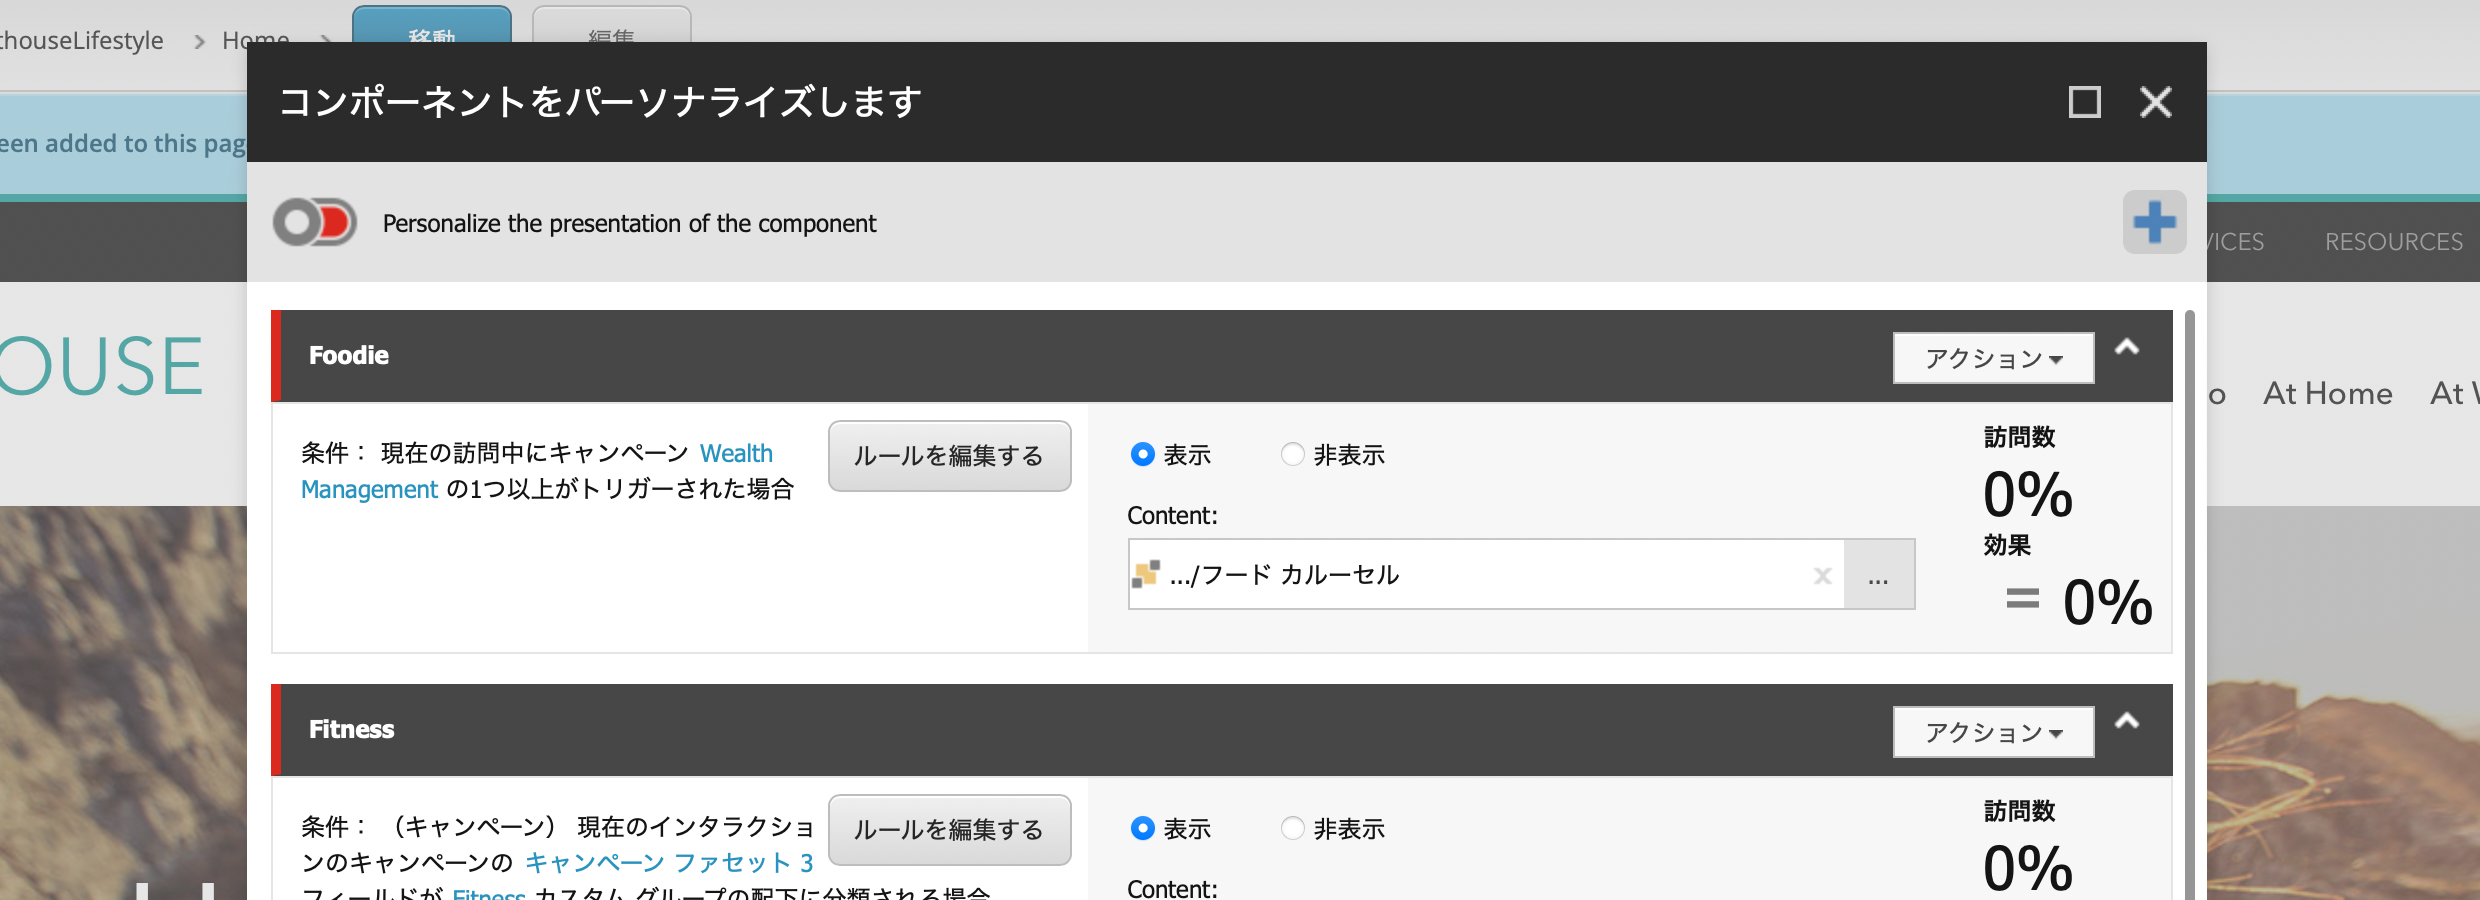
Open the Sitecore page you wish to test and check the personalization rules for the component in question. In this case, we will check if it works with a rotating banner.

Open Edit Conditions and specify the campaign you created as a rule.

The result is as follows
Switch to the Experience Editor to see if the content switches according to the rules.

Use the Experience Explorer
Now that we have created the campaign and set up the personalization rules for the page, we would like to validate it using the Experience Explorer. This tool is not offered as a stand-alone form, but as a feature of the Experience Editor. Select the Experience tag and click on Explorer.

When you switch to it, you will see the page in a mode similar to full screen, but with arrows on the left and right. This time, click on the arrow on the left side.

Here you will find the referrer information, where you can specify the campaign or referrer (referrer). By using the Experience Explorer, you can check if personalization is enabled for a specific profile. In this case, we are going to check if it is valid for a campaign. The following screen shows the actual campaign you have created and whether it is valid or not.

As you can see above, if you set up a campaign, you will see personalization running. If you open the hidden item on the right side with the arrow, you can also see if the campaign is activated. We can also see that when we test again, we can reset it and it is back to normal.
Confirmation on public server
This is how it actually works when published externally, but one point should be noted. This is because this personalization is only enabled when the first page is displayed with the campaign code in it.
In this case, for example, the following site is accessed as a URL (the domain listed here is an example and differs from the actual verification environment).
https://sitecore.com/
The result will look like this.

Add the campaign code back here and try to access it.
https://sitecore.com/?sc_camp=47C2B2467FD04984A177051B4F55BB41

In this case, it appears that personalization is not working. Now let's open another window in private mode and put in the exact same URL as the second one.

You can see personalization in action. We were able to confirm that personalization was being performed based on which inflow the visitor came from, rather than on page transitions within the site.
Summary
In this case, we used the Experience Editor to create a campaign, deploy it, and then check that the campaign is working again. This allows us to test personalization in the admin panel before publishing externally. By looking at the page in the Experience Explorer, we can verify whether or not the target goal is being met, and then publish the page to see if the marketing settings can be observed in the way we expect, and what kind of personalization is being used for the content. We are now able to confirm whether the marketing settings can be observed in the expected movement and what kind of personalized content is being used.