
Next to content, links are the most important data on a website. In this article, we will introduce how to describe this part in the form of a component.
Creating Link Field Components
This time, we will create a component that contains fields related to links, and check how to describe it and how it works.
Component Creation
First, prepare two Data/LinkSample definition files by executing the following code
PowerShell
jss scaffold Data/LinkSample
This will create the following two files
- sitecore/definitions/components/Data/LinkSample.sitecore.ts
- src/components/Data/LinkSample.tsx
The first file can define the types of fields that make up the template. Add code to the following file
TypeScript
export default function LinkSample(manifest: Manifest): void {
  manifest.addComponent({
    name: 'LinkSample',
    icon: SitecoreIcon.DocumentTag,
    fields: [
      { name: 'generallink1', type: CommonFieldTypes.GeneralLink },
      { name: 'itemlink1', type: CommonFieldTypes.ItemLink },
    ],
  });
}
Then edit the following file, which is a layout file, to display this item as an item on the page, adding LinkField, Link , Item, to import.
TypeScript
import {
Text,
Field,
LinkField,
Link,
Item,
withDatasourceCheck,
} from '@sitecore-jss/sitecore-jss-nextjs';
import { StyleguideComponentProps } from 'lib/component-props';
type LinkSampleProps = StyleguideComponentProps & {
fields: {
generallink1: LinkField;
itemlink1: Item;
};
};
const LinkSample = (props: LinkSampleProps): JSX.Element => {
const { itemlink1 } = props.fields;
return (
<div>
<h2>Standard Link</h2>
<div>
<Link field={props.fields.generallink1} />
</div>
<h2>Item Link</h2>
<div>
<Text field={itemlink1.fields.Title as Field<string>} />
</div>
</div>
);
};
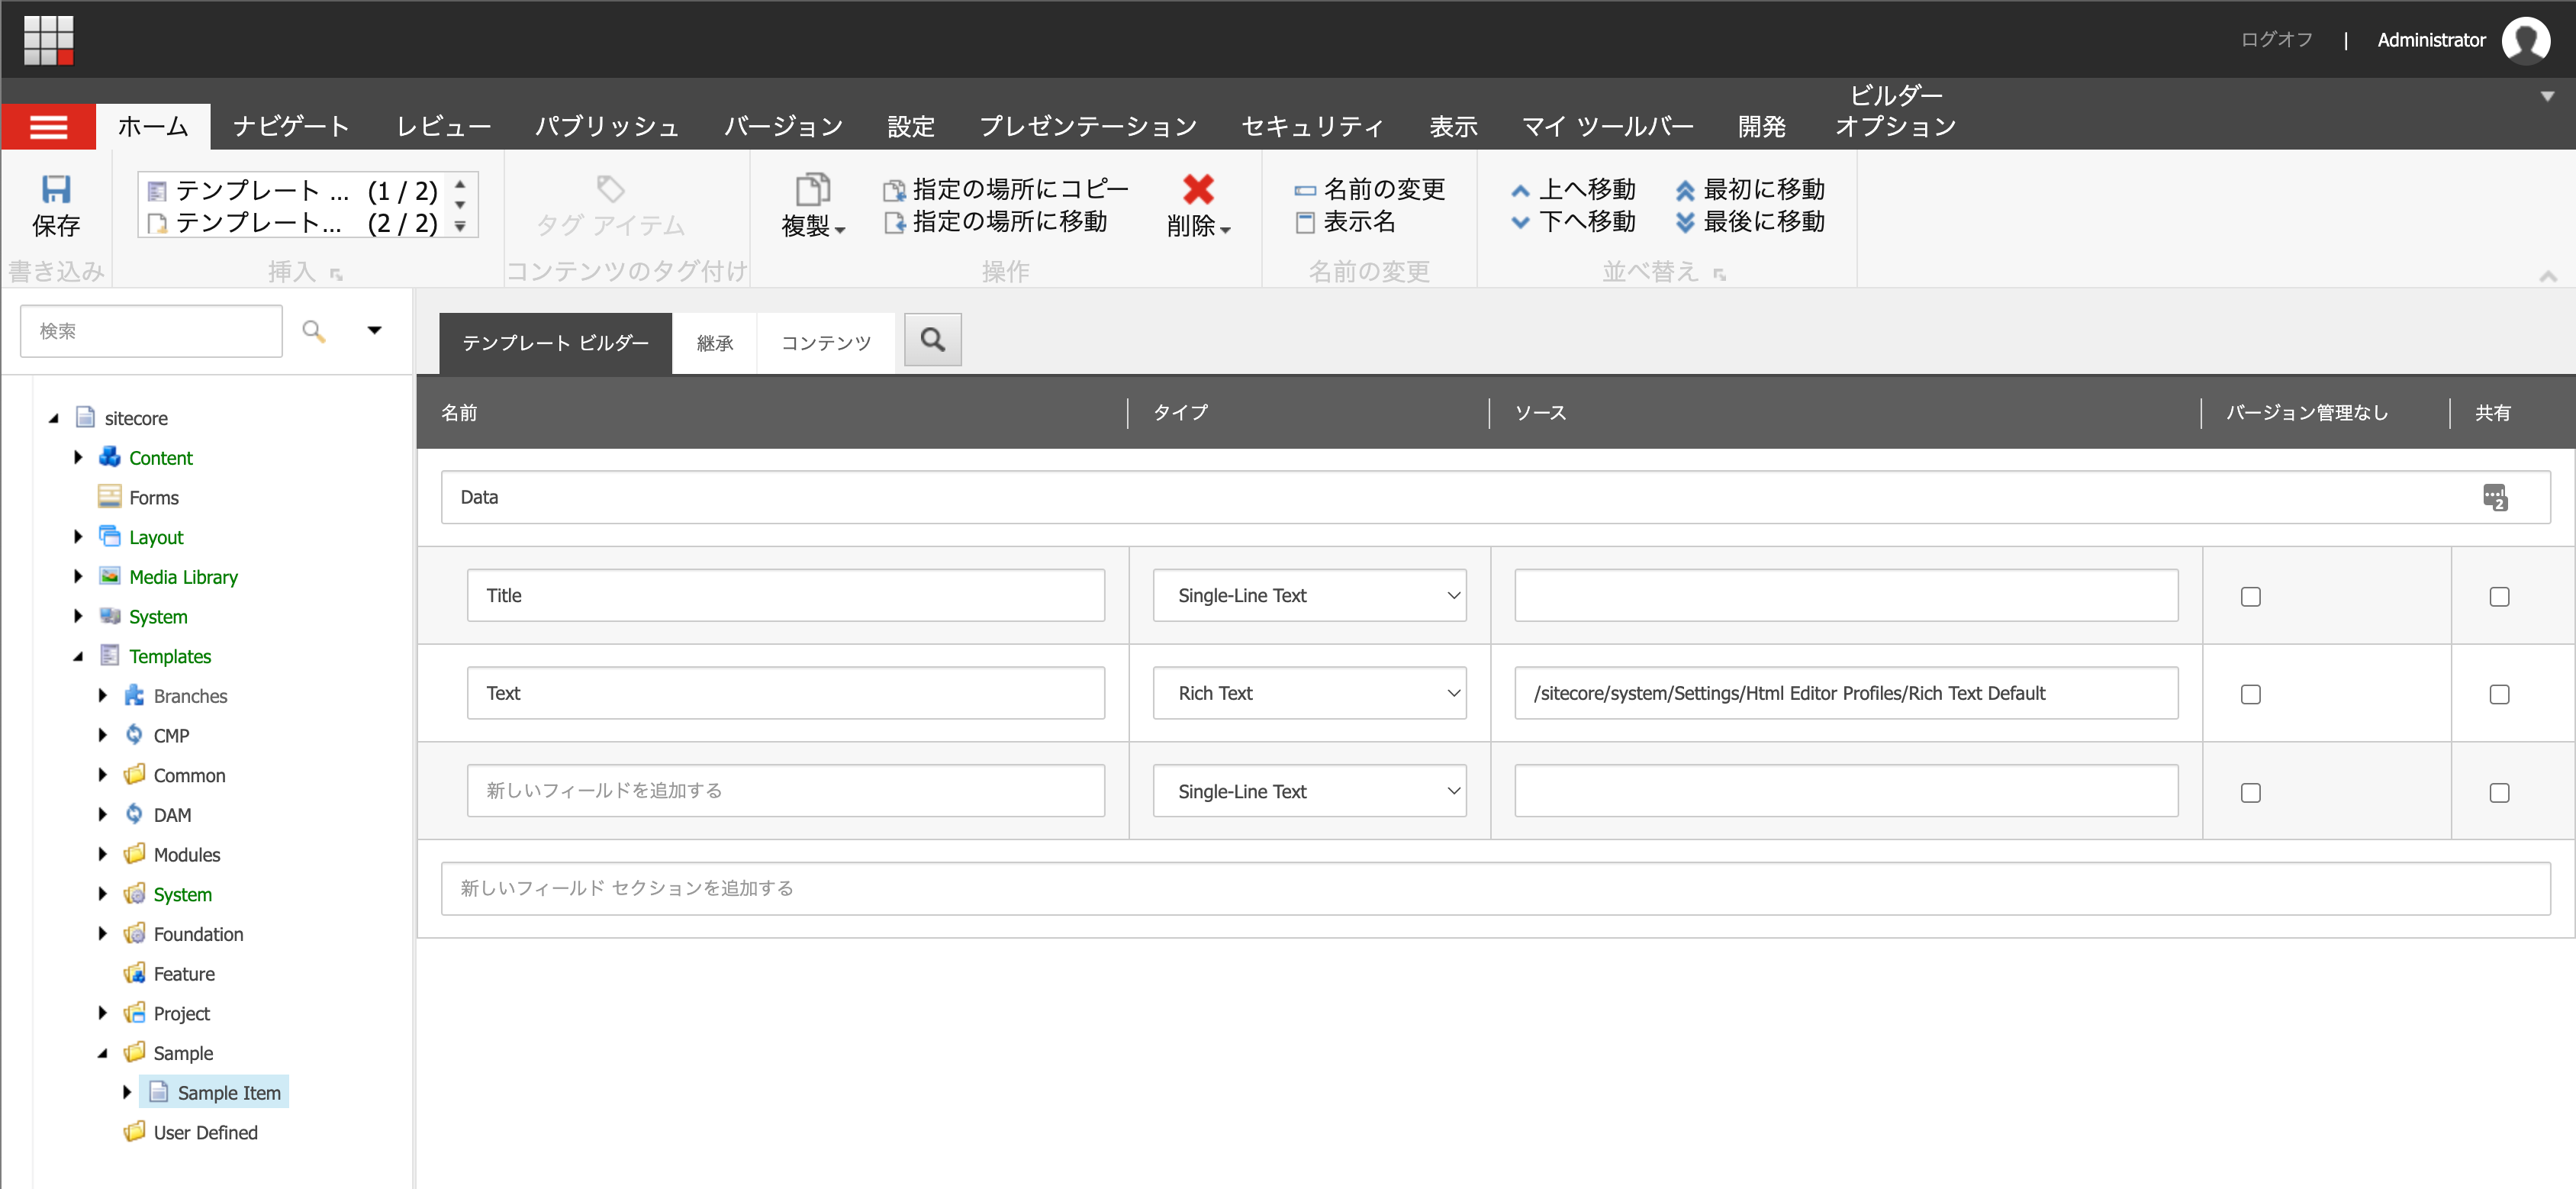
export default withDatasourceCheck()<LinkSampleProps>(LinkSample);Create a template in Sitecore
Create a template in Sitecore. In this case, we will provide two fields. The key point is to choose the dropbox tree field format for the item link.

Creation of folders for data storage
Create a folder called LinkSample under the already created Components/Data folder. Then, create a sample item under that folder. When creating the item, it is necessary to specify a template, which is the template created in the previous step.

Set up the sample data, this time for General Link as follows.

The same item should be selected for the other item link.

Add renderings, set placeholders
Then add rendering. Add a new Json Rendering under the path /sitecore/layout/Renderings/Project/sitecoredemo-jp/Data. Specify LinkSample as the rendering name. Set the following two items among the rendering settings you created.
- Data source location: pre-created folder
- Data source template: a pre-created template
The settings are as follows

Add the rendering you have created to the placeholder.

Verification
The following screen will appear when you place a component that has already been created.

As for the General Link, the link is created because it uses the Link tag, and you can see that Horizon also shows an editable item in the upper right area.
HTML
      <h2>Standard Link</h2>
      <div>
        <Link field={props.fields.generallink1} />
      </div>
And as for item links, they are shown as follows.

This time, the code is as follows, and is in the form described using the Text tag to make the text of the specified item editable.
HTML
      <h2>Item Link</h2>
      <div>
        <Text field={itemlink1.fields.Title as Field<string>} />
      </div>
What would happen if the item link code were rewritten as follows?
HTML
      <h2>Item Link</h2>
      <div>
        <Text field={itemlink1.fields.Text as Field<string>} />
      </div>
The results are as follows

The difference between Title and Text is that the fields of the item are specified and invoked.
Summary
The Generic Link can be used to specify links both within and outside the site, and is useful because it displays the link as it is. On the other hand, Item Link is useful in the process of loading the data of the target item. It is best to use both of these functions in different ways.