
In the previous article, we implemented Tailwind CSS to the point where it can be used. This time, we will review the steps to separate the navigation code contained in the layout into separate files before using it.
Check the navigation code
In the sample file, the navigation section is embedded in the layout.
TypeScript
const Navigation = () => {
  const { t } = useI18n();

  return (
    <div className="d-flex flex-column flex-md-row align-items-center p-3 px-md-4 mb-3 bg-white border-bottom">
      <h5 className="my-0 mr-md-auto font-weight-normal">
        <Link href="/">
          <a className="text-dark">
            <img src={`${publicUrl}/sc_logo.svg`} alt="Sitecore" />
          </a>
        </Link>
      </h5>
      <nav className="my-2 my-md-0 mr-md-3">
        <a
          className="p-2 text-dark"
          href="https://jss.sitecore.com"
          target="_blank"
          rel="noopener noreferrer"
        >
          {t('Documentation')}
        </a>
        <Link href="/styleguide">
          <a className="p-2 text-dark">{t('Styleguide')}</a>
        </Link>
        <Link href="/graphql">
          <a className="p-2 text-dark">{t('GraphQL')}</a>
        </Link>
      </nav>
    </div>
  );
};
We will now proceed to separate this code into separate files.
Creating navigation files
For the navigation section, we will create a new file, Navigation.tsx, in src/components. The code for the navigation section will be included in the file.
If you just put in the code, you are missing an item; refer to the file layout.tsx and bring in the code you need. The following code should be included first as imports and definitions.
TypeScript
import Link from 'next/link';
import { getPublicUrl } from '@sitecore-jss/sitecore-jss-nextjs';
import { useI18n } from 'next-localization';

const publicUrl = getPublicUrl();
Also, add the following code to the end of this file
TypeScript
export default Navigation;Since an error will occur as is, we will change the definition of Navigation. The code now is,
TypeScript
const Navigation = () => {Here.
TypeScript
const Navigation = (): JSX.Element => {and rewrite it.
Add code and test
Then open the layout.tsx file and add the following one line to make the code you have created available
TypeScript
import Navitation2 from 'components/Navigation';Then add the Navigation2 code below the existing Navigation code.
HTML
      <VisitorIdentification />

      <Navigation />
      <Navitation2 />
This will result in the display of two navigation pages. If you run `jss start` to display the page, you will see the following page display.

With this in place, edit the navigation.tsx file to add more GraphQL items. The result is that two items are now displayed.
HTML
        <Link href="/styleguide">
          <a className="p-2 text-dark">{t('Styleguide')}</a>
        </Link>
        <Link href="/graphql">
          <a className="p-2 text-dark">{t('GraphQL')}</a>
        </Link>
        <Link href="/graphql">
          <a className="p-2 text-dark">{t('GraphQL')}</a>
        </Link>
We were able to verify that it is working correctly.
Organize the code
The Navigation statement in the layout is no longer needed. We will rewrite the code as follows. First, the Navigation code should be removed all together. The following is the code for import, which has been reorganized because there are several parts used by Navigation.
TypeScript
import React from 'react';
import Head from 'next/head';
import deepEqual from 'deep-equal';
import {
  Placeholder,
  VisitorIdentification,
  withSitecoreContext,
  getPublicUrl,
} from '@sitecore-jss/sitecore-jss-nextjs';
import { StyleguideSitecoreContextValue } from 'lib/component-props';
import Navigation from 'components/Navigation';
Also, as for the page display area, the code has reverted back to its original form.
HTML
      <VisitorIdentification />

      <Navigation />

      {/* root placeholder for the app, which we add components to using route data */}
      <div className="container">
        <Placeholder name="jss-main" rendering={route} />
      </div>
Once the changes made up to this point are reflected, the menu displayed on the page will look like the image below.

Change the navigation code
This is the existing navigation code, but it is in the form of the code from the original style guide. Since we made the Tailwind CSS available last time, we will replace all of the code as follows
TypeScript
import { getPublicUrl } from '@sitecore-jss/sitecore-jss-nextjs';

const publicUrl = getPublicUrl();

/* This example requires Tailwind CSS v2.0+ */
const navigation = [
  { name: 'ソリューション', href: '/solutions' },
  { name: '価格', href: '/pricing' },
  { name: 'ドキュメント', href: '/documents' },
  { name: '会社情報', href: '/about' },
];

const Navigation = (): JSX.Element => {
  return (
    <header className="bg-white shadow">
      <nav className="max-w-7xl mx-auto px-4 sm:px-6 lg:px-8" aria-label="Top">
        <div className="w-full py-6 flex items-center justify-between border-b border-gray-500 lg:border-none">
          <div className="flex items-center">
            <a href="#">
              <span className="sr-only">Workflow</span>
              <img className="h-10 w-auto" src={`${publicUrl}/sc_logo.svg`} alt="Sitecore" />
            </a>
            <div className="hidden ml-10 space-x-8 lg:block">
              {navigation.map((link) => (
                <a
                  key={link.name}
                  href={link.href}
                  className="text-base font-medium text-gray-900 hover:text-indigo-700"
                >
                  {link.name}
                </a>
              ))}
            </div>
          </div>
          <div className="ml-10 space-x-4">
            <a
              href="#"
              className="inline-block bg-indigo-700 py-2 px-4 border border-transparent rounded-md text-base font-medium text-white hover:bg-opacity-75"
            >
              サインイン
            </a>
            <a
              href="#"
              className="inline-block bg-white py-2 px-4 border border-transparent rounded-md text-base font-medium text-gray-900 hover:text-indigo-700"
            >
              サインアップ
            </a>
          </div>
        </div>
        <div className="py-4 flex flex-wrap justify-center space-x-6 lg:hidden">
          {navigation.map((link) => (
            <a
              key={link.name}
              href={link.href}
              className="text-base font-medium text-gray-900 hover:text-indigo-700"
            >
              {link.name}
            </a>
          ))}
        </div>
      </nav>
    </header>
  );
};

export default Navigation;
Although the content of the navigation component has only been changed, CSS has also been applied and the header is now displayed beautifully.

If you shrink the width to check if it is responsive, you will see that it is as shown below.

And while we're at it, create a footer.
Next to the header, we will set up the footer, creating a file Footer.tsx under src/components. The following code is used as is.
TypeScript
import { getPublicUrl } from '@sitecore-jss/sitecore-jss-nextjs';
const publicUrl = getPublicUrl();
const navigation = {
solutions: [
{ name: 'コンテンツ管理', href: '#' },
{ name: 'パーソナライズ', href: '#' },
{ name: 'コマース', href: '#' },
{ name: 'メールマーケティング', href: '#' },
],
support: [
{ name: '価格', href: '#' },
{ name: 'ドキュメント', href: '#' },
{ name: 'ガイド', href: '#' },
{ name: 'API ステータス', href: '#' },
],
company: [
{ name: '会社概要', href: '#' },
{ name: 'ブログ', href: '#' },
{ name: '採用情報', href: '#' },
{ name: 'ニュースリリース', href: '#' },
{ name: 'パートナー', href: '#' },
],
legal: [
{ name: '問合せ', href: '#' },
{ name: 'プライバシー', href: '#' },
{ name: '使用条件', href: '#' },
],
};
const Footer = (): JSX.Element => {
return (
<footer className="bg-white" aria-labelledby="footer-heading">
<h2 id="footer-heading" className="sr-only">
Footer
</h2>
<div className="max-w-7xl mx-auto py-12 px-4 sm:px-6 lg:py-16 lg:px-8">
<div className="xl:grid xl:grid-cols-3 xl:gap-8">
<div className="space-y-8 xl:col-span-1">
<img className="h-10" src={`${publicUrl}/sc_logo.svg`} alt="Sitecore" />
<p className="text-gray-500 text-base">
Sitecore コンポーザブル DXP は顧客とのつながりを強化します
</p>
</div>
<div className="mt-12 grid grid-cols-2 gap-8 xl:mt-0 xl:col-span-2">
<div className="md:grid md:grid-cols-2 md:gap-8">
<div>
<h3 className="text-sm font-semibold text-gray-900 tracking-wider uppercase">
ソリューション
</h3>
<ul role="list" className="mt-4 space-y-4">
{navigation.solutions.map((item) => (
<li key={item.name}>
<a href={item.href} className="text-base text-gray-700 hover:text-indigo-700">
{item.name}
</a>
</li>
))}
</ul>
</div>
<div className="mt-12 md:mt-0">
<h3 className="text-sm font-semibold text-gray-900 tracking-wider uppercase">
サポート
</h3>
<ul role="list" className="mt-4 space-y-4">
{navigation.support.map((item) => (
<li key={item.name}>
<a href={item.href} className="text-base text-gray-700 hover:text-indigo-700">
{item.name}
</a>
</li>
))}
</ul>
</div>
</div>
<div className="md:grid md:grid-cols-2 md:gap-8">
<div>
<h3 className="text-sm font-semibold text-gray-900 tracking-wider uppercase">
会社情報
</h3>
<ul role="list" className="mt-4 space-y-4">
{navigation.company.map((item) => (
<li key={item.name}>
<a href={item.href} className="text-base text-gray-700 hover:text-indigo-700">
{item.name}
</a>
</li>
))}
</ul>
</div>
<div className="mt-12 md:mt-0">
<h3 className="text-sm font-semibold text-gray-900 tracking-wider uppercase">
法務情報
</h3>
<ul role="list" className="mt-4 space-y-4">
{navigation.legal.map((item) => (
<li key={item.name}>
<a href={item.href} className="text-base text-gray-700 hover:text-indigo-700">
{item.name}
</a>
</li>
))}
</ul>
</div>
</div>
</div>
</div>
<div className="mt-12 border-t border-gray-200 pt-8">
<p className="text-base text-gray-400 xl:text-center">
© 2022 Sitecore, Inc. All rights reserved.
</p>
</div>
</div>
</footer>
);
};
export default Footer;When the file is ready, specify the component file created by importing the `Layout.tx` file.
TypeScript
import Footer from 'components/Footer';Then put the Footer tag under the content.
HTML
<Navigation />
{/* root placeholder for the app, which we add components to using route data */}
<div className="container">
<Placeholder name="jss-main" rendering={route} />
</div>
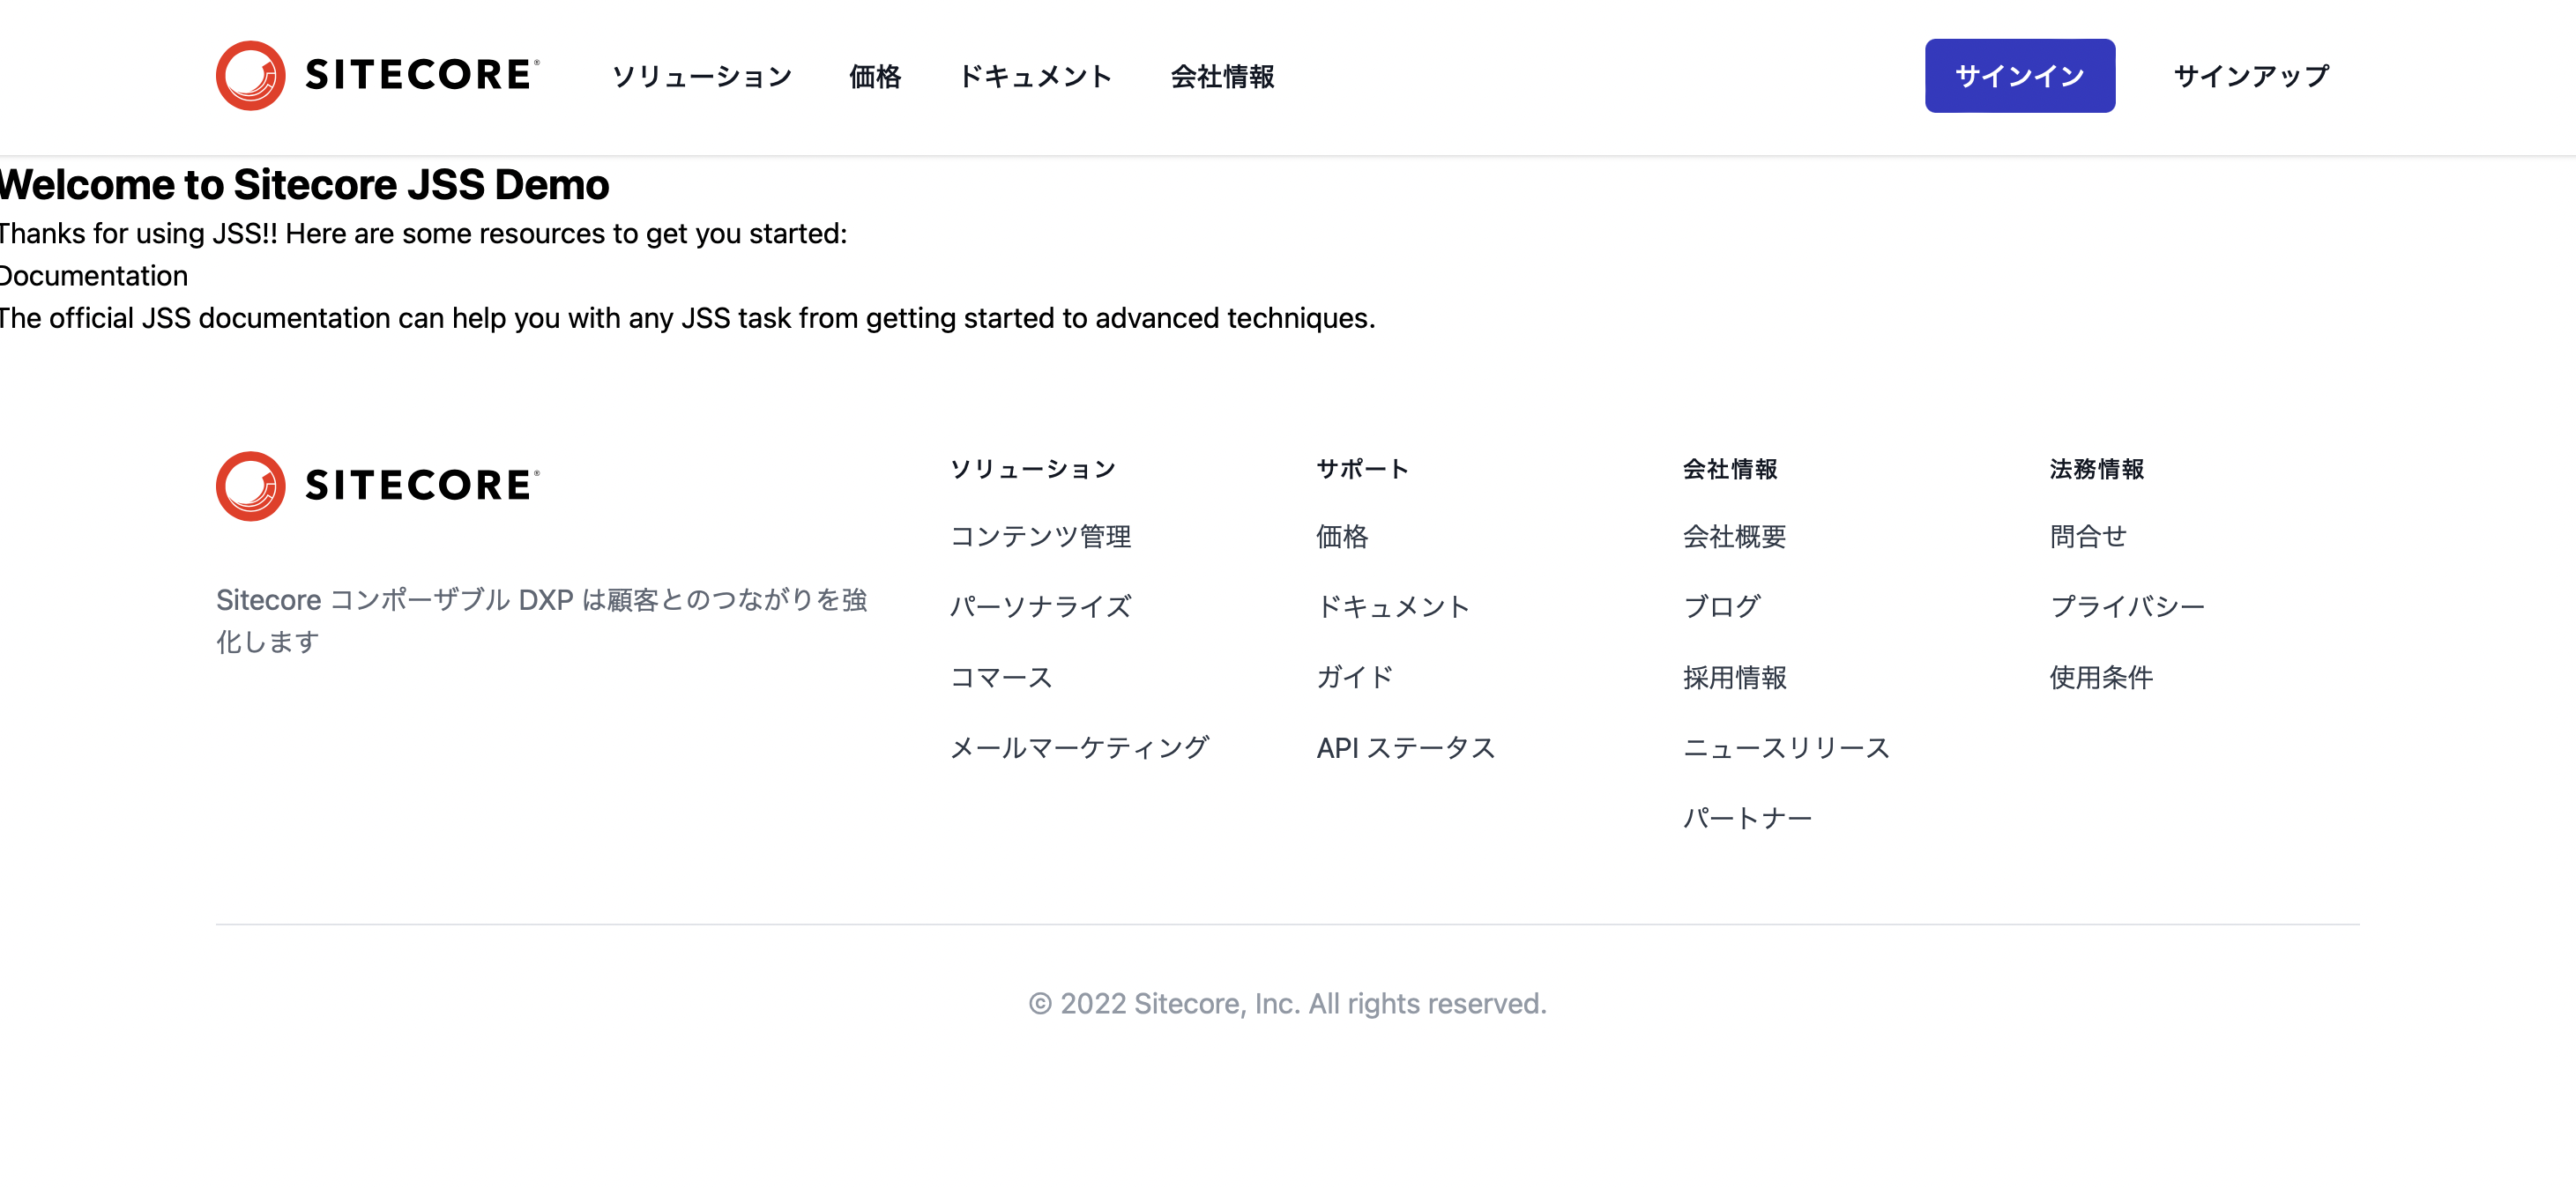
<Footer />The footer is now complete. The finished product is as follows.
Summary
The editable areas of the page look a little funny because we have not yet touched the content area, but we were able to create and display the header and footer components in separate files. In this article, I have shown you how to manage the items in the files used in the layout in a separate file.