
This time, we will change things up a bit and show you how to apply Google Tag Manager with Next.js instead of Sitecore. We will also include a test.
Prerequisite.
This is the prerequisite for this project (PS: This was the environment of my previous blog, and I am now using the original Next.js to create it. (The procedure is still implemented the same).
- Blog Samples Tailwind Nextjs Theme
- Next.js version 12.0.9
- Hosted on Vercel
So let's get on with it.
Google Tag Manager Implementation
A sample of Google Tag Manager used in Next.js is summarized below.
You can use this as is, but this time we would like to use react-gtm-module. First of all, execute the following command
PowerShell
npm install react-gtm-module
Edit the pages/_app.js file. Add the following imports
PowerShell
import TagManager from 'react-gtm-module'
Add the following code under App, where GTM-SAMPLE1 is the tag to be used.
JavaScript
export default function App({ Component, pageProps }) {
  // Google Tag Manager start
  useEffect(() => {
    TagManager.initialize({ gtmId: 'GTM-SAMPLE1' })
  }, [])

  useEffect(() => {
    document.body.classList?.remove('loading')
  }, [])
  // Google Tag Manager end
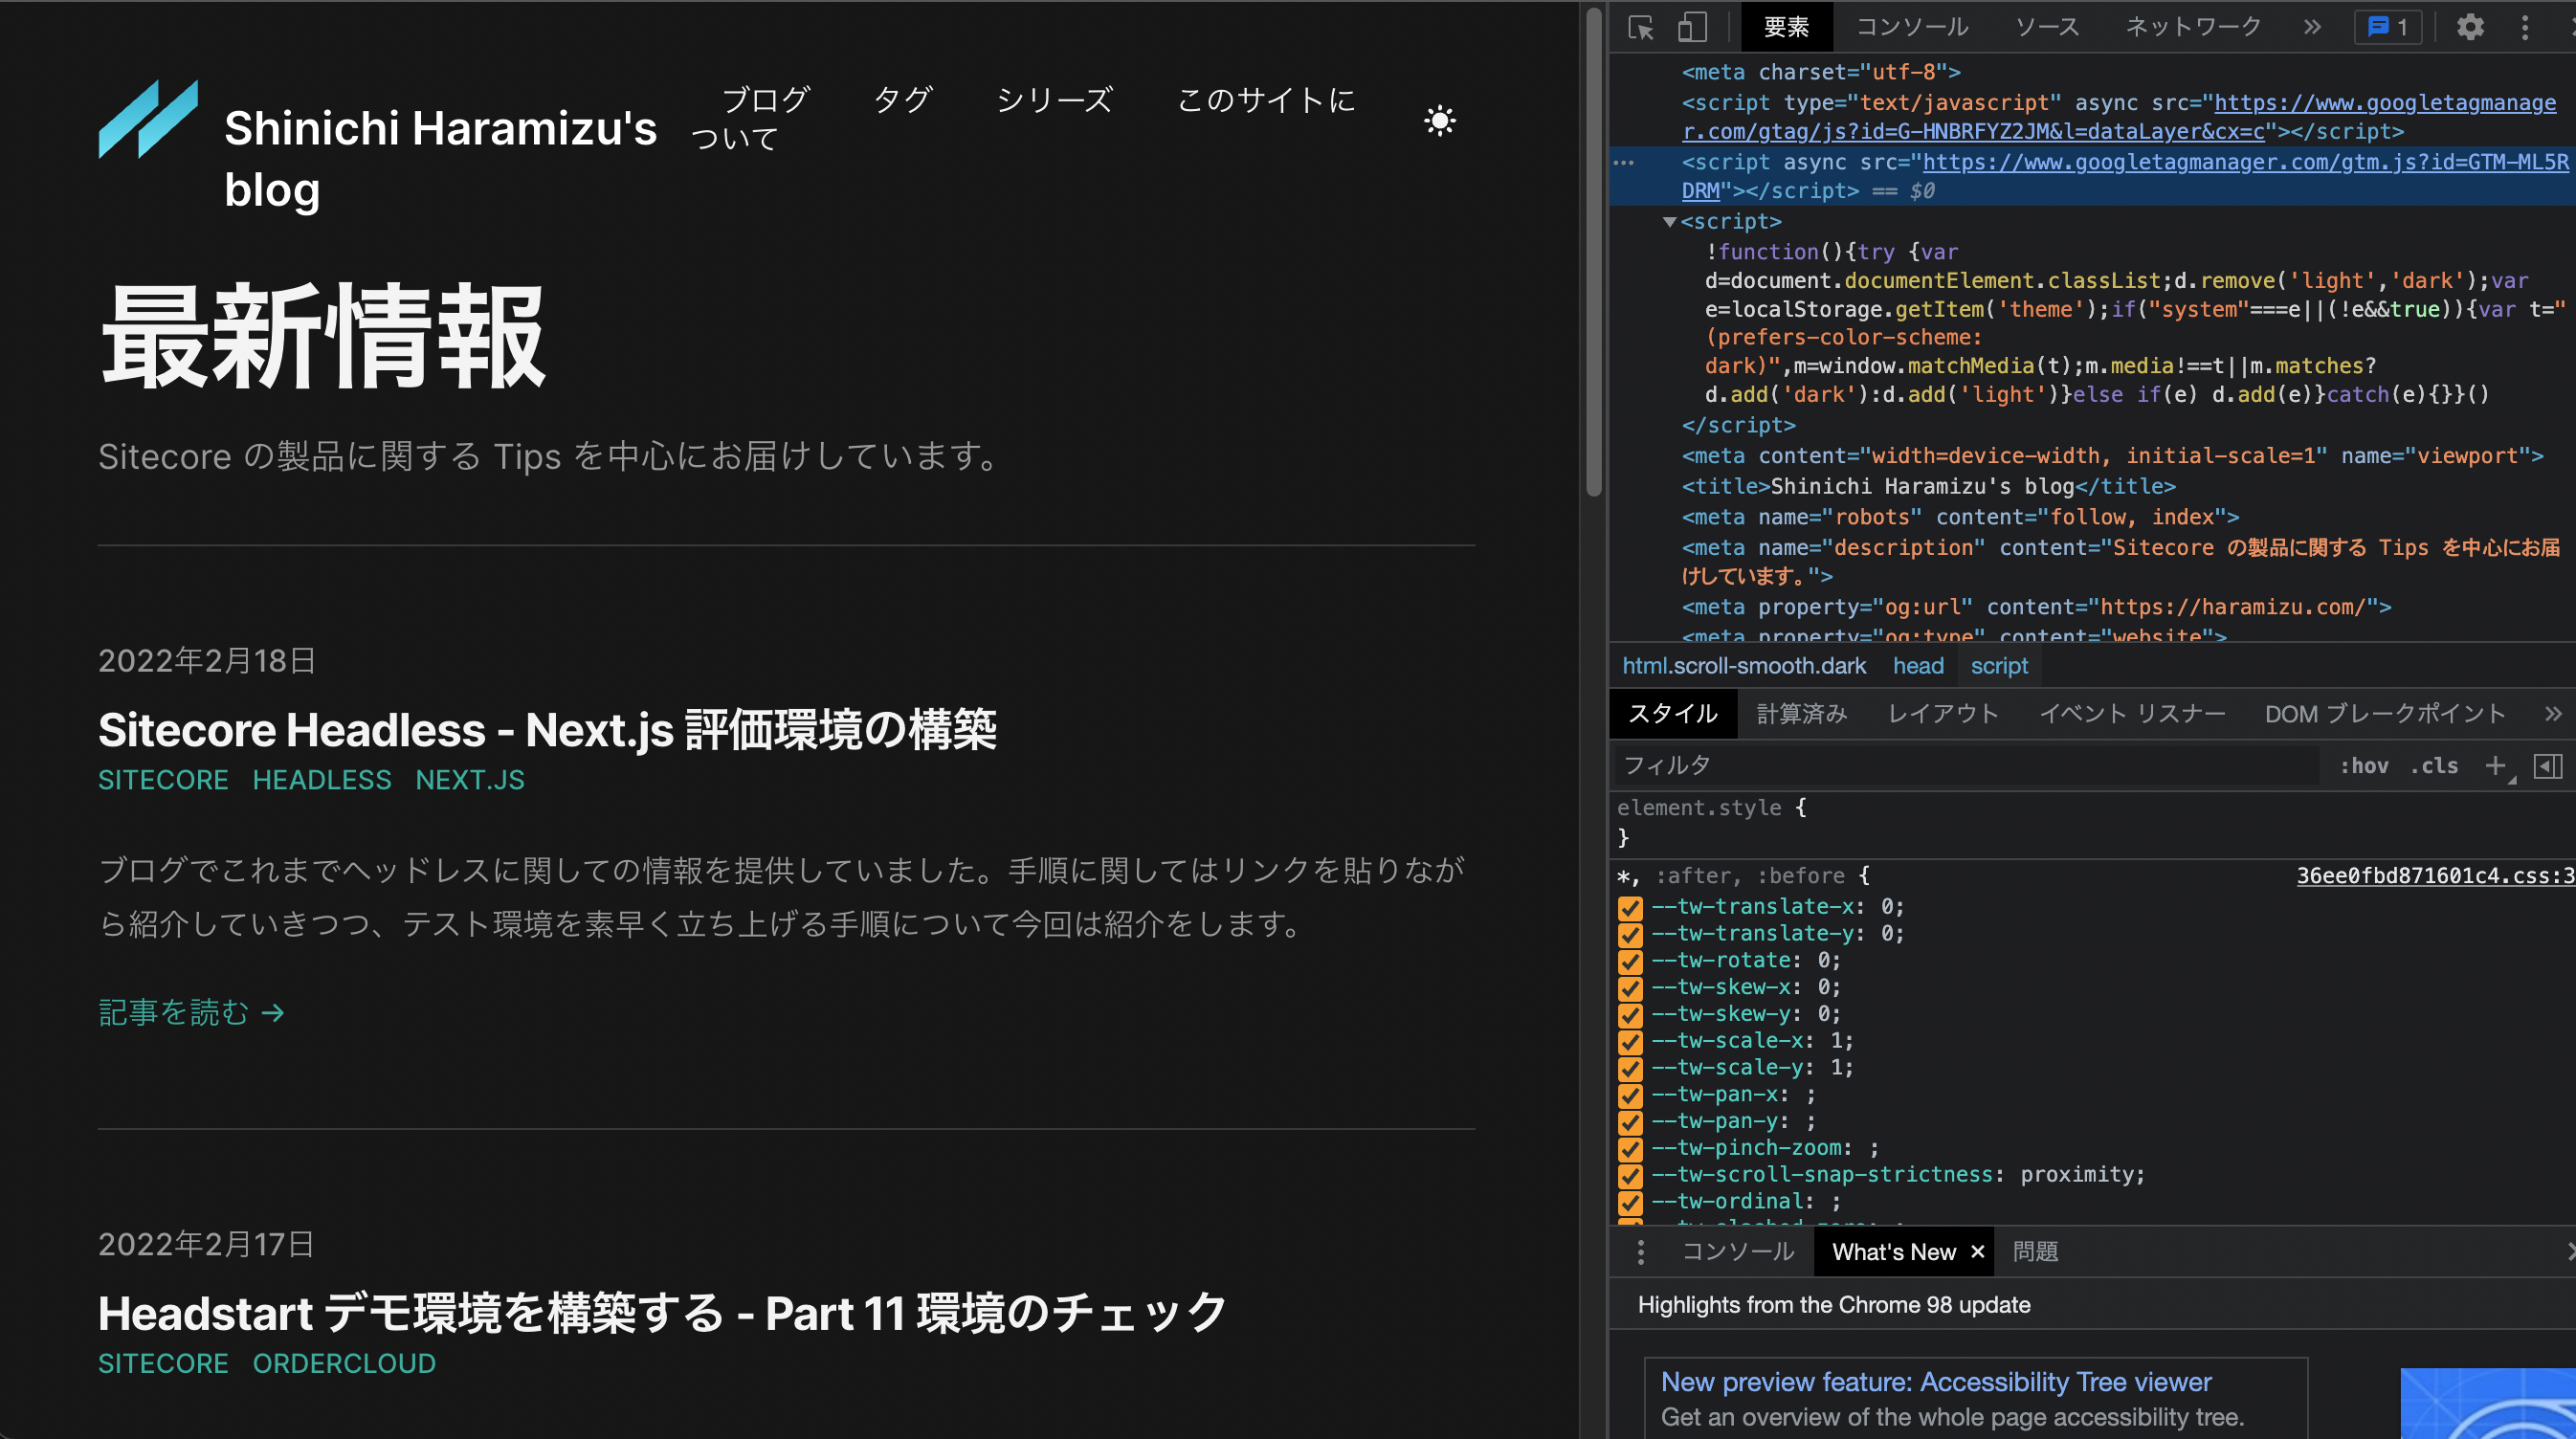
This completes the setup; if you expand into the Vercel environment, you will see that the tags are included.
Basically, this is how it works. Let's look at a few more details, though.
Check Content Security Policy
My blog site is based on Tailwind Nextjs Theme with additional content and features I want to use. This sample is well implemented in terms of security, so the code does not work as is. This configuration is described in the file next.config.js.
The contents of the code are as follows
JavaScript
const ContentSecurityPolicy = `
  default-src 'self';
  script-src 'self' 'unsafe-eval' 'unsafe-inline' giscus.app;
  style-src 'self' 'unsafe-inline';
  img-src * blob: data:;
  media-src 'none';
  connect-src *;
  font-src 'self';
  frame-src giscus.app
`
If you expand as is, you will get an error as follows.

Google provides instructions for bypassing this setting on the following page.
This time, we also want to implement a preview to see if the tag is working, so we rewrote it as follows
JavaScript
const ContentSecurityPolicy = `
  default-src 'self';
  script-src 'self' 'unsafe-eval' 'unsafe-inline' www.google-analytics.com ssl.google-analytics.com tagmanager.google.com www.googletagmanager.com giscus.app;
  style-src 'self' 'unsafe-inline' tagmanager.google.com fonts.googleapis.com cdn.jsdelivr.net;
  img-src * blob: data:
  media-src 'none';
  connect-src *;
  font-src 'self' fonts.gstatic.com data: cdn.jsdelivr.net;
  frame-src giscus.app
`
To check if it actually works, use the preview function of Google Tag Manager. Click Preview in the upper right corner of the administration page.

The screen will switch to a screen where you can enter a URL. Enter the URL you wish to preview here and click Connect.

Once the page is open and the tag is detected, you will see the following screen.

The actual access results for this blog are as follows.

When we checked to see if it was actually possible to access Google Analytics, we were able to confirm that the access was reflected in the real-time screen as follows

Summary
This time, I introduced the procedure for using the official sample as it is, and also explained the procedure for running Google Tag Manager when the Content Security Policy is configured. I had some trouble with the Content Security Policy, which was different from the official sample because I had set it strictly in my blog sample, but I was able to find the problem by checking the error in the developer tools of the browser.