Previously, we focused on deploying Sitecore SDK sample code. Now, we'll shift to developing within Sitecore and supplementing with code. In the latter part, we'll revisit the steps to create an empty project and progress to connecting it.

Sitecore JSS Mode of Development
We have introduced the procedure of deploying the code description that has been deployed at hand to Sitecore to check the operation. There are three modes of application
- Disconnected mode - This mode does not require a Sitecore instance and runs locally. This is the first mode when you create a project
- Connected mode - An instance of Sitecore is required to run in this mode. The application is run locally, but with data from Sitecore.
- Integrated mode - An instance of Sitecore is required to run in this mode. This is the situation where the application is hosted and running.
Previously in this article, I'll explain.
- Disconnected mode - Local running situation with jss start
- Connected mode - jss start:production or .env with information to connect to Sitecore
- Integrated mode - Vercel's hosted apps use information from Sitecore instances
This is how it will be. In terms of development, we need to consider two things
- Code-first - Priority is given to writing code, and content is deployed in Sitecore on a case-by-case basis.
- Sitecore-first - Create templates, etc. in Sitecore and put the necessary information in the code.
In the Code-first development mode, which is the procedure described so far, if you create something, you deploy the code with `jss deploy items`. Since the import process is limited to some extent, it is more efficient to create and develop definitions in Sitecore. For example, the following pattern is used.
- I want to create a branch template
- I want to define rendering and standard values.
- I want the location of the data source
Therefore, it is possible to develop in the form of Sitecore-first. In this article, we will introduce this procedure.
Modify an existing project
Instructions for converting an existing project to a Sitecore First form can be found on the following page.
Using the actual project, we will modify the above steps. First make sure you are connected to the server (if you have proceeded to the previous step, you should be connected). Then proceed with the following steps.
- Delete the directory /data to remove disconnected root data.
- Delete the directory /sitecore/definitions to remove manifest definitions.
- Delete the directory /sitecore/pipelines to remove the manifest pipeline patch.
- Remove /scripts/disconnected-mode-proxy.js as it is not used except for Sitecore-first development.
- Delete the start entry in the package.json file and rename start:connected to start.
When you have completed the above steps, run jss start and if the page is displayed, you have made the change to the Sitecore First project.
Use an empty template
In a previous blog post, we introduced creating a project that does not contain Next.js sample data. In this article, we will use this to check the environment to connect to Sitecore. First, create an empty project.
jss create nextjs-demo nextjs --emptyThe package.json file should be formatted so that it is all on one line. We will then modify the following points regarding the file.
- Formatting (already mentioned above)
- Change nextjs-demo in name etc. to sitecoredemo-jp
- Add the command start in scripts (before start:connected, so it is easier to compare with others)
"start": "npm-run-all --serial bootstrap next:build next:start",Once you have made changes to the package.json file, run the following commands.
npm installNext, delete the file /sitecore/config/nextjs-demo.config and copy the file /sitecore/config/sitecoredemo.config from the already created project. Also, copy all files under /src/components for component definitions.
Finally, the .env file contains information about the Sitecore to which you are connecting.
- JSS_EDITING_SECRET
- SITECORE_API_KEY
- SITECORE_API_HOST
Set values for the three items in the table below. Now you are ready to go.
Run locally
To run locally, execute the following command
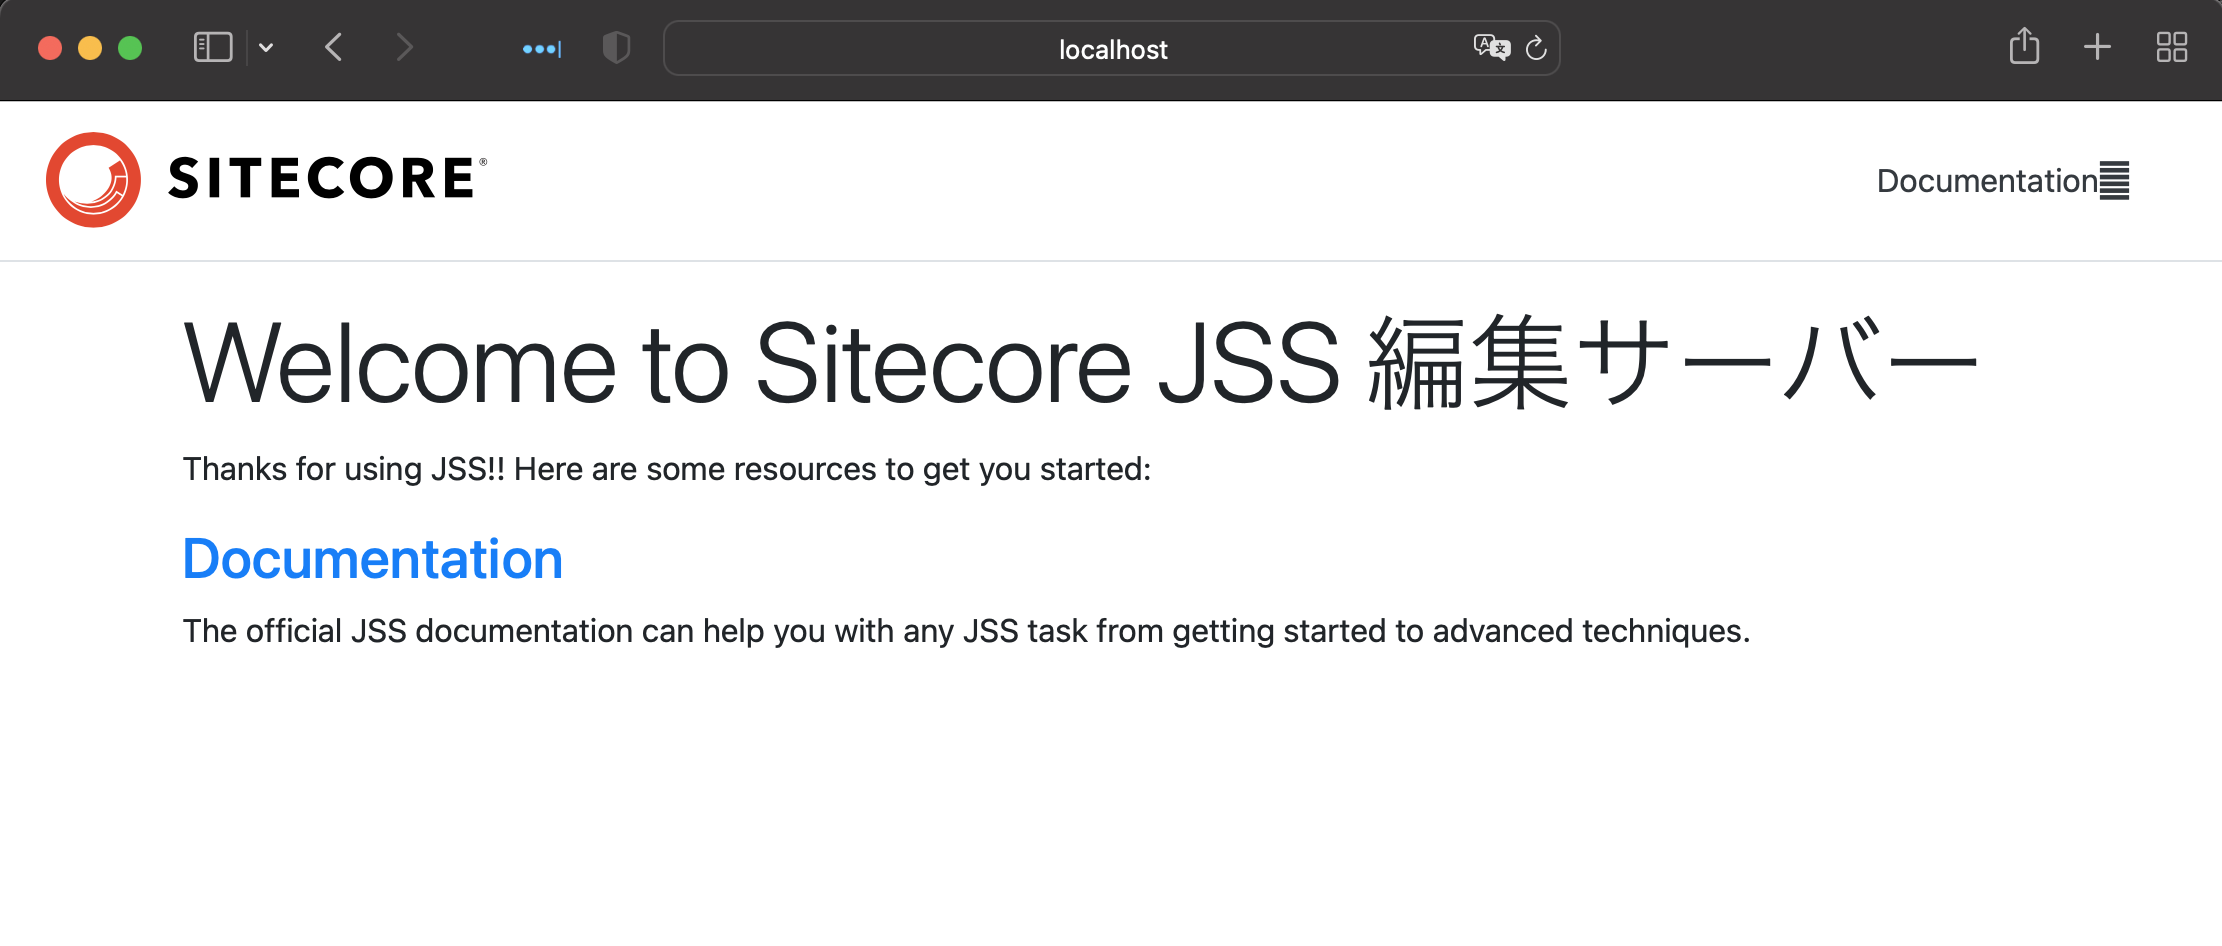
jss startWe were able to access Sitecore's servers, retrieve the data, and execute.

Summary
In this article, we have introduced the procedure for converting a Code First project into a Sitecore First project in order to make more use of Sitecore's functionality. From the next article, we will introduce the procedures for Sitecore First.