
The seminar announcement was the first thing we covered, but it's now available on-demand after the event. You can also view the demo we're discussing today during the seminar on November 26, 2021 (Friday).
- クッキーレス時代に企業サイトでグローバルビジネスを牽引 ( Japanese )
In this article, we will show you how to install the integration package for Sitecore with TransPerfect's GlobalLink translation management system, a translation service that can be integrated with Stiecore. For more information on the service, please refer to the following website
TransPerfect was able to issue us with a special account for demonstration and verification purposes. If you would like to actually evaluate the product, please contact us from the above page.
Installing packages
You will need to install a package to link the systems. Since this tool only needs to run on the content management server, follow the steps below to install the package.
- Open the Control Panel
- Select Manage - Install Package
- Upload the package and proceed with the installation

After the package installation is complete, proceed with the following steps.
Database Creation
Create the database that the package will need for processing. In this case, the database will be (local), but if you are running on a different server, please connect to SQL Server from the administration tool and work on it.
- SQL Server Management Studio and connect to the database
- Open GlobalLink_Extension_DB_Script_9.3.6.sql in the App_Data folder
- The target database is the master database of Sitecore (in this case XM1_Master).

When completed, GlobalLink-related database tables are added.

This completes the Sitecore server configuration.
Update package configuration files
The next step is to connect Sitecore and GlobalLink. The configuration file for the linkage is \App_Config\Include\TranslateApp.config. In this file, the following items should be edited
XML
<setting name="GlobalLink_connection_string" value=""/>This item is not a problem as long as the Master database can be accessed, so complete the following connection strings by referring to the Master database connection strings defined in the file \App_Config\ConnectionStrings.config Please complete the following connection strings by referring to the Master database connection strings defined in the file \App_Config\connectionStrings.config
XML
<setting name="GlobalLink_connection_string" value="user id=username;password=password;Data Source=localhost;Database=XM1_Master;MultipleActiveResultSets=True;"/>Next, check the other configuration file, \App_Config\Include\Translate.config. There are the following three configuration items.
- RetrieveAgent Sets the frequency for downloading translated data to Sitecore. The default setting is 5 minutes.
- ExportLowPriorityAgent Sends items with medium and low priority to GlobalLink. Default is set to 3 minutes.
- ExportHighPriorityAgent Sends items with a high priority to GlobalLink. The default setting is 5 minutes.
The settings are in the form hh:mm:ss. In this case, the default setting is used, so we did not make any changes, but only checked.
Installing Japanese Language Resources
The package does not include Japanese resources, so the menu will not be displayed on the Japanese administration screen. We have created Japanese resources for the packages we tested this time and uploaded the resource files to GitHub.
- https://github.com/SitecoreJapan/InstallScript/tree/master/demo/TransPerfect
Import the TransPerfect-ja-JP.xml file uploaded above.

When the import is complete, you will see the GlobalLink menu in the content editor.

This completes the server-side configuration.
Try it out for yourself
Since Sitecore's Home item is only available in English, here are the steps to change it to Japanese.
- Open Globallink tab
- Open Setup
- Enter connection information with GlobalLink

- List the Sitecore language and locale to be translated as Locale Map (in this case, en:en-US,ja-JP:ja-JP)
- Click the Save Parameters button
You can now use your account to connect to the server.
We will review the translation procedure. This time in the form of selecting the Home item, click on Settings to select the fields to be translated.

Then, switch to English content as the item, and click the Translate button displayed in the menu. Enter the necessary information such as Submission Name and click the Translate button.

As for the data, it is transmitted in the background.

Open the dashboard to see the contents of the project.

After a few moments, the project is sent to the translation service. This time, the translation is complete, as it is in the form of a machine translation.

When you click the Import button, the data will be retrieved on the fly, not at batch timing.

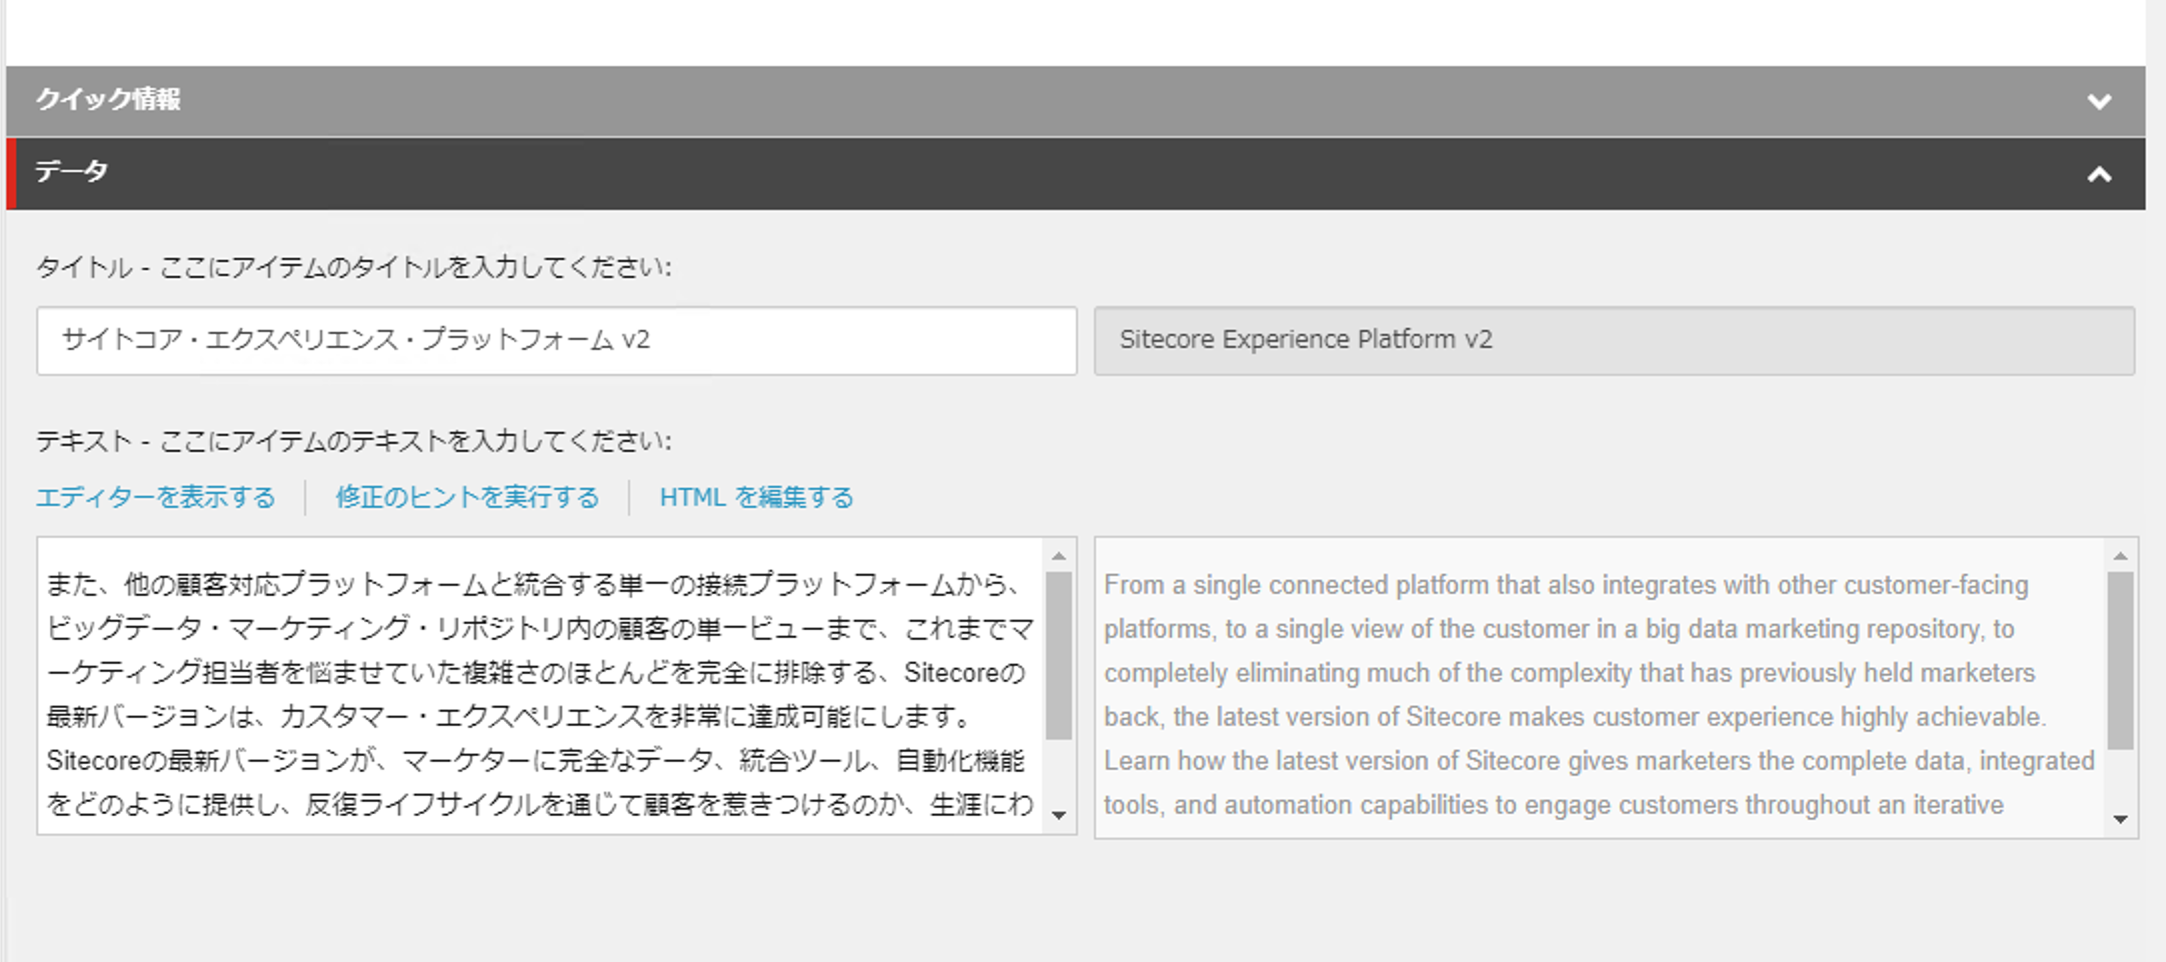
After data import is complete, you will see that Japanese data has been set as shown below.
We were able to confirm that we are actually working with the translation support service with regard to the translation work.
Summary
Sitecore is a very well established CMS in terms of multilingual site operation and has been implemented in many multilingual sites. The next step is to improve the translation process, which can be achieved by collaborating with translation service providers as in this case. Translation companies also have the know-how to optimize the translation process. Please contact TransPerfect for more details.