
The Sitecore Content Hub has the ability to export the metadata of the data being managed in the Sitecore Content Hub. To change this item, you can use the Export Profile feature provided in the Administration Tool to change the items to be exported.
Content Hub - Adjust Excel export items related to assets
Digital Asset ManagementPublished: 2021-11-01
Check the default behavior
Let's select some assets and choose the Export menu in Excel.

The following screen appears as a dialog.

In this case, we prefer to see the schema items as they are, so we will run the program without checking any of them.
After a few moments, an Excel file will be prepared and its contents will look like this

You will see the following items come up.
- id
- identifier
- Title
- Description#en-US
- FileName
- VisionDescription
- VisionOcrText
- AssetTypeToAsset
- DRM.Restricted.RestrictedToAsset
- AssetMediaToAsset
- TagToAsset
- VisionColorToAsset
- FinalLifeCycleStatusToAsset
- ContentRepositoryToAsset
- CreatedBy
- CreatedOn
- ModifiedBy
- ModifiedOn
Confirmation of settings
Check the section referring to the export settings. You are working in the Administrative Tools page - select Assets and click on the Selection button.

If you look at the Selection screen, you will see the Export section in the Excel settings. Here you will see that you can select the Add Definition button, select M.Asset.

If you refer to the export profile, you will see that there is an AssetProfile entry.

Extend the schema of M.Asset
To create the data for export, we do a schema. First, add a member named CustomText to the M.Asset summary of the schema.

Apply the changes and verify that the items are valid.

Now that the custom text has been added to the assets to be exported, the data is ready for the demo.
Edit Export Profile
This time we will create a new Export profile. Open the Export Profile in the Administration Tool.

Open AssetProfile and check the items and you will see the following

Change to Text mode and add an item. This time, assuming that a text area named CustomText has been added to the M.Asset schema, we will add CustomText to Properties.
JSON
{
  "properties": [
    "Title",
    "Description",
    "FileName",
    "CustomText",
    "ProductName",
    "ProductId",
    "TagToAsset",
    "VisionDescription",
    "VisionOcrText"
  ],
  "relations": {
    "AssetTypeToAsset": {
      "exportRelatedEntities": false
    },
    "DRM.Restricted.RestrictedToAsset": {
      "exportRelatedEntities": false
    },
    "AssetMediaToAsset": {
      "exportRelatedEntities": false
    },
    "TagToAsset": {
      "exportRelatedEntities": false
    },
    "ProductCategoryToAsset": {
      "exportRelatedEntities": false
    },
    "ProductFamilyToAsset": {
      "exportRelatedEntities": false
    },
    "VisionColorToAsset": {
      "exportRelatedEntities": false
    },
    "BrandToAsset": {
      "exportRelatedEntities": false
    },
    "FinalLifeCycleStatusToAsset": {
      "exportRelatedEntities": false
    },
    "ContentRepositoryToAsset": {
      "exportRelatedEntities": false
    }
  },
  "includeSystemProperties": true,
  "publicLinks": {
    "asset": false,
    "masterfile": false
  },
  "version": "1.1"
}
The export profile has been updated.
Export again
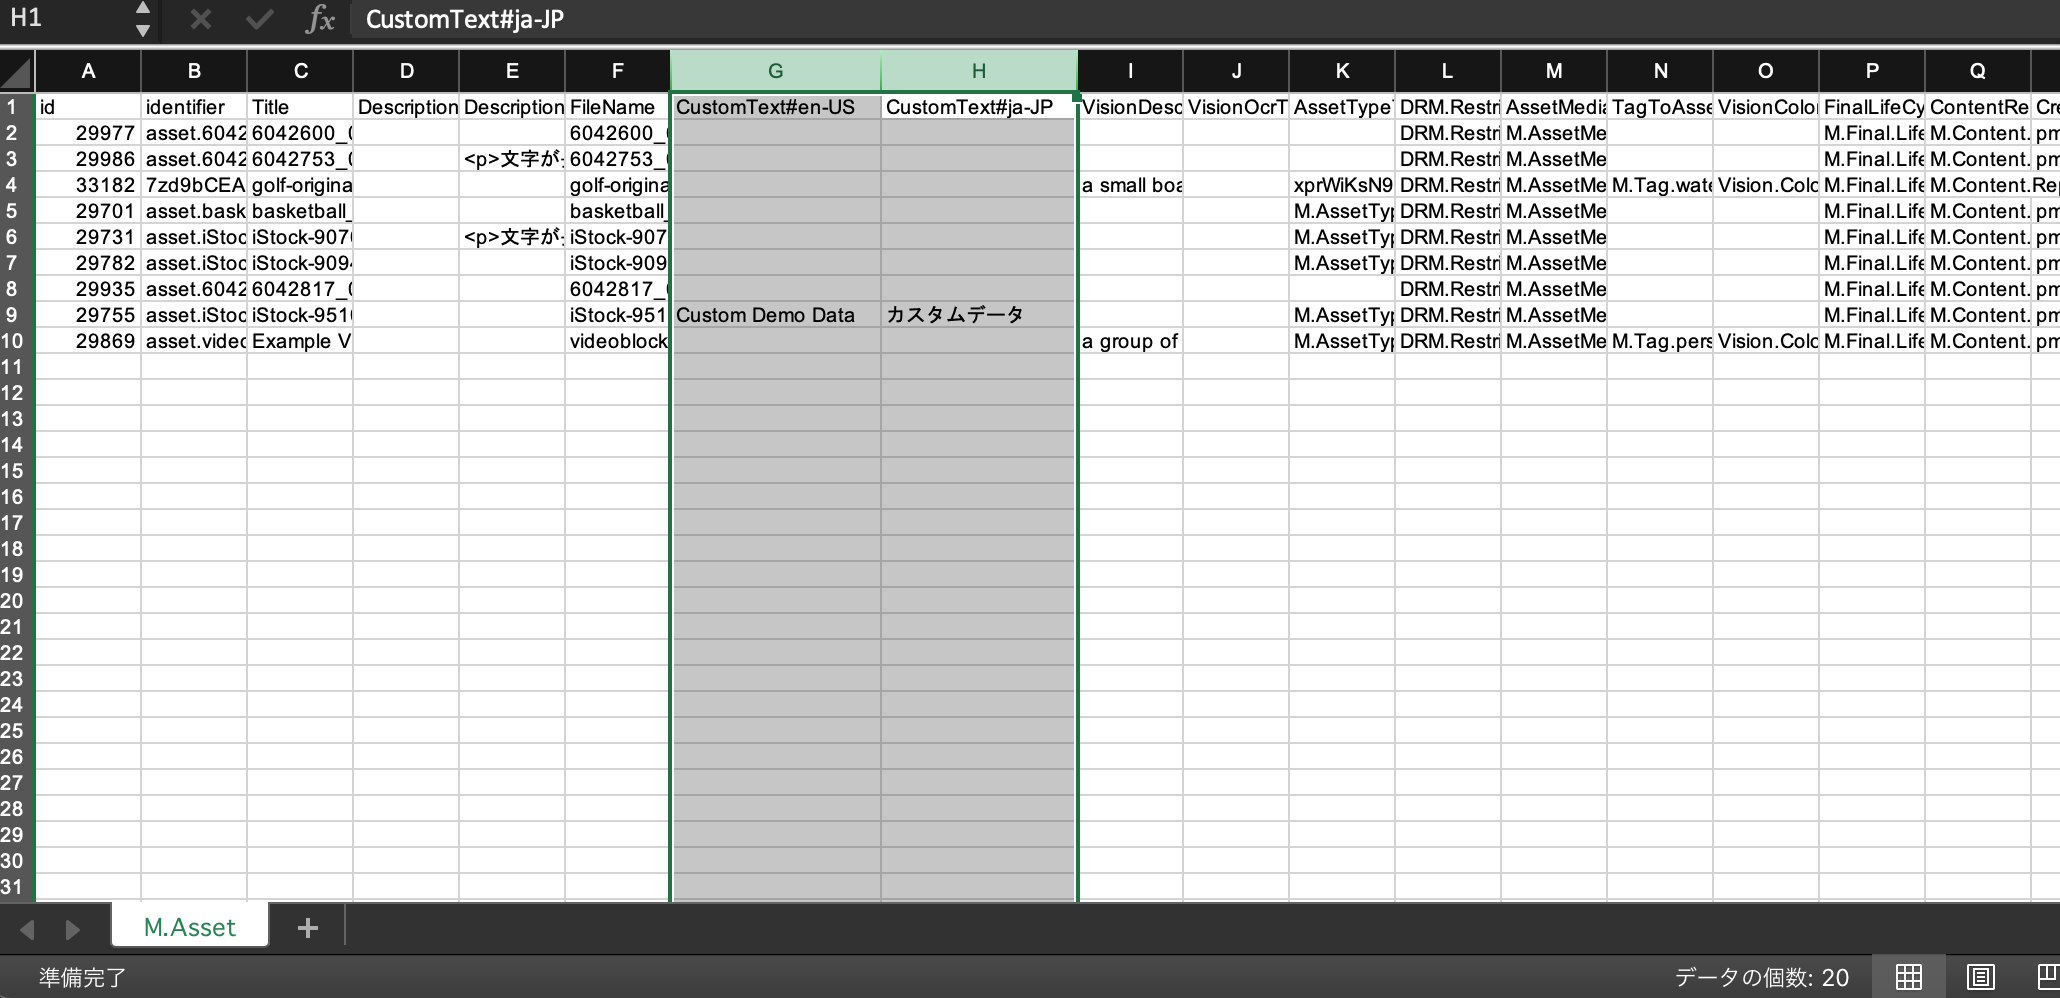
Select the asset again and perform the export. We have specified Japanese and English as the language for exporting. After a few moments, the file will be ready, and when you download and open the Excel file, you will see that it has been changed as follows.
We were able to verify that the export items have been changed.
Summary
In this case, we have edited an existing profile and changed the items. In the Excel export setup described in this article, it is possible to create a new profile and use it as the basis for the export. This allows for the output of Excel data to be tailored to each page, so that it is possible to create export profiles, and then separate which pages are exported.