
We will install Sitecore Publishing Service, which can improve the speed of content publishing, in this XM1 environment.
Sitecore XM Series - Sitecore Publishing Service Installation
Experience Manager (XM)Published: 2021-09-28
Prerequisite.
In this case, we will set up the following environment
- Sitecore XM1 10.1 (separate into CM/CD)
- Sitecore Experience Accelerator 10.1 installed
The Sitecore Publishing Service consists of two modules. The Sitecore Publishing Service is the service function for publishing, and the Sitecore Publishing Service Module is the mechanism for connecting this service to Sitecore. We will set up each of these modules in turn.
Sitecore Publishing Service 5.0.0
Creating IIS
To install this module, you must install the Windows Server Hosting (.NET Core) module.
- Download .NET Core 2.1
- ASP.NET Core Runtime 2.1.30
- Hosting Bundle
You have now downloaded the dotnet-hosting-2.1.30-win.exe file. Run this to install the .NET Core 2.1 runtime.
When you are ready, download the Sitecore Publishing Service module.
- Sitecore Publishing Service 5.0.0
- Sitecore Publishing Service (64 bit)
The file name of the download is as follows
- Sitecore Publishing Service 5.0.0-win-x64.zip
This time, we will perform a manual installation.
- Extract the zip file to the following path C:\inetpub\wwwroot\sitecorepublishing

- Create a new site with a folder in IIS

- This time, we have given the host name sitecore.publishing, so we will add it to the hosts file located at C: \Windows\system32\drivers\etc
Plain Text
127.0.0.1 sitecore.publishing
- Select the application pool of the site you have created and open the basic settings
- NET CLR version item to No Managed Code

- Open the advanced settings of the application pool
- Change idle state timeout to 0

Creating a connection string
We will update the connection string. This requires configuration for Core, Master and Web. We will create them with an account with DB administrator privileges (sa in this case), referring to the data from ConnectionStrings.config included in the current App_Config.
Plain Text
.\Sitecore.Framework.Publishing.Host.exe configuration setconnectionstring core ‘Data Source=localhost;Initial Catalog=XM1_Core;Integrated Security=False;User ID=sa;Password=12345;MultipleActiveResultSets=True’

Plain Text
.\Sitecore.Framework.Publishing.Host.exe configuration setconnectionstring master ‘Data Source=localhost;Initial Catalog=XM1_Master;Integrated Security=False;User ID=sa;Password=12345;MultipleActiveResultSets=True’

Plain Text
.\Sitecore.Framework.Publishing.Host.exe configuration setconnectionstring web ‘Data Source=localhost;Initial Catalog=XM1_Web;Integrated Security=False;User ID=sa;Password=12345;MultipleActiveResultSets=True’

After executing the above three connection string settings, a file named sc.connectionstrings.json is generated in C:\inetpub\wwwroot\sitecorepublishing\config\global Please check if the data in it is correct.

Schema Update
Run the following commands to update the schema. First, run the following command to find out the current version of the schema
Plain Text
.\Sitecore.Framework.Publishing.Host.exe schema list

To update the version of this schema, execute the following command
Plain Text
.\Sitecore.Framework.Publishing.Host.exe schema upgrade --force
The following screen shows the results together with the upgrade.

This completes the configuration-related work. Execute the following commands to reflect the settings.
Plain Text
.\Sitecore.Framework.Publishing.Host.exe iis install --force

The installation is now complete. To check the operation, access the following URL
- http://sitecore.publishing/api/publishing/operations/status
Results,
JSON
{"status":0}is displayed, the Publishing Service is running.
Sitecore Publishing Service Module 10.1.0
Module Installation
Next, install the Sitecore Publishing Services Module, which is a module of Sitecore. The module can be downloaded from the following site
- Sitecore Publishing Service Module 10.1.0
- Sitecore Publishing Service Module
- Sitecore Publishing Module 10.1.0 rev. 00585.zip
To install a module, select Administration - Install Package from the Control Panel on the Administration page, upload the module and specify it.

During the installation process, steps will appear, but we will introduce that part of the process as needed.
Change Settings
After the installation is complete, refer to the following file to find the entry PublishingService.UrlRoot.
- App_Config\Modules\PublishingService\Sitecore.Publishing.Service.Config

To change this item, create a patch to change the value by creating a Sitecore.Publishing.Service.Config in the folder \App_Config\Include\zz.
XML
<?xml version="1.0" encoding="utf-8"?>
<configuration xmlns:patch="http://www.sitecore.net/xmlconfig/">
    <sitecore>
        <settings>
            <setting name="PublishingService.UrlRoot" value="http://sitecore.publishing/"/>
        </settings>
    </sitecore>
</configuration>
After completing the configuration, navigate to the Sitecore administration page. You will see that Publish has been added to the Content Management Tools section.

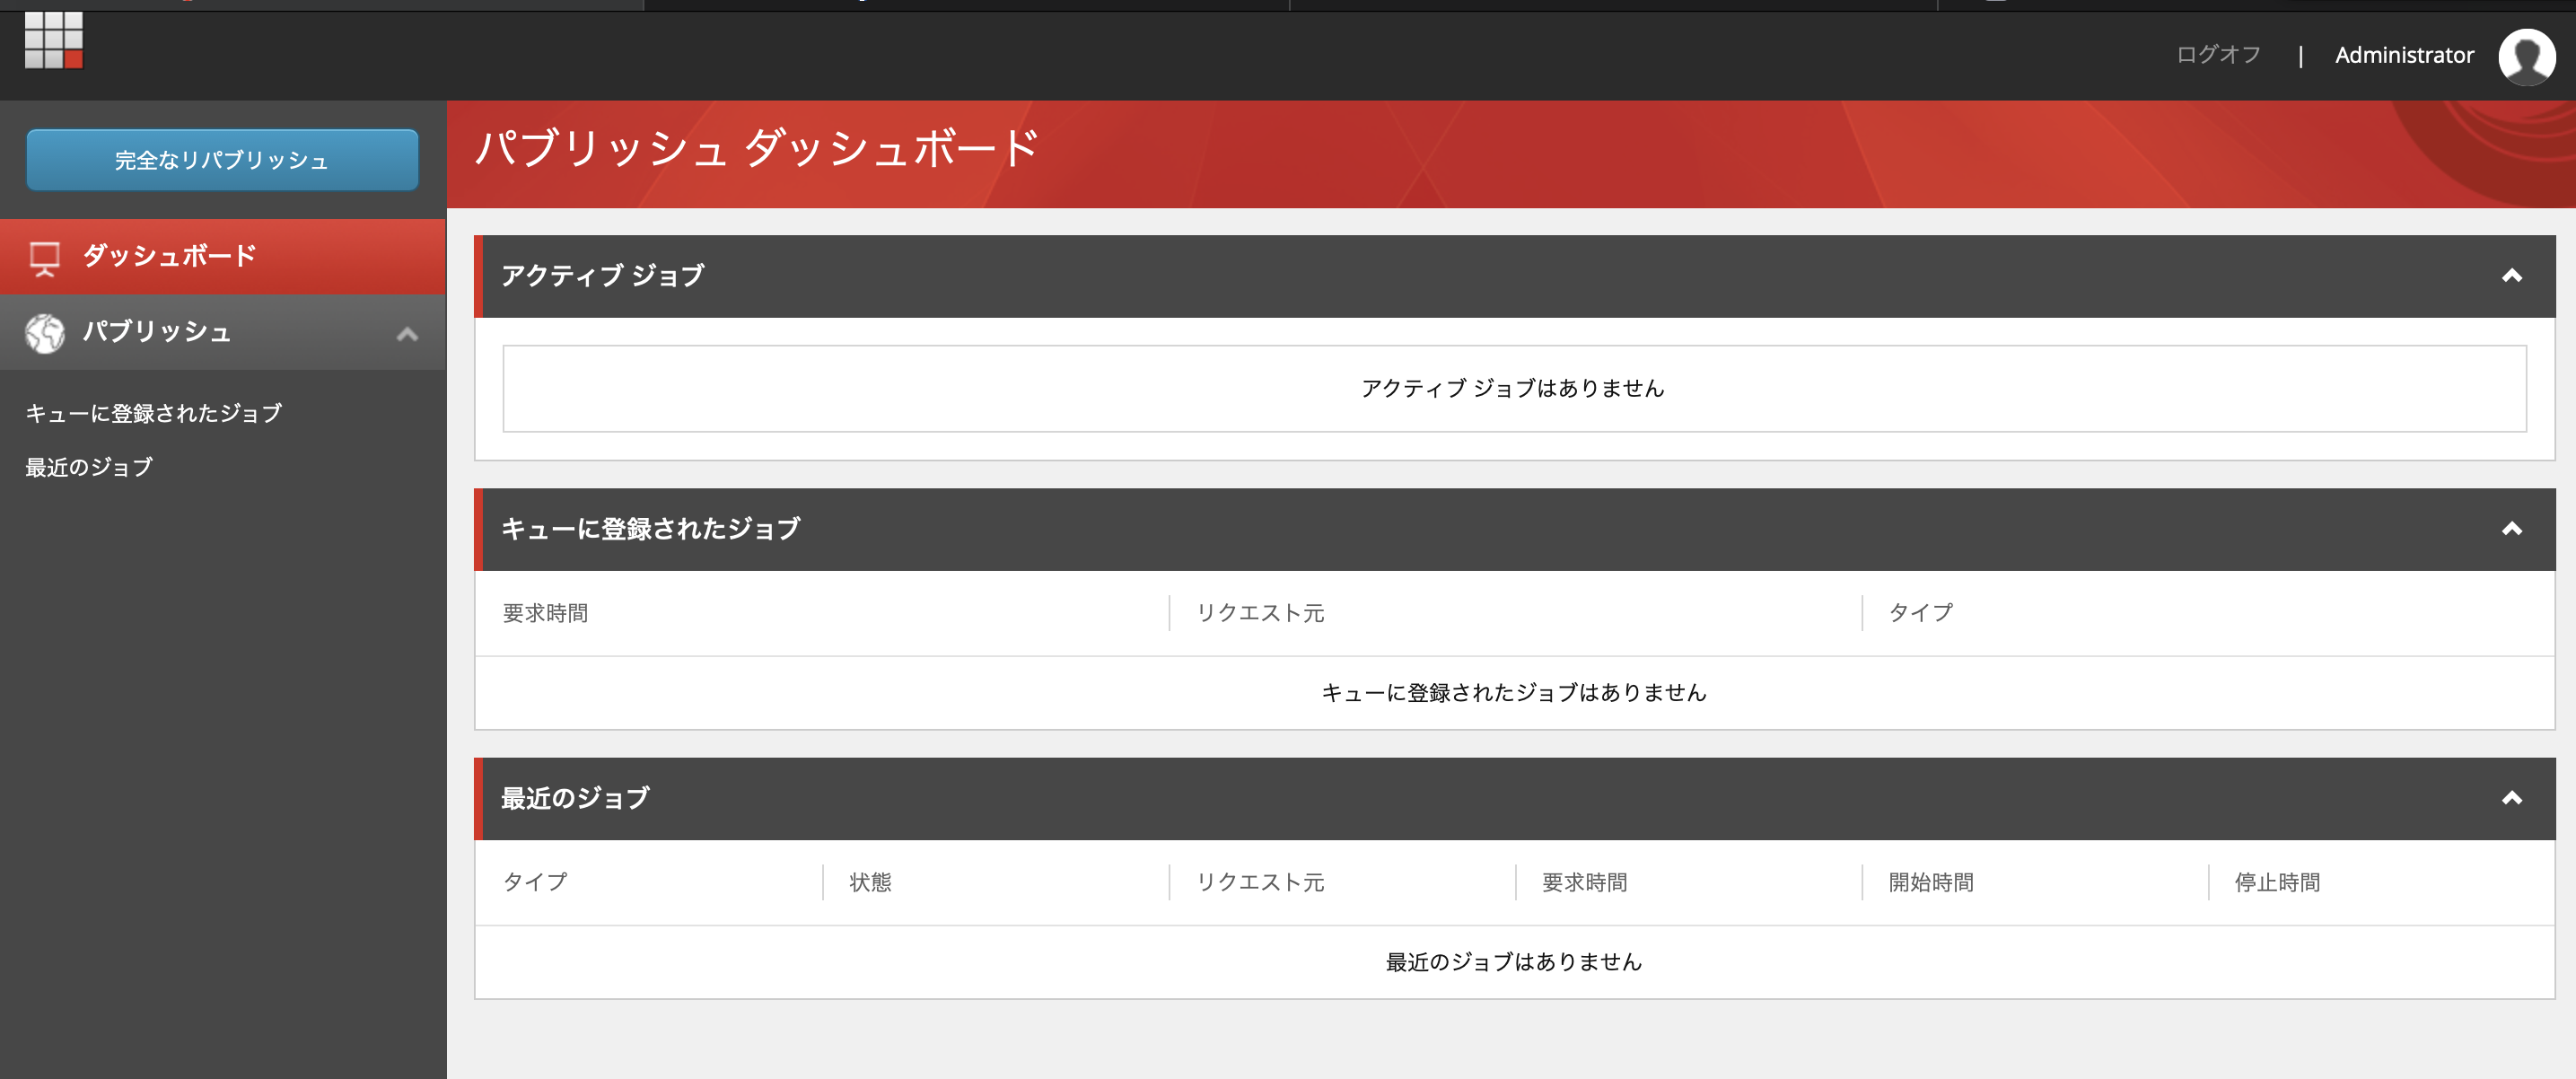
Open the tool and the publish dashboard will open. This completes the configuration of the management server.
Content Delivery Server
Copy the following files so that the Publishing Service is available on the content delivery server.
- App_Config/Modules/PublishingService Create directory
- Copy the following files
- Sitecore.Publishing.Service.Delivery.config
- Sitecore.Publishing.Service.SingleLinkDatabase.config
- Copy the following files into the bin directory
- Sitecore.Publishing.Service.dll
- Sitecore.Publishing.Service.Abstractions.dll
- Sitecore.Publishing.Service.Delivery.dll
Public Tests
The environment we are working in this time has only the Home item because we have just installed XM. So we did the following work.
- Copy Home and save as a child item
- Home Sub
- Post a link to Home
- Create version 2 of Home
- Put the version number in the title.
- Save to Sub.
The tree in the content editor with the above work completed should look like this

Publish the item.

When you open the dashboard, you will see the process details.

When you go to browse the site after completion, you will see that the page has been updated.

Summary
This time, the Publishing Service was installed on the same server, but as you can see from the procedure, the site is started separately and processing is done through a database connection, so it is possible to install it separately on a server other than the editing server. When considering resource allocation, the method of installation should be considered on a case-by-case basis. Even in a demo environment, the Publishing Service is useful because it speeds up publishing and other processes, so please take this opportunity to try it out.