Previously, we introduced how to set up the Sitecore Demo Platform as a demo environment for Sitecore. This time, we will introduce the steps to create and verify an account that can create and edit pages using this environment.

Create an account
Create an account to log in to the demo environment. In this case, we have created the following
Column | Value |
|---|---|
User name | demoeditor |
Domain | sitecore |
Full name | Demo Editor |
demoeditor@sitecore.com | |
Password | e |
Confirm password | e |
Role | Sitecore¥Author, Sitecore¥SitecoreDemo Guide Author |
User Profile | Accounts |
$SqlAdminPassword | password |

Open the language settings of the user you created and change it to Japanese.

The account is now complete.
Demonstration of page creation
Login
Log in with the account you have created.

Tools are displayed according to the permissions the user has.

Check tree items in the Content Editor
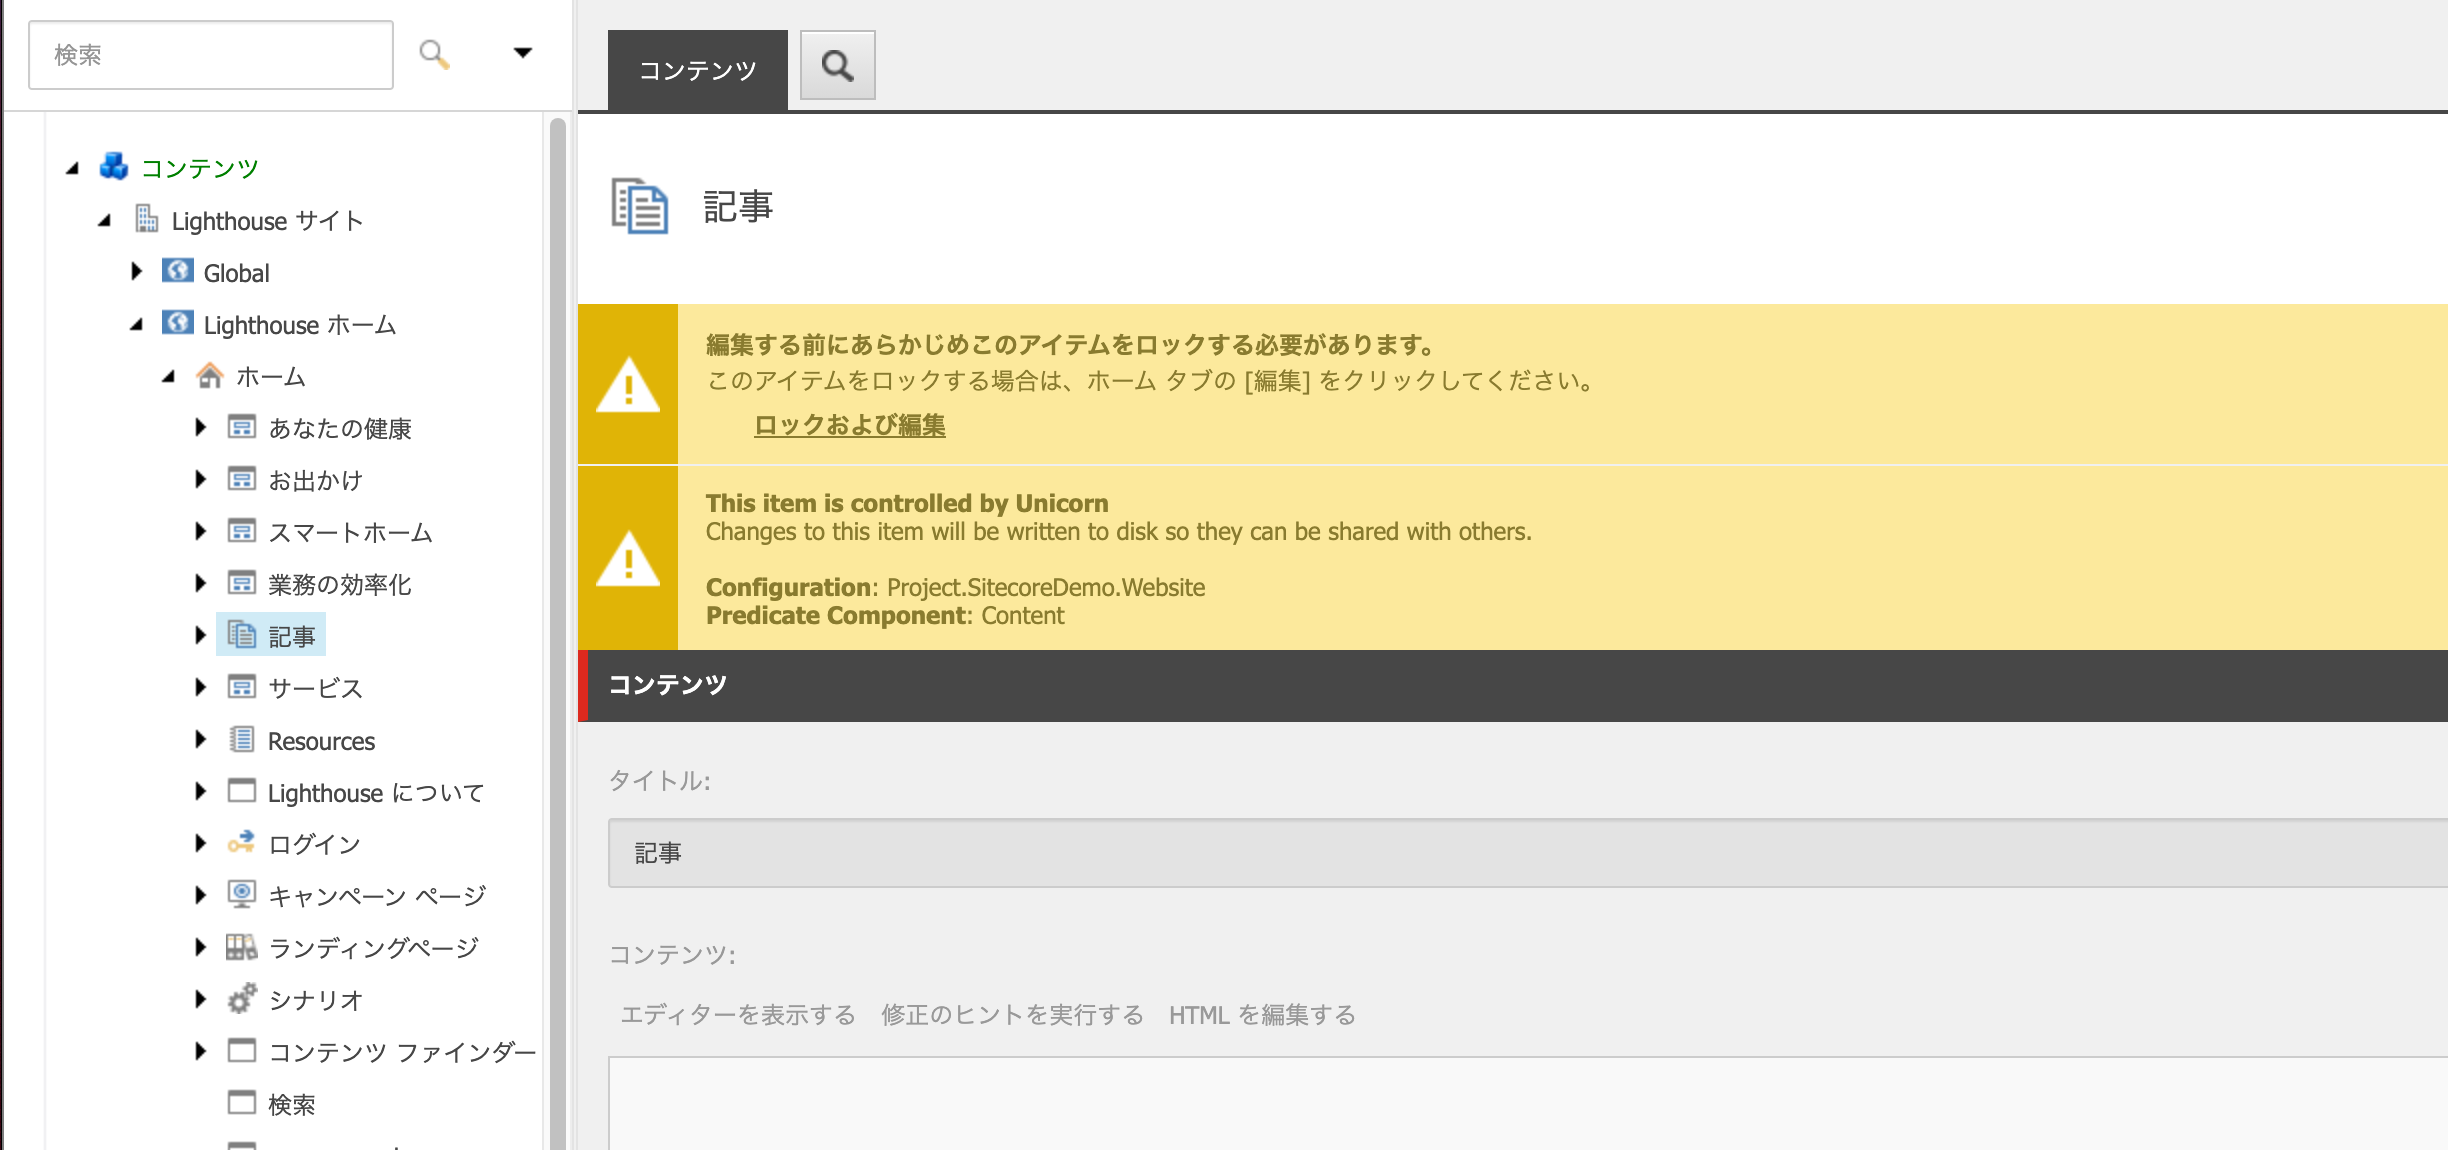
Open the Content Editor and you will see that the Home item for the Lighthouse Home site is initially selected, but you cannot edit it because you only have browse permissions for this account.

When an article item is selected, the Lock and Edit item will appear in the right content area. This is the menu that appears when you have permission to edit the page. Locking prevents other users from editing the page.

Create a new page in the Experience Editor
Right-click on this item to open the Experience Editor.

After a few moments, the Experience Editor will open and the Edit As Seen mode will appear.

This time, to add an article below this page, click Insert Page on the Home tab.

After opening the dialog, you will see a page type called Article Page and a field for entering a content item name. In this case, we will use the article template, so select one item and enter "demo" for the content item name.

After a few moments, the screen will switch to the page you created.

It contains dummy data when the page is created. For this reason, these are rewritten. First, click on the top image area and select the image.

When an image is selected, the Experience Editor screen switches to the page that uses the selected image.

Selecting a date will confirm that you can select the date in the calendar.

The item labeled "demo" is the title string, so enter text as usual here.

There are two items, both of which can be changed in the rich text editor.

Finish editing once you have added a few characters and click on the save icon in the upper left corner.

Check the creation status in the Content Editor
Return from the Experience Editor to the Content Editor. If you look at the tree below the article, you will see that a DEMO has been added.

When you select an item, you will see that your edits have been saved as content.

The article list page is ordered by item, so the Demo item we have created should be at the top of the list; open the Home tab with the Demo item selected, and click on the Move icon first.

Make sure you are at the top of the list and return to the Experience Editor. You will see the navigation above the tools, so after selecting an article, click on the Go button to switch the editing window to the article page.

You will notice that the order in which the articles are displayed has changed.

Advancing the workflow
Once again, navigate to the page you have just created. Use the navigation to select the Demo item, then click the Go button.

At the top of the page, the workflow status is indicated as Draft.

When you click on the button for submit, a dialog box appears to request approval.

We were able to confirm that the workflow is progressing.

Return to the administration page and open the workbox. As the target of the workbox, this time it is the demo workflow, so when you open the tool, you will see that it is included in the pending approval as shown below. You can also see that the comment you included in the approval request is displayed as a comment.

Approval on this screen will cause the page to be reflected on the site. When a timer is set, the page will not be reflected on the site until the time is up.
Summary
This time, we used the demo environment that we have previously introduced to show how to edit pages, workflow procedures, and so on. We have also uploaded a YouTube video on the same subject, so please refer to it as well.