
The Sitecore Content Hub's Asset Management feature provides a watermark function. The following is a summary of the steps involved in verifying this functionality.
Create DAM user
As a verification account, we will first create a user who can access DAM.
Adding Users
In this case, we will create a user named Demo.DAM and check it. DAM as the user name and select two modules, Media and Products, as accessible modules.

For user groups, specify only Everyone.

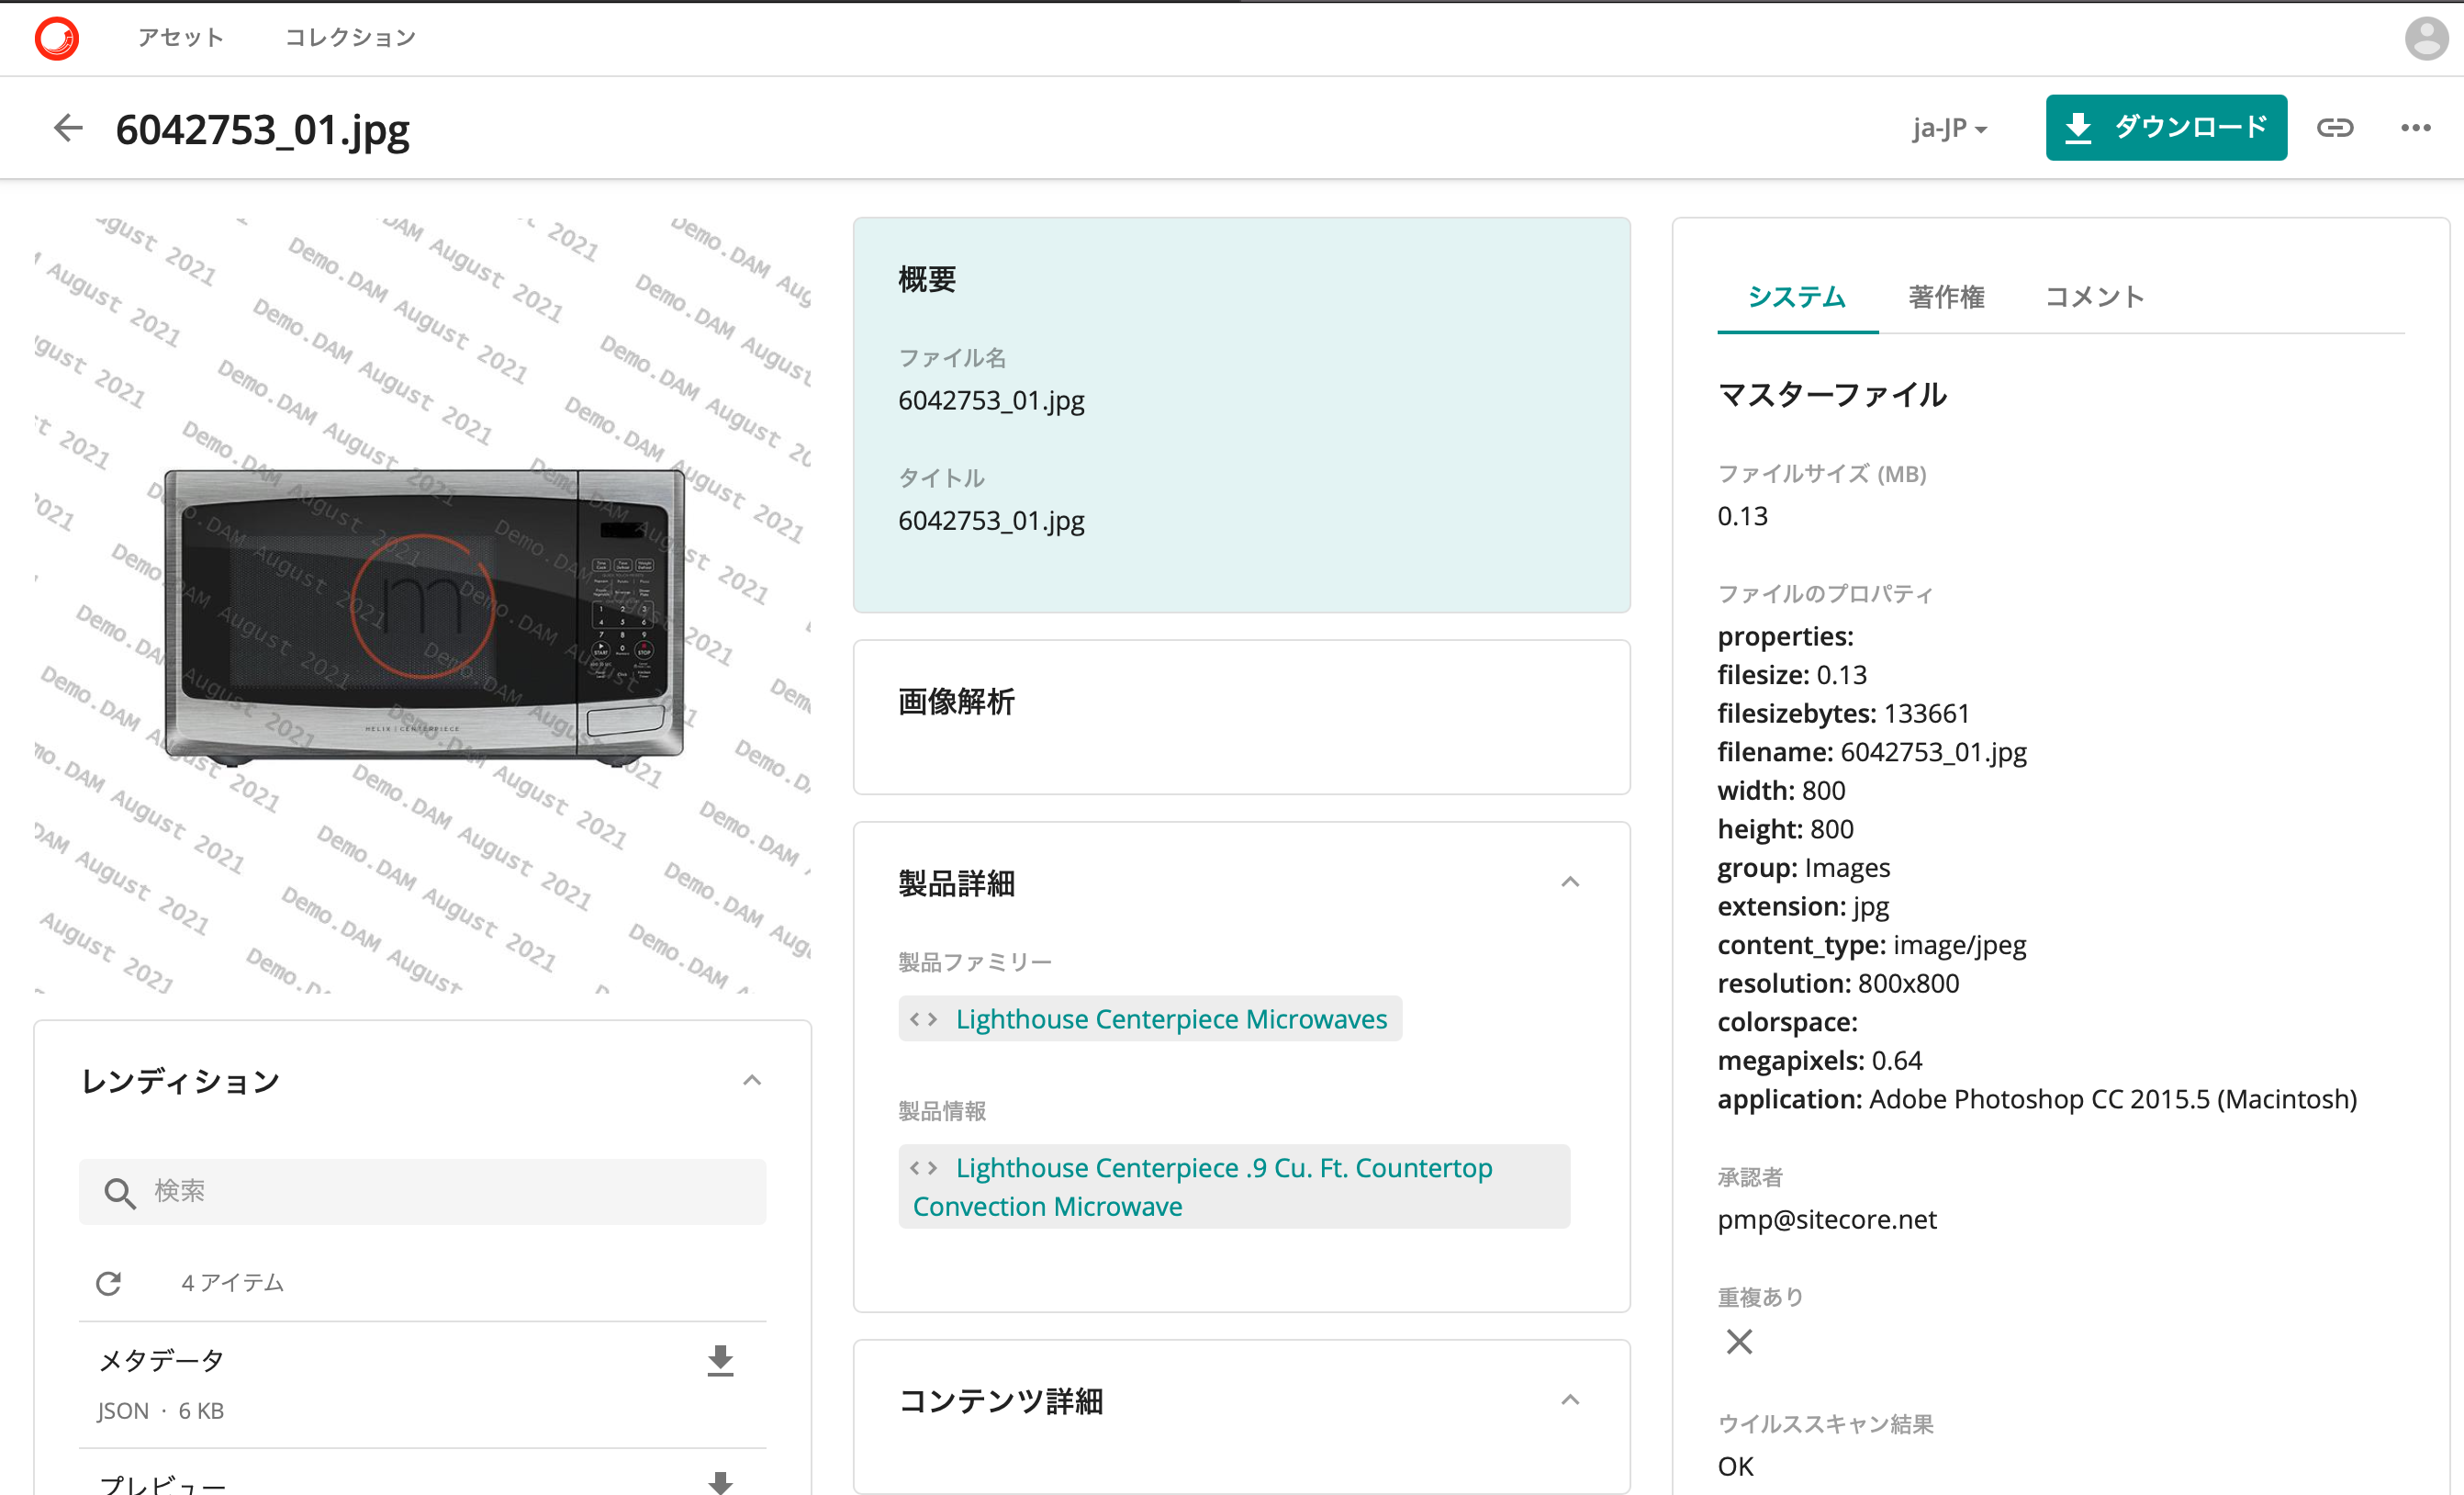
Open Edit Profile, set an email address for your account, press Reset Password to send a reset email to the email address you set. Once you receive the email and set a password, you can log in with the account you created. When you log in, you will see the following screen and nothing will be displayed.

Creating User Groups
We will create a user group to display the new assets.
Create user named Demo.DAM.Readers and specify media as the available modules.
Two additional rules will be added. First, for M.Asset (asset), add the condition M.Final.LifeCycle.Status: Approved and check the three permissions Read / DownloadPreview / ViewNotWatemark. If you want to give permission to update an asset, check Update; if you want to give permission to delete an asset, check Delete, etc. However, for the purpose of this project, we only need to set the minimum functionality, so we check only three.

The above only grants permission to the asset, but does not set access rights to the page that will display the asset.

Add this created user group to the users in Demo.DAM.

After attaching the authorization, clear the cache in the Administration Tool. This will ensure that Demo.DAM will have the most up-to-date permissions when it accesses the site.

Clicking on an asset brings up the Asset Details page.

You have now created a user who can load DAM assets.
About Watermarks
The following is an introduction to Sitecore Content Hub watermarking.
The standard watermark-related settings are as follows in this environment.

If the date field is blank, specify the date type.

The procedure for creating a watermark is described in the following page, but we will proceed with the default watermark.
Create watermark authority
The setup regarding watermark permissions is described in the following page.
The first step is to create a user group that will use the watermark.
Creating User Groups
This time we will create Demo.DAM.Watermark as a user group.

Next, the same permissions are granted as before for access.

The next step is to display the asset details page, but the difference from the previous step is that ViewNotWatermark is not set.

Change user permissions
Watermark, not the authority that originally created it.

After changing the permission settings, clear the cache and go to the asset details page in your Demo.DAM account. You will see the following screen.
Summary
We have confirmed that it is possible to set the watermark in or out by user group permissions. As for how the watermark is displayed, it can be set from the watermark in the administration tool, so it is possible to change the logo, etc.