
So far, the Storefront has been using English catalog data. This time, we'll introduce how to create Japanese catalog data. We'll also keep the English data, demonstrating how to manage catalogs in multiple languages.
Sitecore Settings
In preparing the data for the catalog, we need to change the configuration of Sitecore Experience Commerce to turn off the mechanism to suppress large data processing requests. In our environment, we will turn off this mechanism.
Change the AntiForgeryEnabled setting
It uses the AntiForgry class provided by Microsoft, and the prevention of transmission by malicious scripts is turned on by default. The following file changes this item. Change the _AntiForgeryEnabled_ entry to _false_ in the following file.
- CommerceAuthoring_Sc¥wwwroot¥config.json
JSON
"AntiForgeryEnabled": false,web.config
Modify the web.config entry in CommerceAuthoring_Sc. In the following code, add a security entry under configuration - location - system.webServer.
XML
<?xml version="1.0" encoding="utf-8"?>
<configuration>
  <location path="." inheritInChildApplications="false">
    <system.webServer>
      <security>
        <requestFiltering>
          <!-- For Microsoft IIS (Internet Information Services), maxAllowedContentLength specifies the maximum length of content in a request, in bytes. -->
          <requestLimits maxAllowedContentLength="2147483648" />
        </requestFiltering>
      </security>
      <handlers>
        <add name="aspNetCore" path="*" verb="*" modules="AspNetCoreModuleV2" resourceType="Unspecified" />
      </handlers>
      <aspNetCore processPath="dotnet" arguments=".\Sitecore.Commerce.Engine.dll" stdoutLogEnabled="false" requestTimeout="00:10:00" startupTimeLimit="600" stdoutLogFile=".\logs\stdout" hostingModel="inprocess" />
    </system.webServer>
  </location>
</configuration>
Change SQL timeout settings
Since the catalog data will be large, set the timeout setting to 0 to avoid timeouts. First, open the following file.
- CommerceAuthoring_Sc\wwwroot\data\Environments\Plugin.SQL.PolicySet-1.0.0.json
Change the following two parameters to 0.
JSON
"ConnectTimeout": 0,
"CommandTimeout": 0,
Change IIS settings
To request processing for an instance of Authoring, change the value of the application pool that this instance (for example) is using. Open the application pool and change the following three items
Section | Parameters | Value |
|---|---|---|
CPU | Interval (min) | 0 |
Process model | Idle state timeout (minutes) | 0 |
Recycle | Regular interval (min) | 0 |

Download Catalog
Once the above configuration is complete, open Postman again. First, we need to verify that we can access the server and also obtain the access_token by running Authentication - Sitecore - GetToken in the Collection.

Then select CatalogAPISample - Catalog - API - Export Catalogs.

From this state, click on the drop-down menu to the right of the Send button, and then click on Send and Download.

After a few moments, the ExportCatalogs.zip file will begin downloading.

If you extract this zip file, you will see several Json files as shown below. Now you can export your catalog data.

Edit Catalog Data
I would like to edit the extracted zip file folder as root in Visual Studio Code.

The list of files is displayed on the left side, and the following roles are introduced for each file name.
- Releationships folder
- Relationship.\*.json : This file is a relationship file for items for sale
- Catalog.\*.json : Data files related to the catalog.
- Category.\*.json : This file contains data related to the category
- LocalizationEntity.\*.json : This is a file of multilingual data of catalog data
- RelationshipDefinition.\*.json : Definition files for related products.
- SellableItem.\*.json : Files of data related to products sold.
Resource Translation
To translate the resource, first open the file LocalizationEntity.1.json. Looking at the data, we see that some Japanese data is provided as multilingual data. However, the values are in English.
JSON
"Properties": {
    "$type": "System.Collections.Concurrent.ConcurrentDictionary`2[[System.String, System.Private.CoreLib],[System.Collections.Generic.List`1[[Sitecore.Commerce.Core.Parameter, Sitecore.Commerce.Core]], System.Private.CoreLib]], System.Collections.Concurrent",
    "DisplayName": {
        "$type": "System.Collections.Generic.List`1[[Sitecore.Commerce.Core.Parameter, Sitecore.Commerce.Core]], System.Private.CoreLib",
        "$values": [
            {
                "$type": "Sitecore.Commerce.Core.Parameter, Sitecore.Commerce.Core",
                "Key": "ja-JP",
                "Value": "2-in-1"
            },
            {
                "$type": "Sitecore.Commerce.Core.Parameter, Sitecore.Commerce.Core",
                "Key": "fr-FR",
                "Value": "2-in-1"
            },
            {
                "$type": "Sitecore.Commerce.Core.Parameter, Sitecore.Commerce.Core",
                "Key": "en-US",
                "Value": "2-in-1"
            },
            {
                "$type": "Sitecore.Commerce.Core.Parameter, Sitecore.Commerce.Core",
                "Key": "de-DE",
                "Value": "2-in-1"
            }
        ]
    }
For data that does not have Japanese items, we will add a ja-JP key.
Importing
With the translation data complete, compress the Json file into a single zip file. In this case, name the file ImportCatalog.zip.
Next, open Postman and select CatalogAPISamples - Catalog API - Import Catalogs (with publishing) under Collections. Select the Body tab, and you will see an importFile item, and specify the ImportCatalog.zip file that you created in the ImportCatalog.zip item.

After clicking Send, if 200 OK is displayed for the result, importing will begin.
Since the import will take some time, take a few moments and go to the Sitecore administration page and open the content editor; on the Commerce tab, click the Update Commerce Cache button.

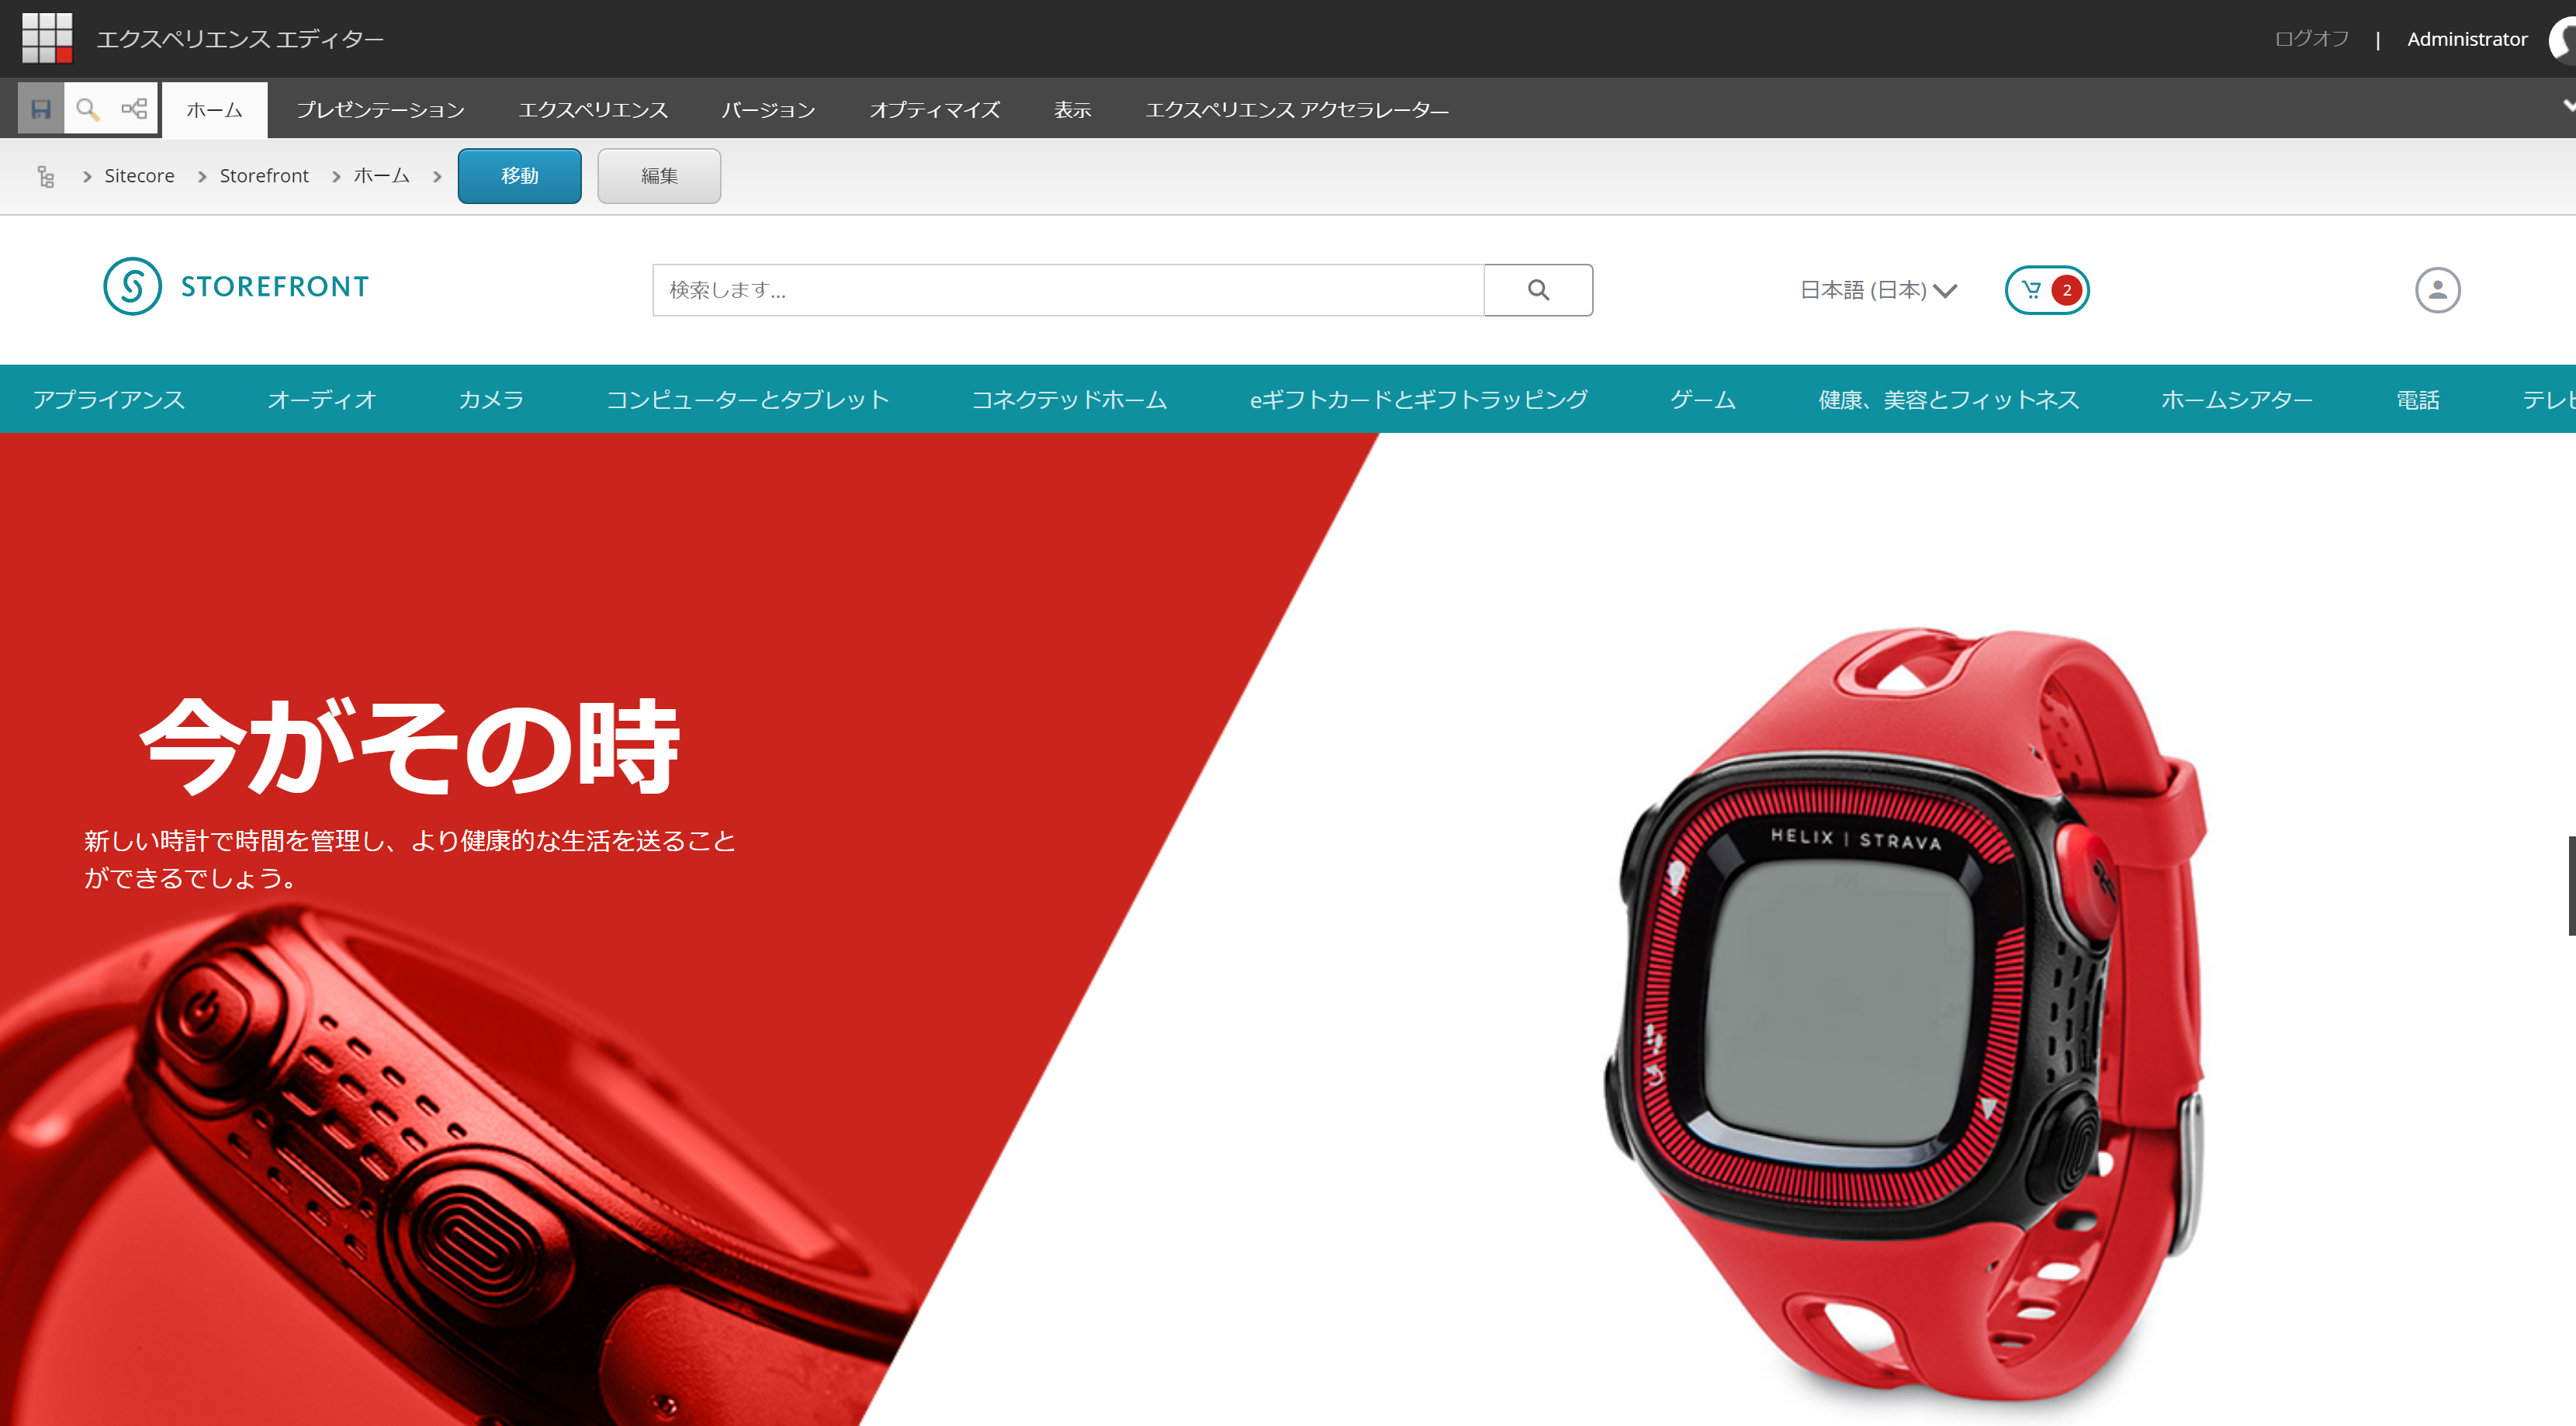
After updating, when you open the Storefront home page, you will see that the menu is now in Japanese.
Summary
Following the above procedure, the catalog can now be exported and exported. Note that if you upload a zip file created by another system as is, the catalog may be corrupted. If possible, please update the catalog by unzipping it, changing the JSON file inside, updating it, and then uploading the zip file you created.