In this article, we will introduce the process of integrating the Sitecore Experience Platform environment with the Sitecore Content Hub. This article will cover the installation and initial setup of the module.

The DAM installation procedure, which will change in 5.0, is also discussed in the following pages.
Prerequisite
As a prerequisite, the following environment is assumed to be in operation.
- Sitecore Experience Platform 10.1
- Sitecore Content Hub 4.0.1 - DAM & CMP
Module Installation
Modules for Sitecore Connect for Content Hub that are compatible with Sitecore 9.3-10.x and Sitecore Content Hub 4.x are available for download at
Modules for versions earlier than Sitecore Content Hub 3.4 are separate. However, Sitecore Content Hub is upgraded from time to time, and the latest version is 4.0.1 at the time of this writing, so we will proceed with this explanation assuming the latest version.
In this case, the version of Sitecore to install the module is 10.1 XP, so the following modules are applicable.
- Sitecore Connect™ for Content Hub XP 10.1
Downloading from the site will complete the download of the following files.
- Sitecore Connect for Content Hub XP for 10.1 v. 4.0.0 rev. 00229.zip
Open this file in the Control Panel, Install Package in the Administration area, upload the package and specify it.

Proceeding with the dialog, you will see information to set the following in connectionstring.config.

The code is as follows
<add name="CMP.ContentHub" connectionString="ClientId={client_id};ClientSecret={client_secret};UserName={username};Password={password};URI={uri};" />
<add name="CMP.ServiceBusEntityPathIn" connectionString="{Azure Service Bus connection string with incoming topic}" />
<add name="CMP.ServiceBusSubscription" connectionString="{Subscription name}" />
<add name="CMP.ServiceBusEntityPathOut" connectionString="{Azure Service Bus connection string with outcoming topic}" />
<add name="DAM.ContentHub" connectionString="{Content Hub URI}" />
<add name="DAM.SearchPage" connectionString="{Content Hub search page URI}" />
<add name="DAM.ExternalRedirectKey" connectionString="{External redirect key}" />
During installation, you will see an indication that the item already exists. In that case, select the join and click Apply. After a few moments, the module installation will be completed.

Connect with DAM
Preparation on the Content Hub side
First, we will proceed with preparations on the Content Hub side. Go to Administration - Configuration and open the PortalConfiguration - CORSConfiguration configuration page.

Now press the Add button and enter the URL. For example, enter https://yoursitecore.instance.com. Save and complete the CORS configuration.
Configuration on Sitecore Experience Platform
Next, we will proceed with the configuration on the CMS side. This time, we will explain how to connect to DAM.
First, add the settings that appeared during installation to ConnectionStrings.config.

Since the CMP settings will be introduced in the next section, we will comment out the CMP section and proceed with the DAM settings only for now. An example configuration is shown below.
Column | Description | Value |
|---|---|---|
DAM.ContentHub | Content Hub instance name | https://sample.stylelabsqa.com |
DAM.SearchPage | Description of iFrame used in DAM | https://sample.stylelabsqa.com/ja-JP/sitecore-dam-connect/approved-assets |
DAM.ExternalRedirectKey | Key for use with SSO | Enter SAML since this time is not SSO |
Set the information about the Content Hub server as follows if the delivery server is different, or the same hostname if the delivery server is the same. This code will rewrite the Content-Security-Policy in system.webServer - httpProtocol - customHeaders in web.config.
<add name="Content-Security-Policy" value="default-src 'self' 'unsafe-inline' 'unsafe-eval';
    img-src 'self' data https://content-hub-url.stylelabs.com/ https://content-hub-url-delivery.stylelabs.cloud/;
    style-src 'self' 'unsafe-inline' https://fonts.googleapis.com;
    font-src 'self' 'unsafe-inline' https://fonts.gstatic.com;
    upgrade-insecure-requests; block-all-mixed-content;
    child-src 'self' https://content-hub-url.stylelabs.com/ https://content-hub-urldelivery.stylelabs.cloud/;
    connect-src 'self' https://content-hub-url.stylelabs.com/ https://content-hub-urldelivery.stylelabs.cloud/;
    media-src https://content-hub-url.stylelabs.com/ https://content-hub-urldelivery.stylelabs.cloud/;" />
Now you are ready to go.
Add Japanese language resources
Due to a slight lack of Japanese resources used by the connector, please follow the steps below to import the data.
- Download ContentHub40-ja-JP.xml from https://github.com/SitecoreJapan/InstallScript/tree/master/101
- Control Panel for Administration
- Globalization
- Open Import Language Files
Import the ContentHub40-ja-JP.xml resource into the Core database
The Japanese UI will now be displayed on the administration screen.
Operation check
Now that the Sitecore Content Hub and Sitecore CMS have been configured, it is time to check the operation.
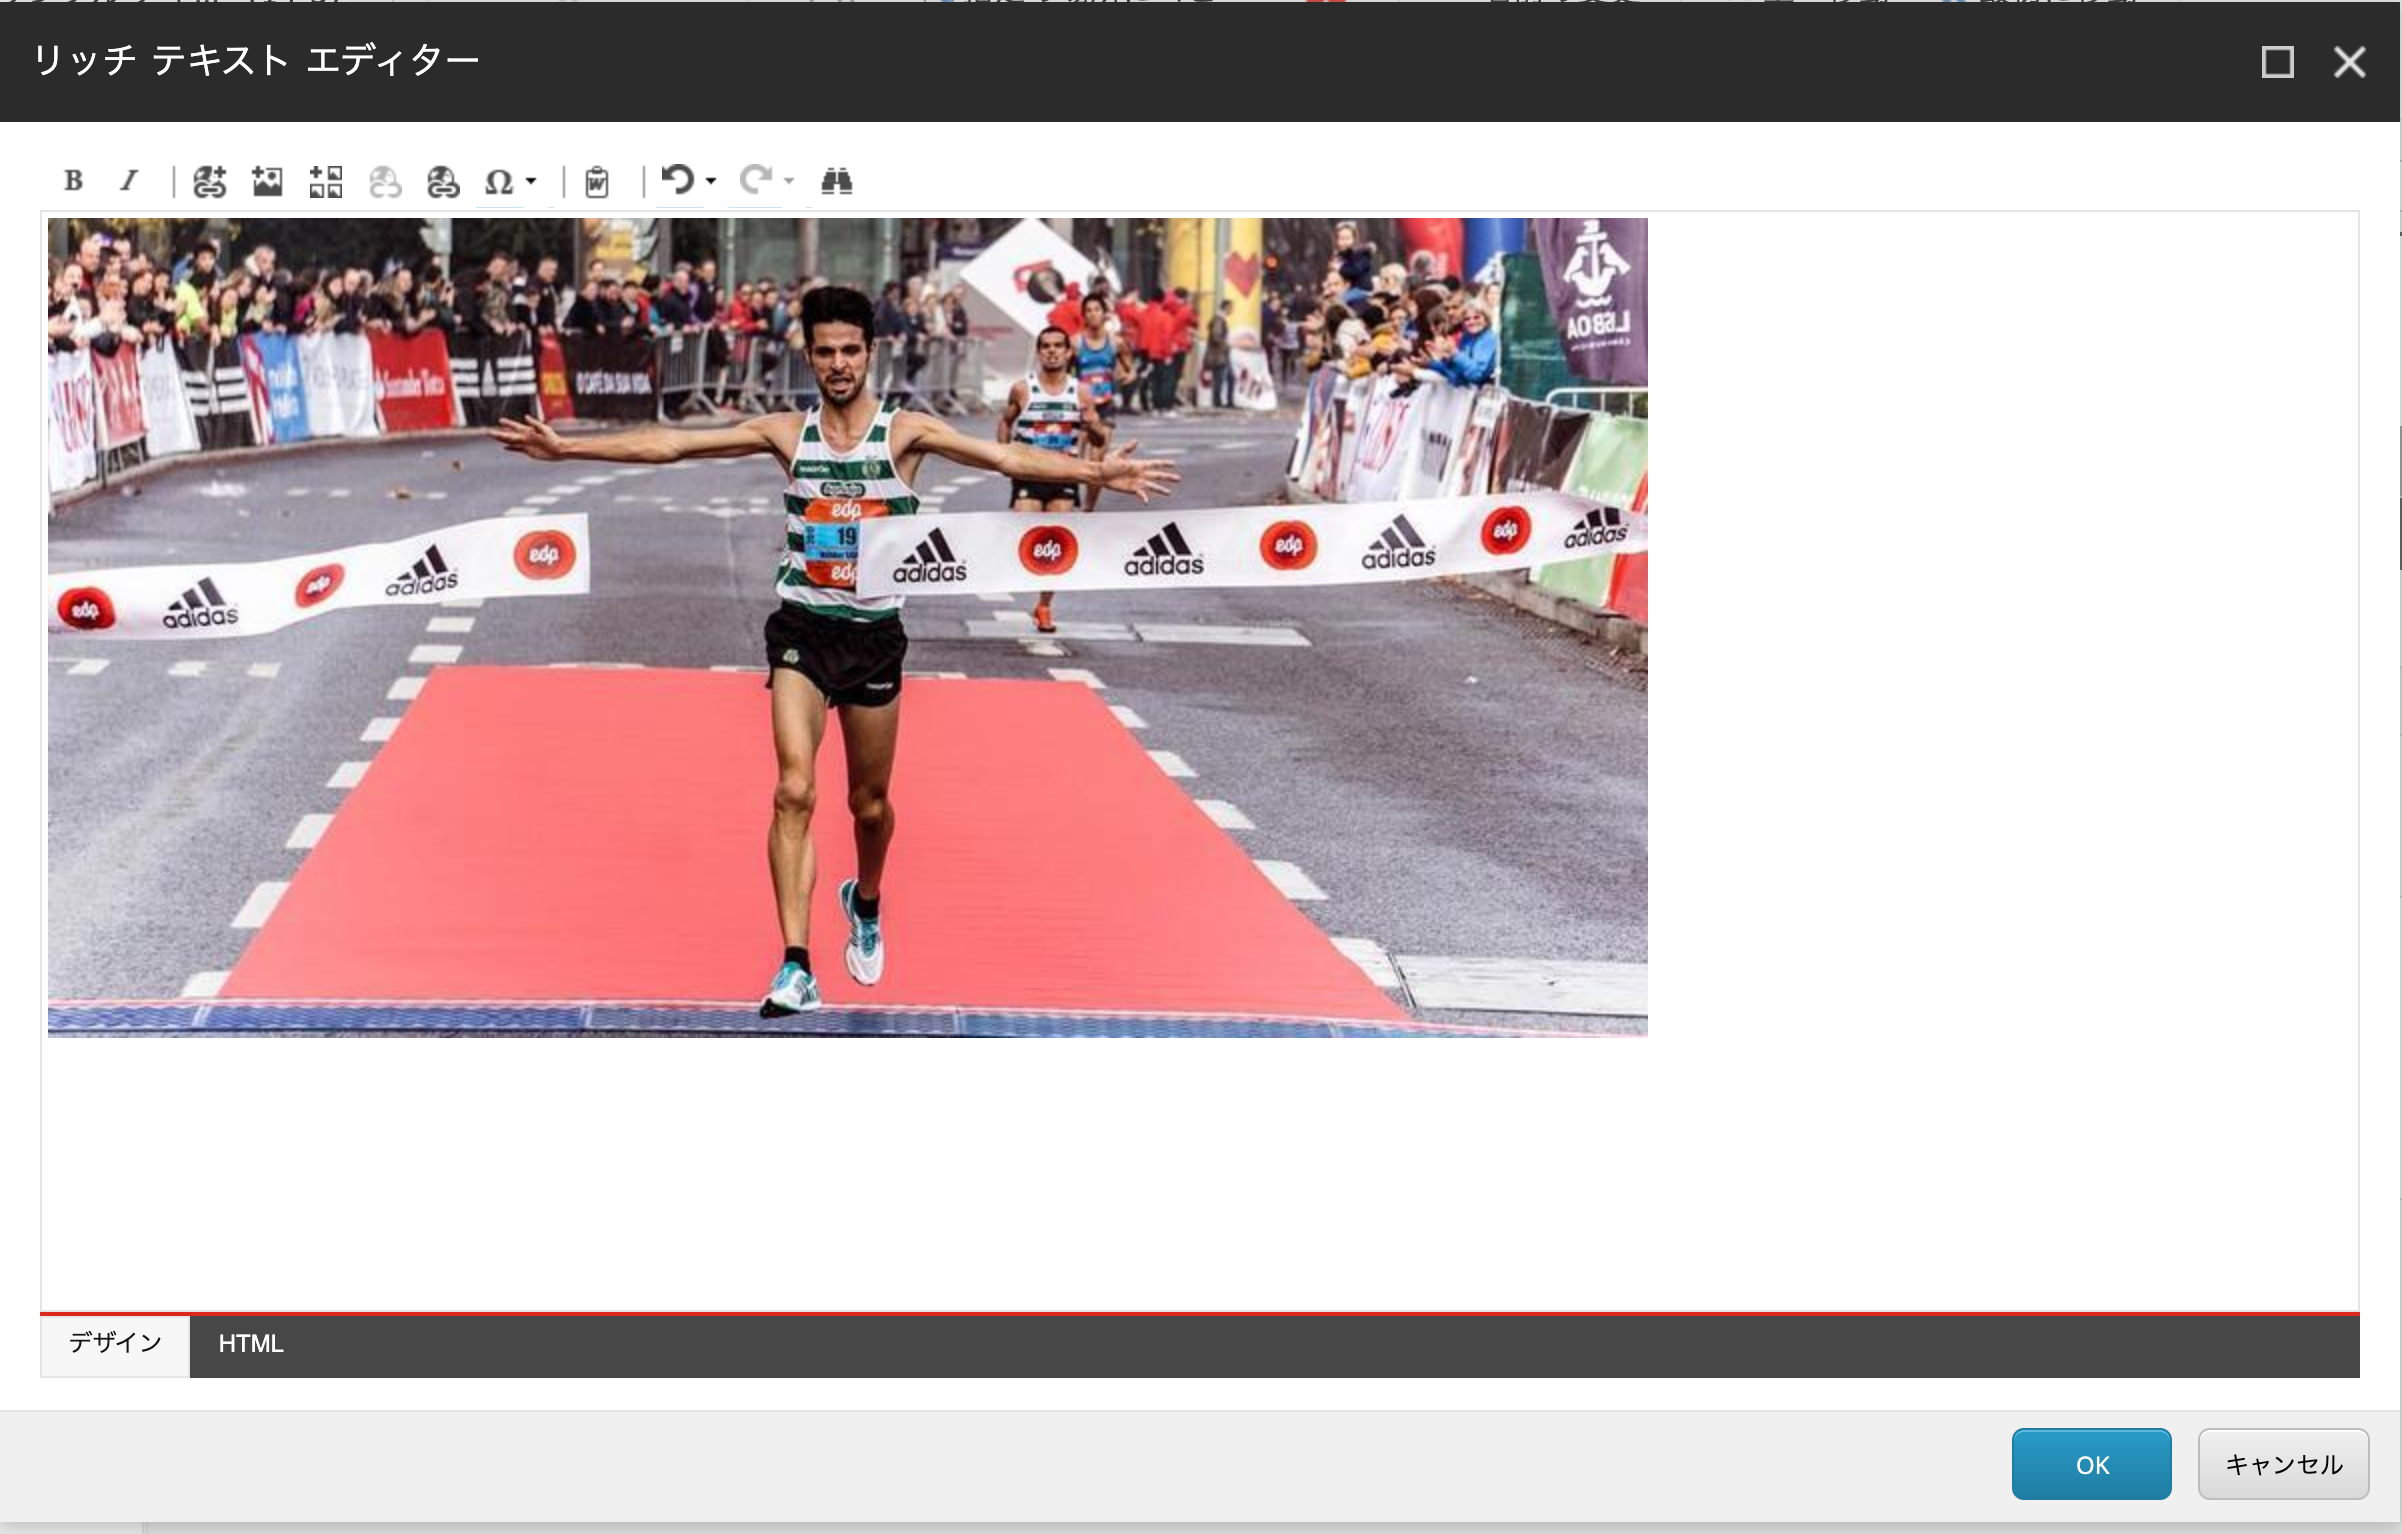
First, log in to Sitecore on the administration page and open the rich text box for the appropriate item.

Click on the fifth icon from the left.

After a few moments, the DAM screen appears.

Now you can access DAM from Sitecore and embed images without any problems.

Summary
In this article, we introduced the integration of Sitecore Content Hub DAM and Sitecore CMS images. You can see that you can easily use the images managed by DAM in the actual content management screen. In the next article, we will introduce another feature, the Sitecore Content Hub CMP integration.