
Now that you have made some adjustments to Storefront's content, where are the items defined that are required for the site to work? In this article, we will introduce the Commerce Control Panel settings.
Commerce Control Panel
When you install Sitecore Experience Commerce, you will see a Commerce item at the top level. And the settings that Storefront, already running, refers to refer to the Commerce Control Panel contained within this Commerce.

We will provide an introduction to the most commonly used settings.
Setting Currency
You can create multiple sets with respect to currencies. In this case, we are working with the default settings, so the following items are covered.
- /sitecore/Commerce/Commerce Control Panel/Shared Settings/Currency Settings/Currency Sets/Default
Japanese yen is not included in this set by default, so add Japanese yen. To add, make a selection from the list, click the right arrow to make a selection, and save the item to activate it.

Add country data
Country information is managed under the following items.
- /sitecore/Commerce/Commerce Control Panel/Shared Settings/Countries-Regions
For example, if you look at the information for the United States, you will see that the state items are lined up under the United States item.

In the case of Japan, it is safe to create an item as a code, like prefecture code (Hokkaido 01), so let's create an item. and it is hard to create an item for 47 prefectures. So, we created a package. Please download the following zip file.
- https://github.com/SitecoreJapan/InstallScript/tree/master/XC101
- SCJapanPrefecture.zip
Once downloaded, open the Control Panel and select Manage - Install Package. A dialog box will appear, and you will need to upload the package.

When the package installation is complete, the following dialog will appear Check Restart Client to complete the package installation.

If you go to the items, you will see that 47 items of prefecture data have been created, with codes and names.

After completing the above settings, select the item in the Commerce Control Panel and perform a publish.
Operation check
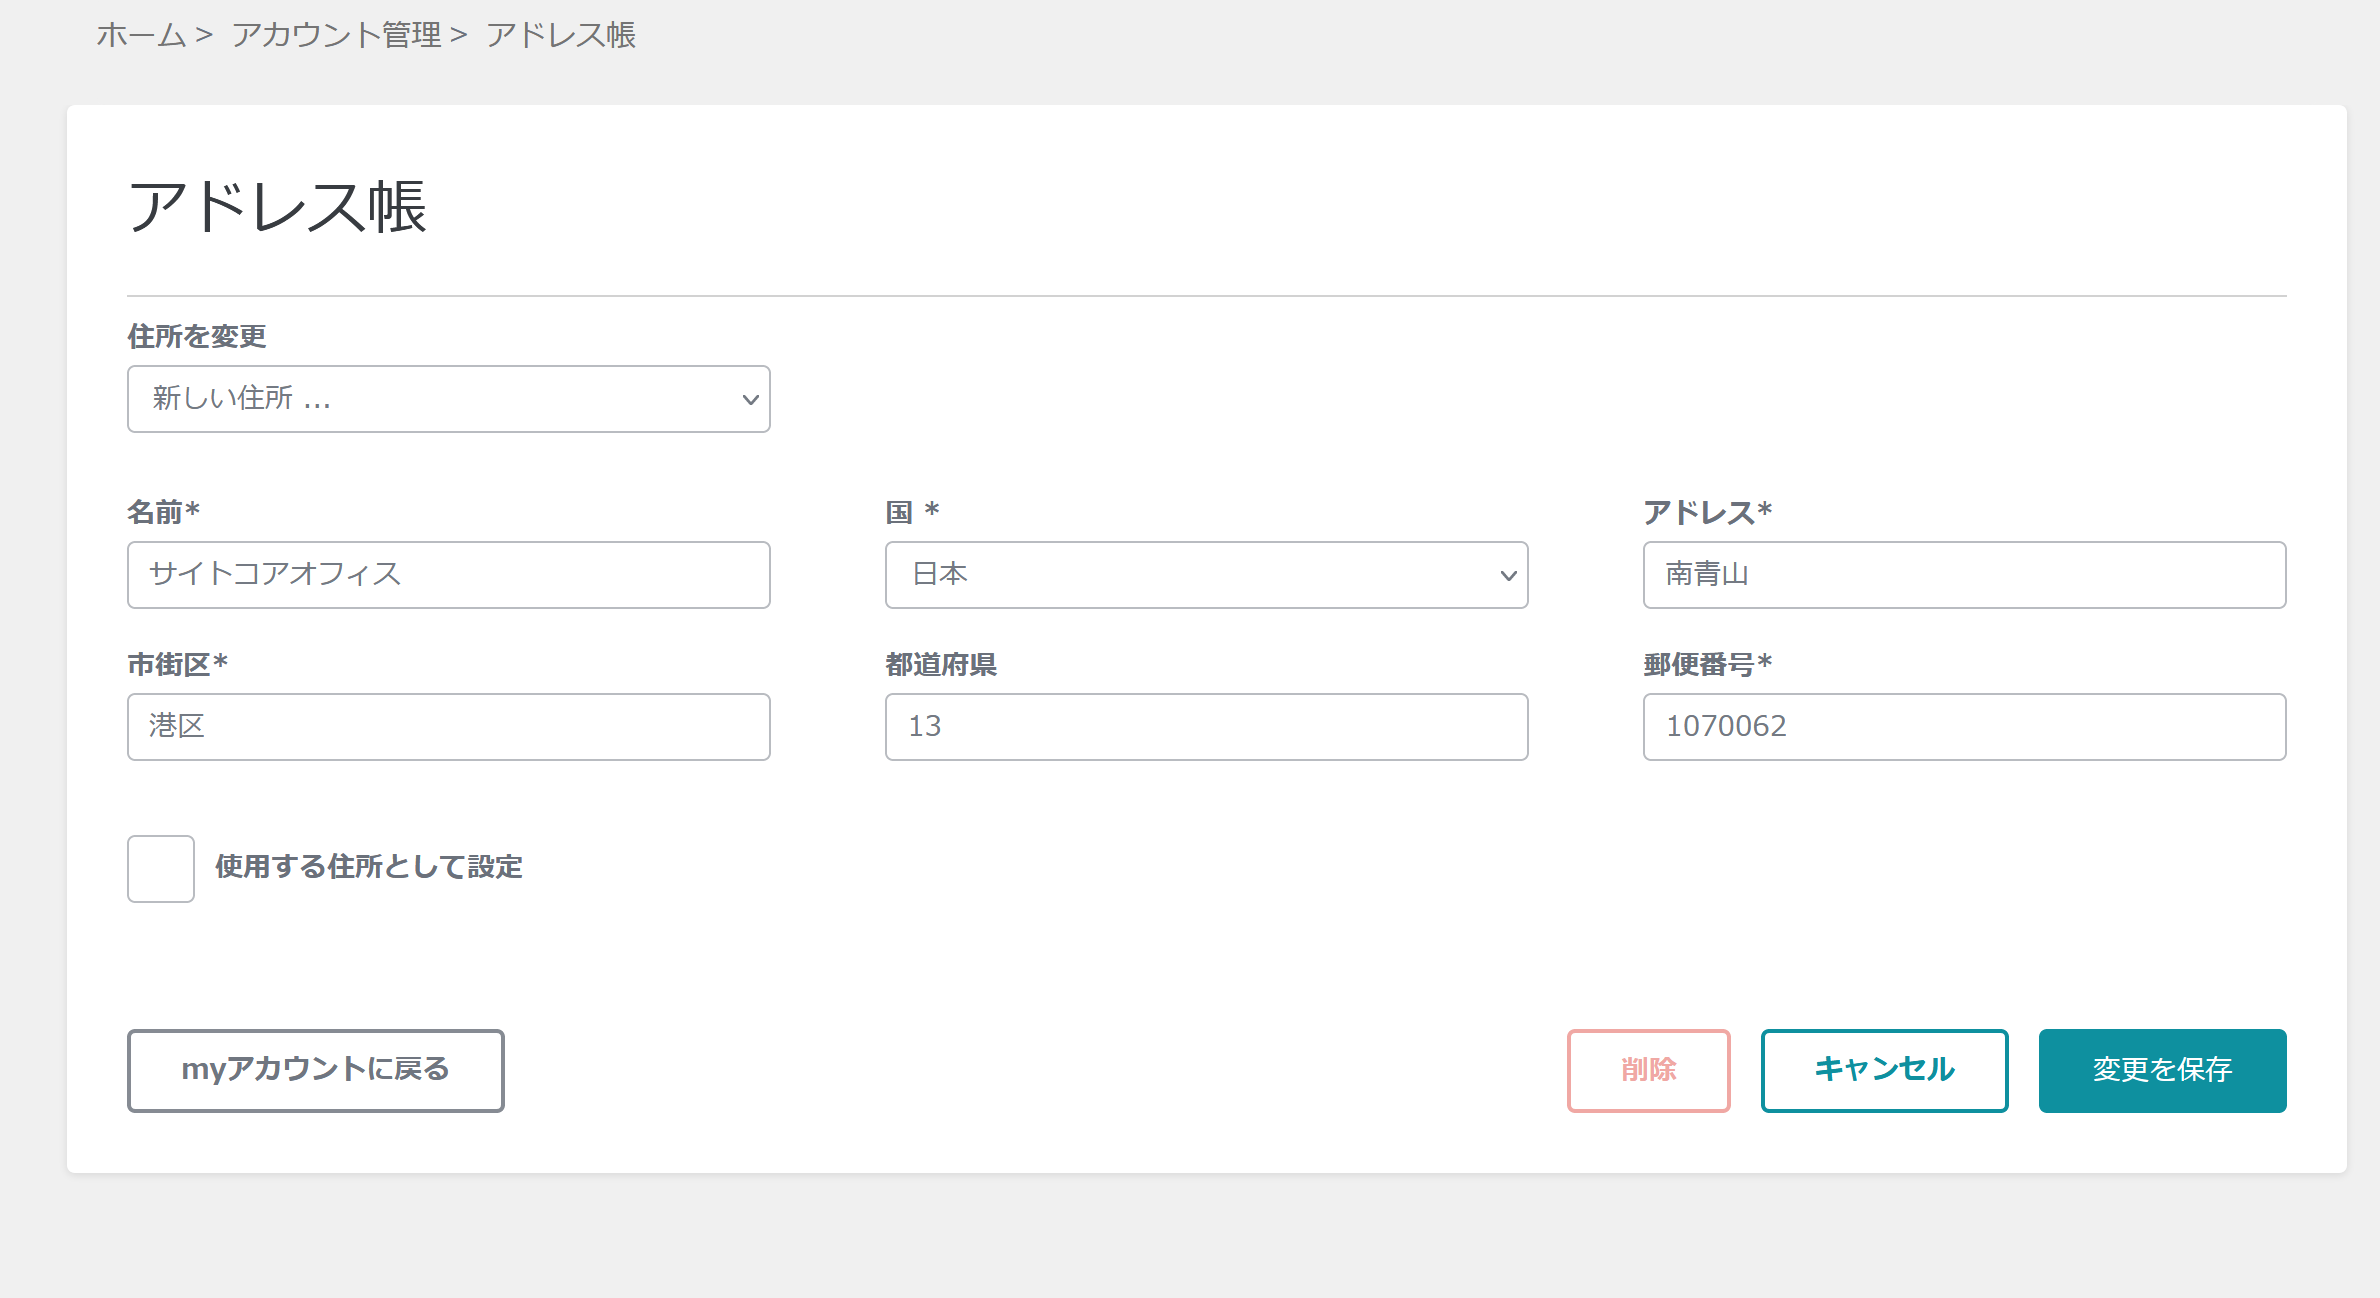
Currently, there is no data in Japanese yen as a commodity, so we will check on currency separately. This time, we will look at the added prefecture data. Access the normal Storefront site and go to the user registration and user address registration screens.
As shown in the screen above, you can select Japan. By default, the prefecture field of the address is populated with a code number, so in this case, enter 13 (the prefecture code for Tokyo) and save the address.
Summary
The Commerce Control Panel items have been changed to add currency and address settings. In actual operation, it will be necessary to implement a drop-down for country, a drop-down for prefecture, and an automatic address after entering a zip code, but in terms of verification, this works to some extent, so we will move on to the next step.